← Back to Places to Visit in Madhya Pradesh
Destination travelogue photo credits
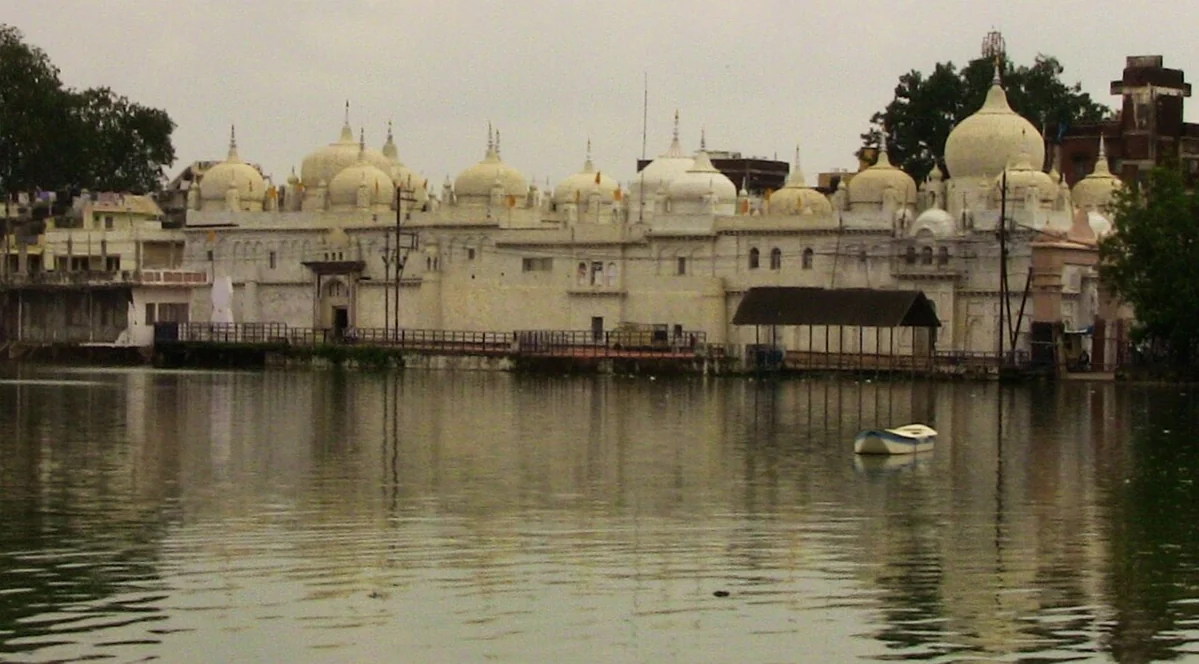
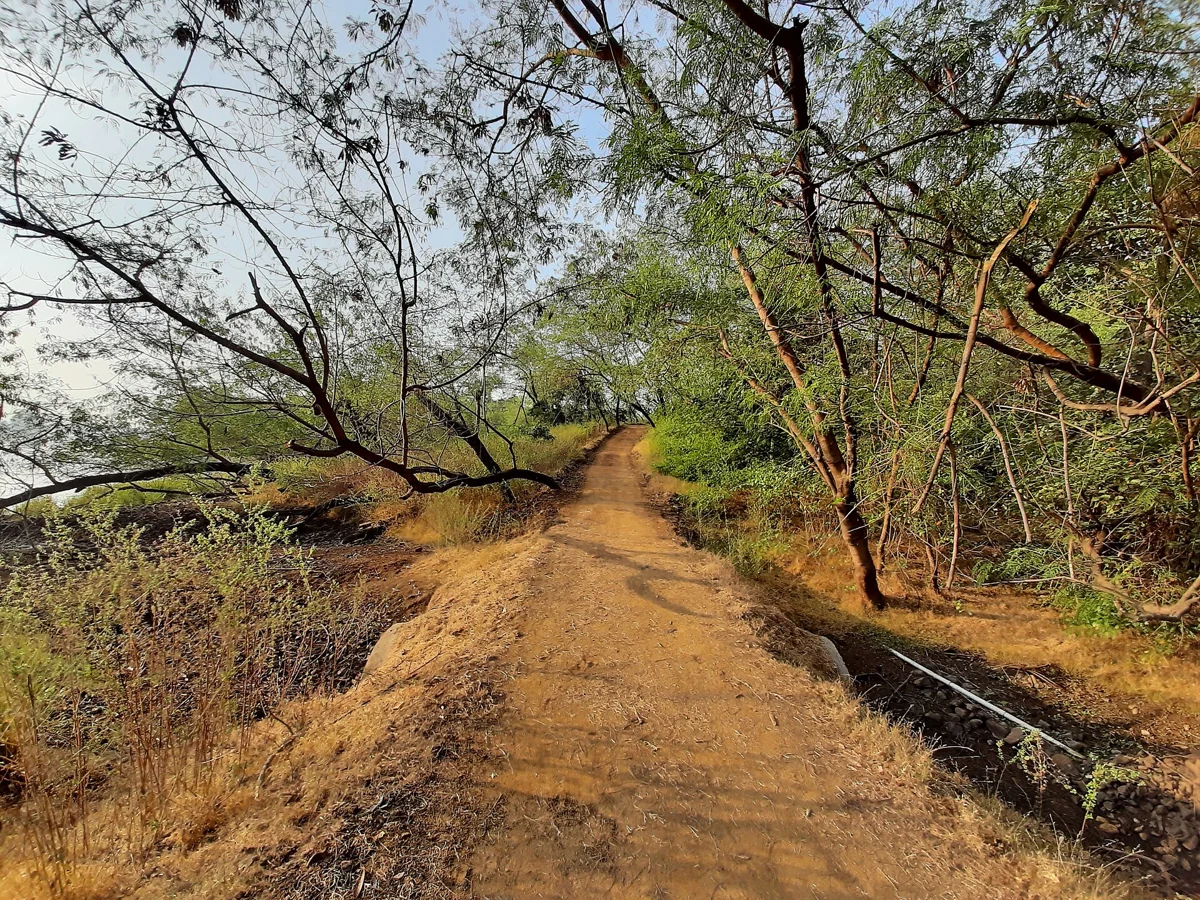
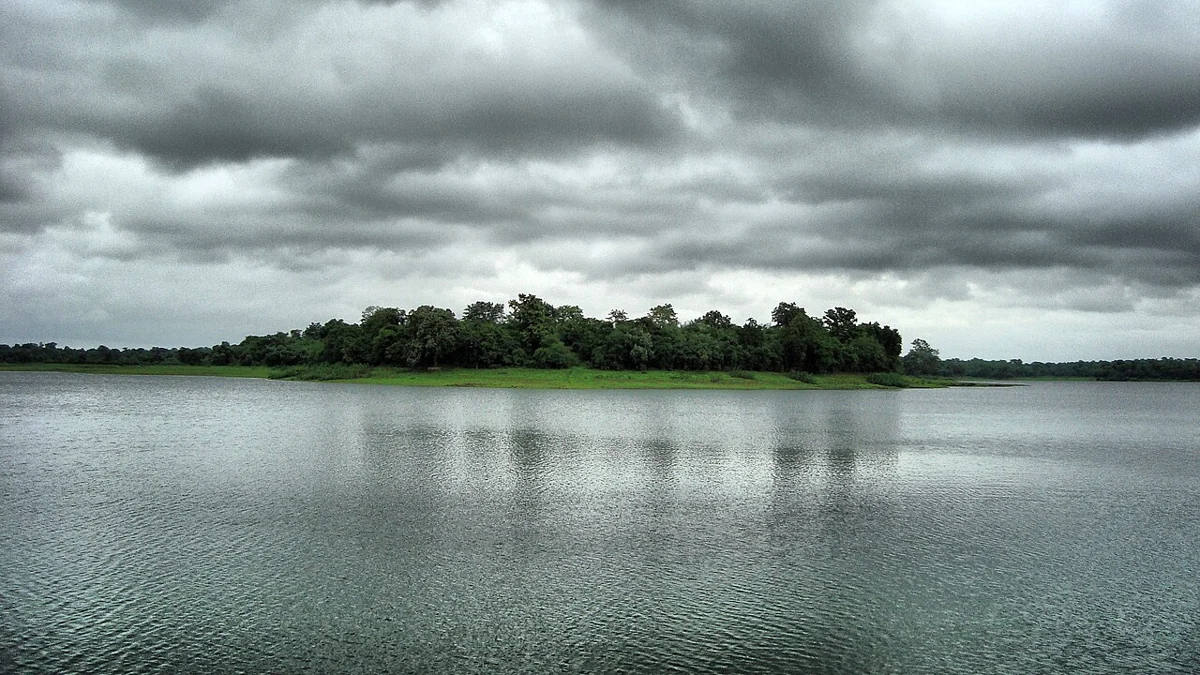
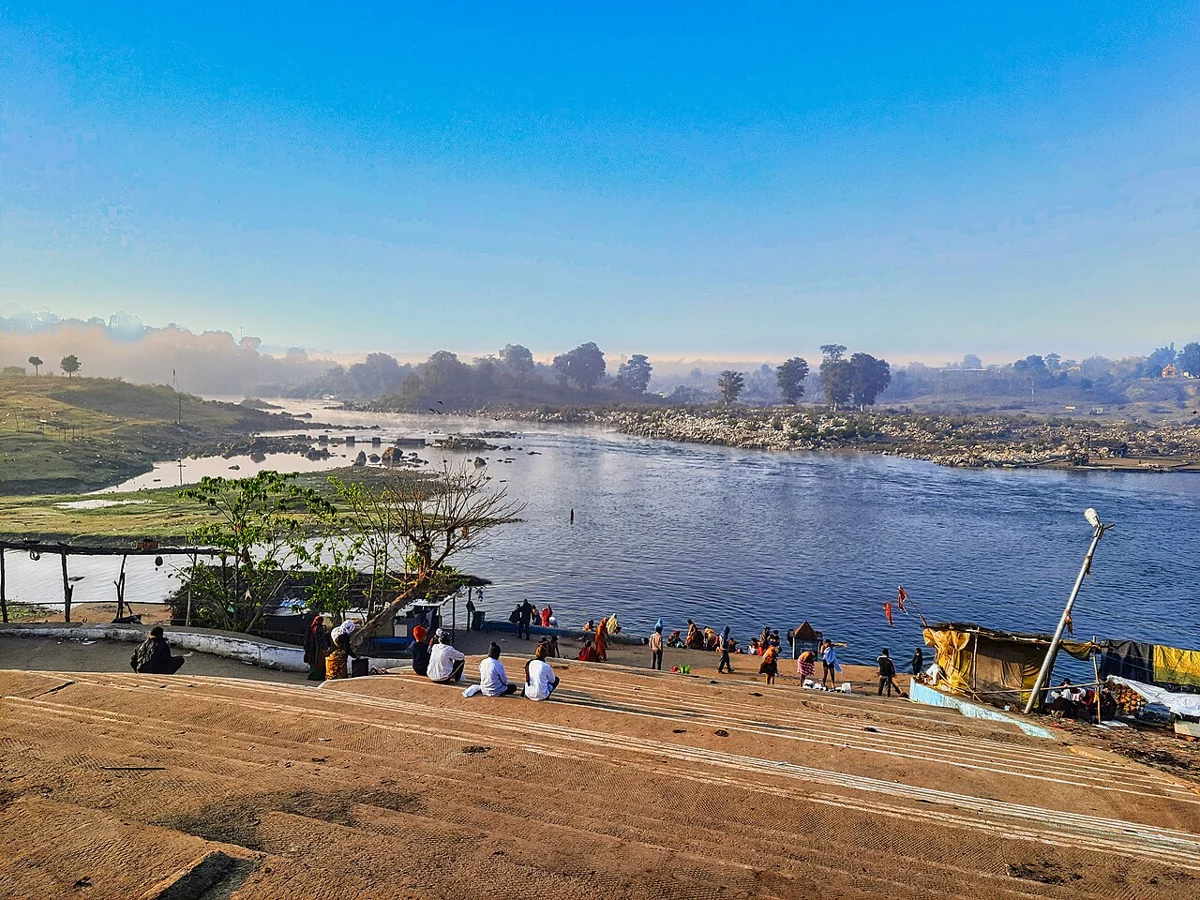
Images are reproduced from the linked Banjari MP Tours Private Limited guides, with the published photographer and licence credits preserved where supplied. Files have been resized/re-encoded as WebP and thumbnails. A habitat reference or illustration is labelled in the gallery; it must not be relabelled as an exact photograph of that attraction. Original source and licence links are retained below.
| Destination | Place | Published credit / licence | Source |
|---|---|---|---|
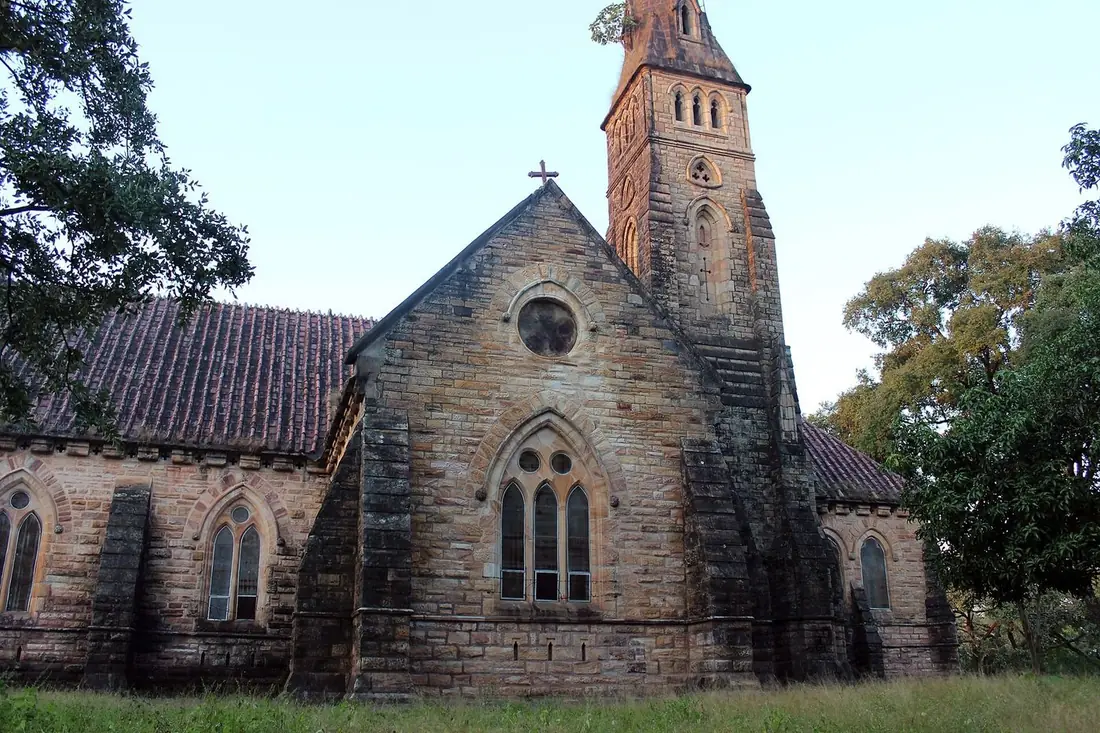
| Pachmarhi | Christ Church | Christ Church | Published guide · Published image |
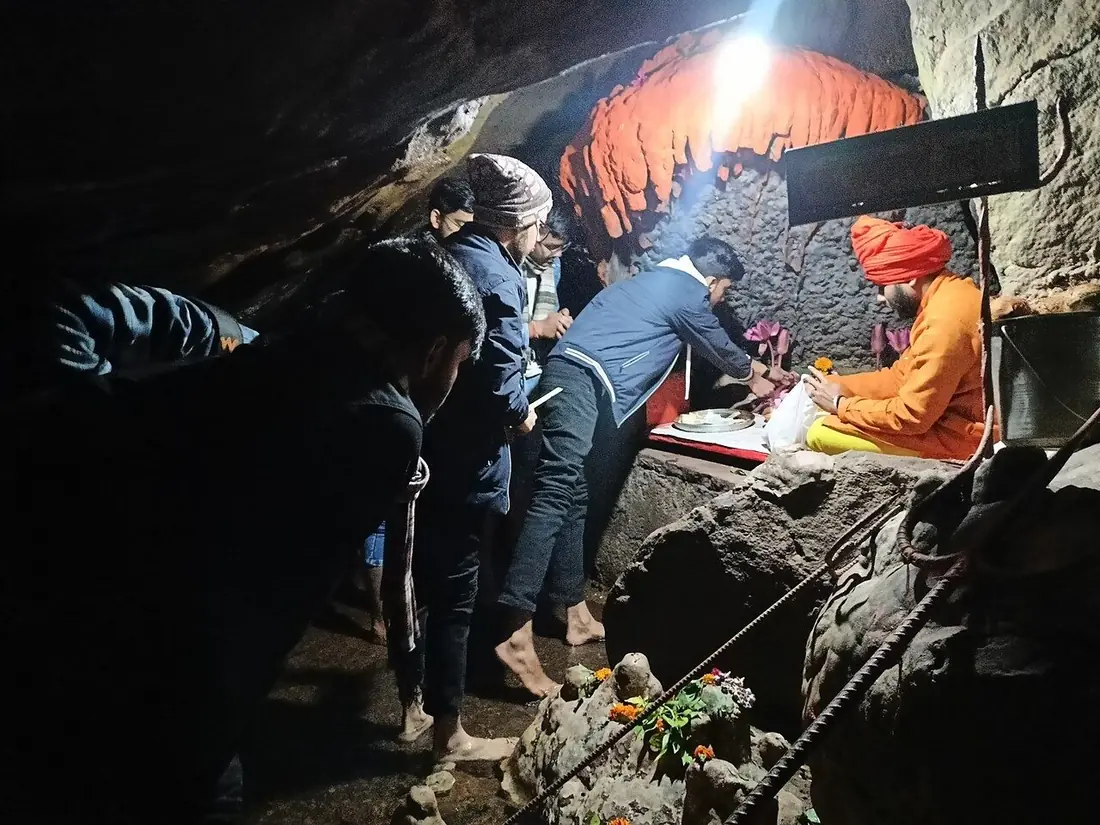
| Pachmarhi | Jata Shankar | Jata Shankar | Published guide · Published image |
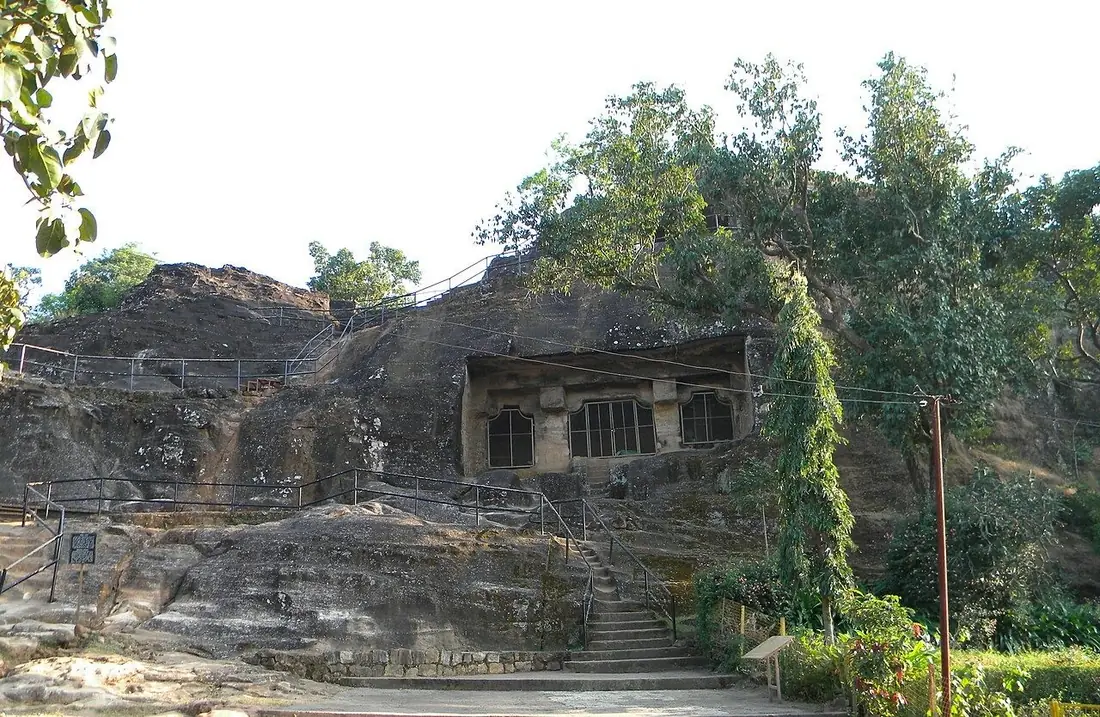
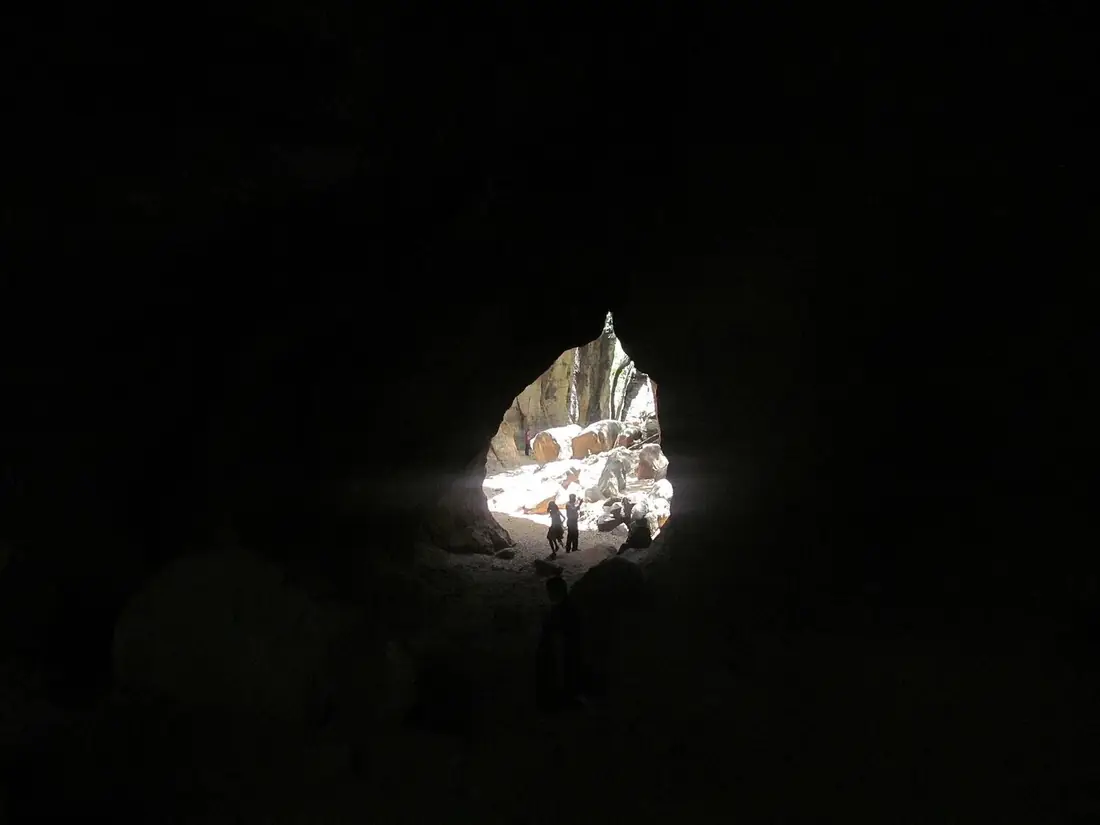
| Pachmarhi | Pandav Caves | Pandav Caves | Published guide · Published image |
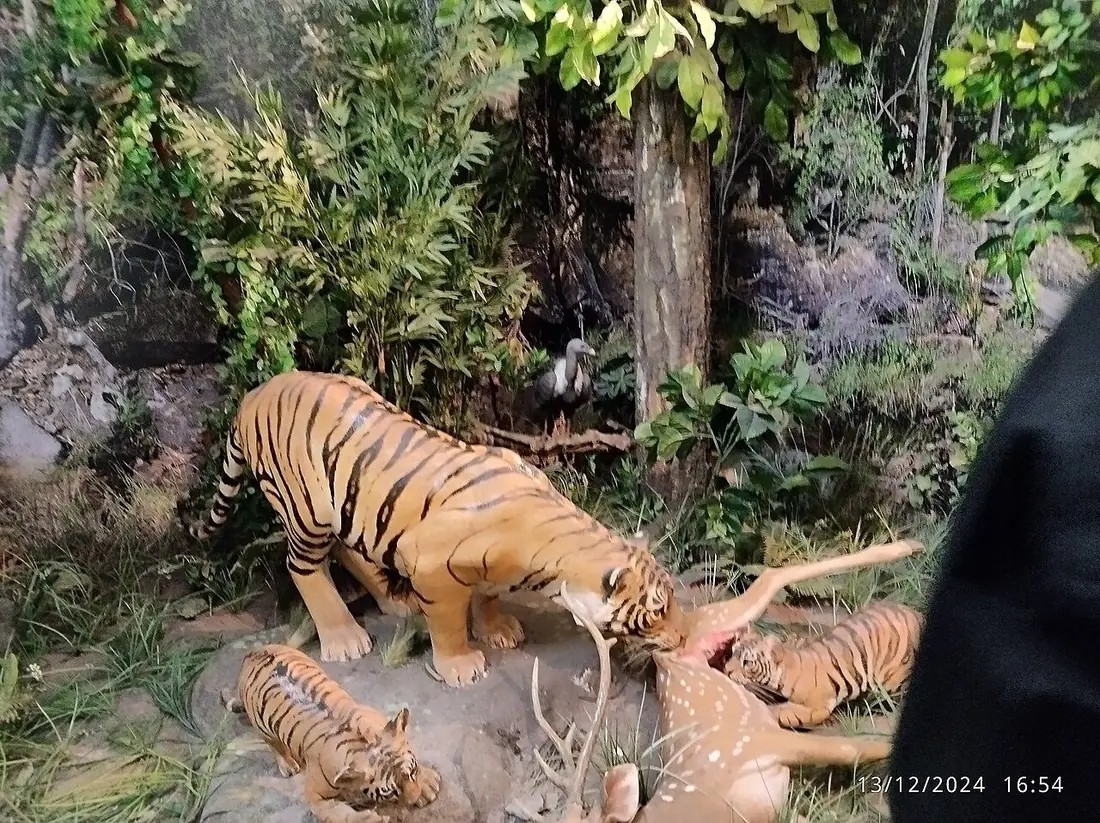
| Pachmarhi | Bison Lodge Museum | Bison Lodge Museum | Published guide · Published image |
| Pachmarhi | Pachmarhi Lake | Pachmarhi Lake | Published guide · Published image |
| Pachmarhi | Apsara Vihar | Apsara Vihar | Published guide · Published image |
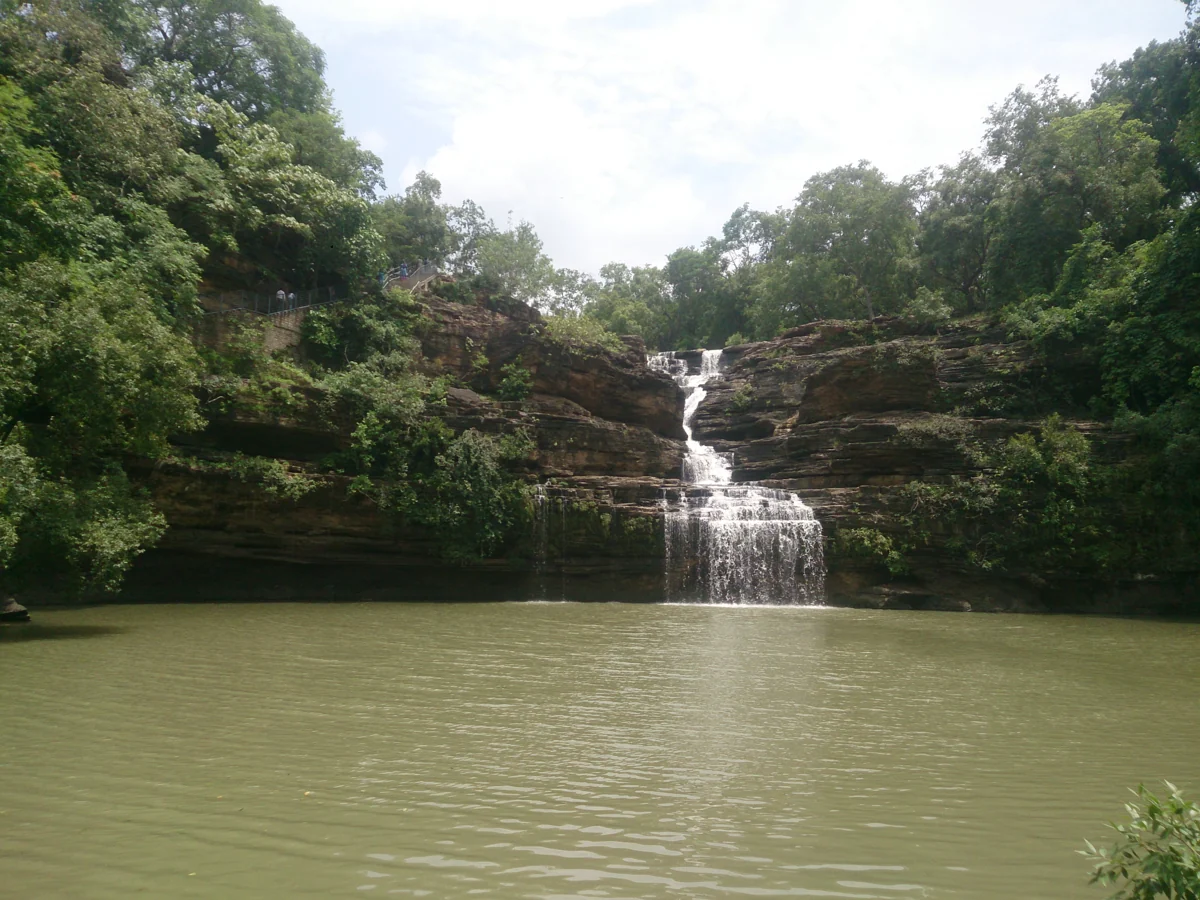
| Pachmarhi | Rajat Prapat also called Silver Fall | Rajat Prapat | Published guide · Published image |
| Pachmarhi | Bee Falls also called Jamuna Prapat | Bee Falls | Published guide · Published image |
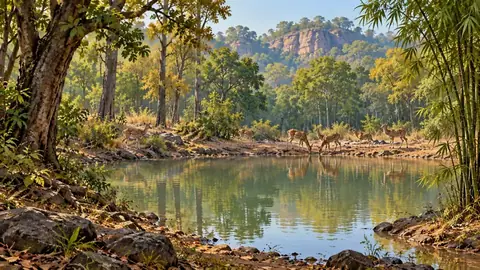
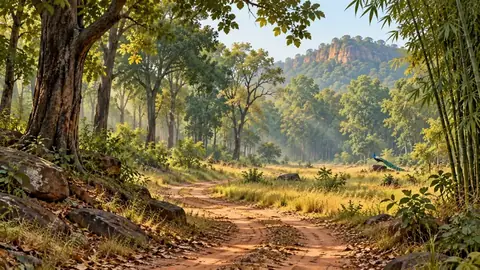
| Pachmarhi | Ramya Kund also called Irene Pool | AI destination landscape reference only. The published guide has no separate photo for this stop. | Published guide |
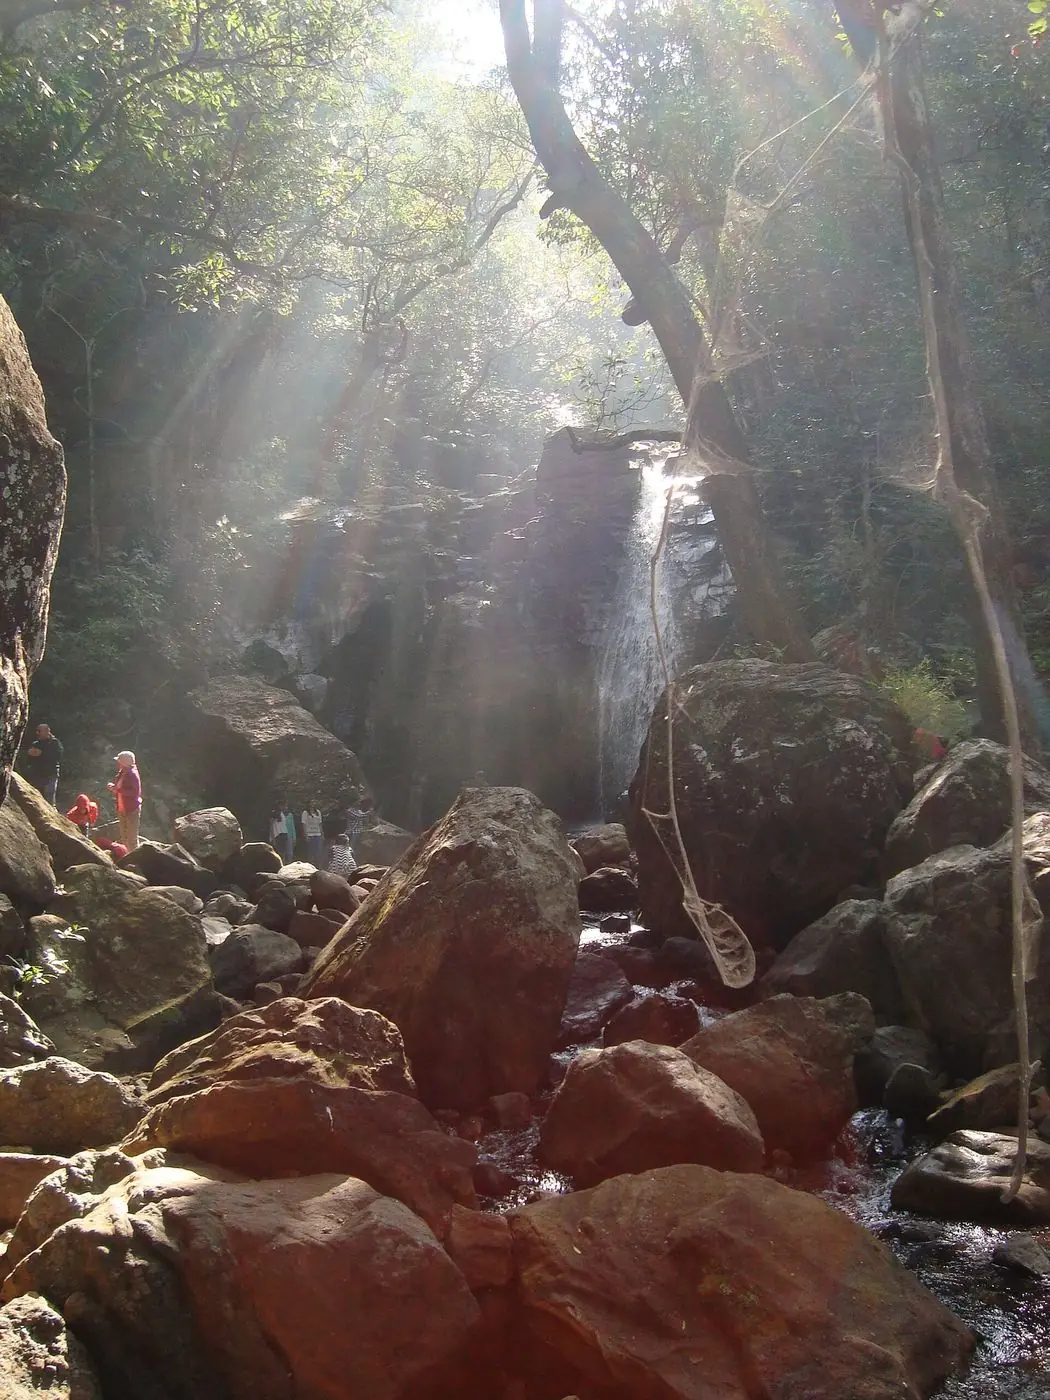
| Pachmarhi | Duchess Falls | Duchess Falls | Published guide · Published image |
| Pachmarhi | Reechgarh | Reechgarh | Published guide · Published image |
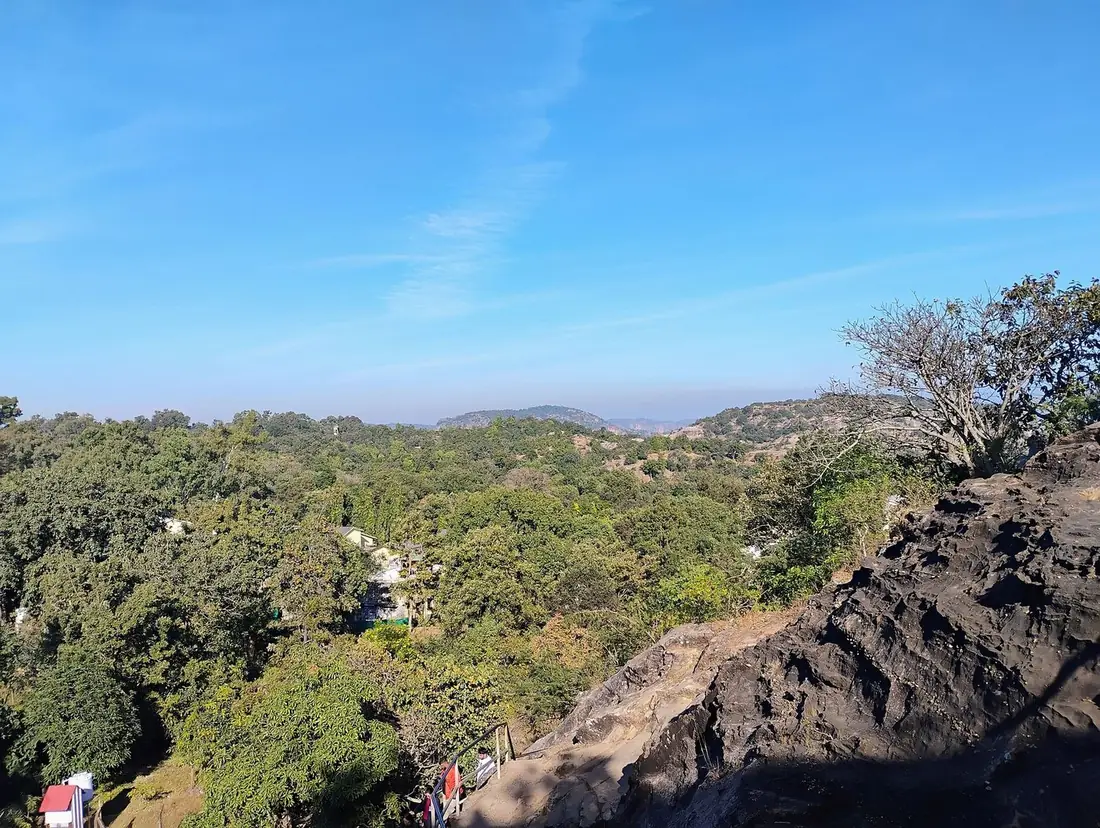
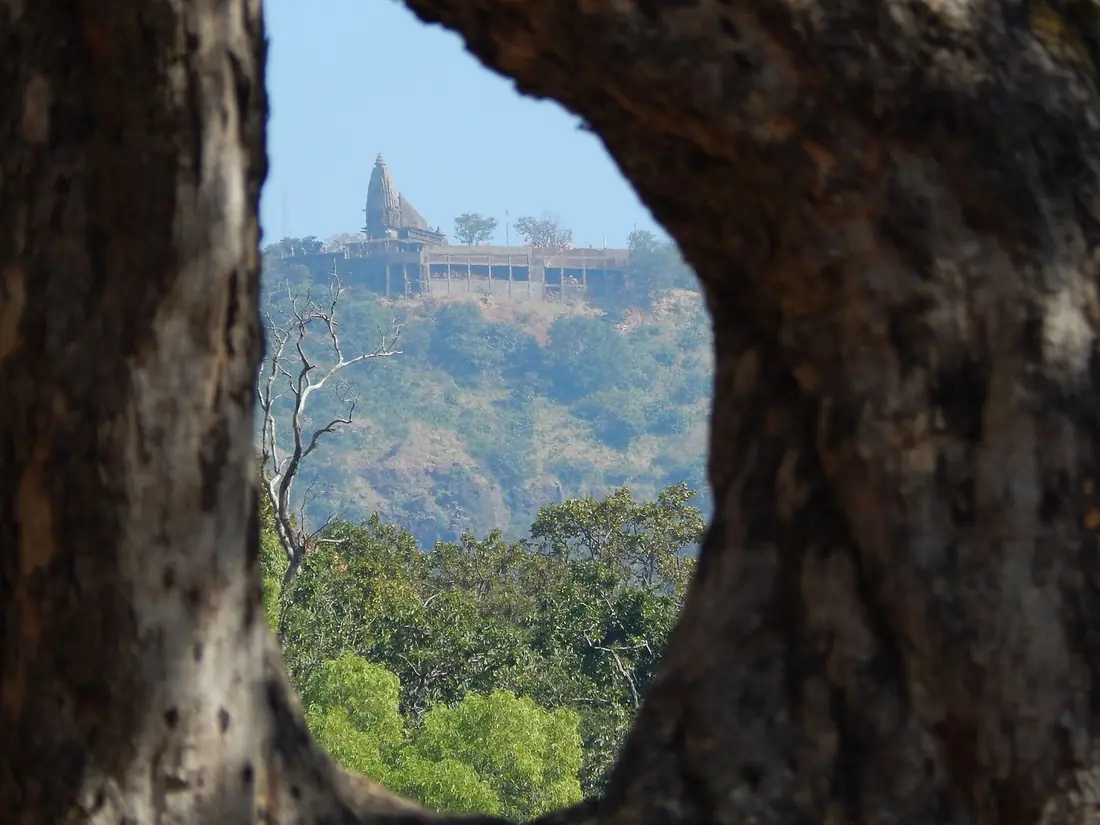
| Pachmarhi | Rajendragiri | Rajendragiri | Published guide · Published image |
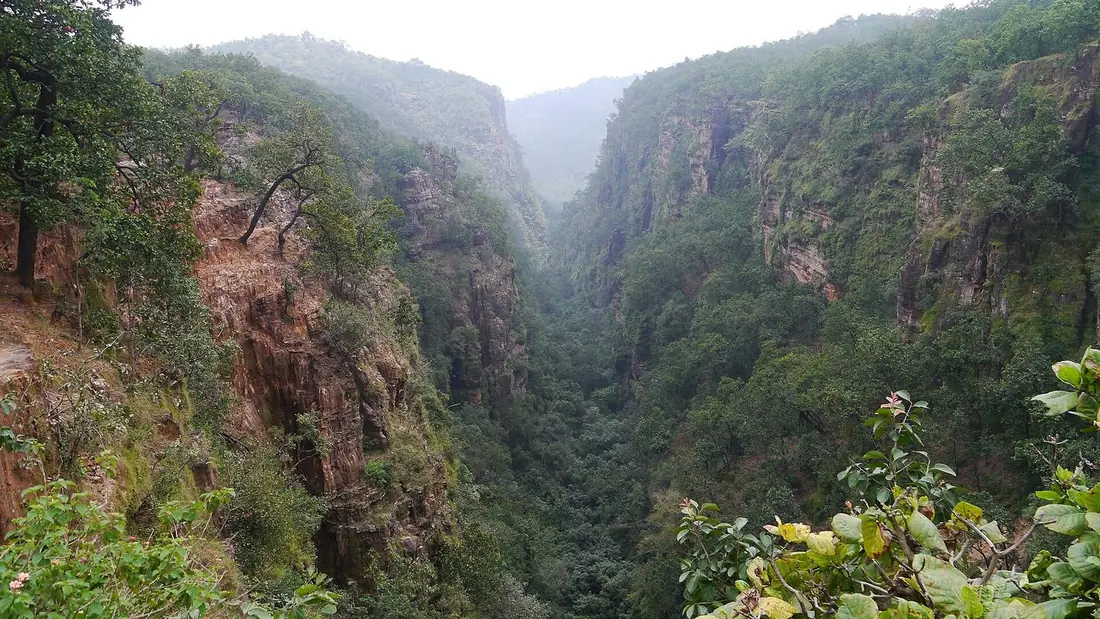
| Pachmarhi | Handi Khoh | Handi Khoh | Published guide · Published image |
| Pachmarhi | Priyadarshini Point also called Forsyth Point | Priyadarshini Point | Published guide · Published image |
| Pachmarhi | Bada Mahadev | AI destination landscape reference only. The published guide has no separate photo for this stop. | Published guide |
| Pachmarhi | Gupt Mahadev | AI destination landscape reference only. The published guide has no separate photo for this stop. | Published guide |
| Pachmarhi | Chauragarh | Chauragarh | Published guide · Published image |
| Pachmarhi | Dhoopgarh | Dhoopgarh | Published guide · Published image |
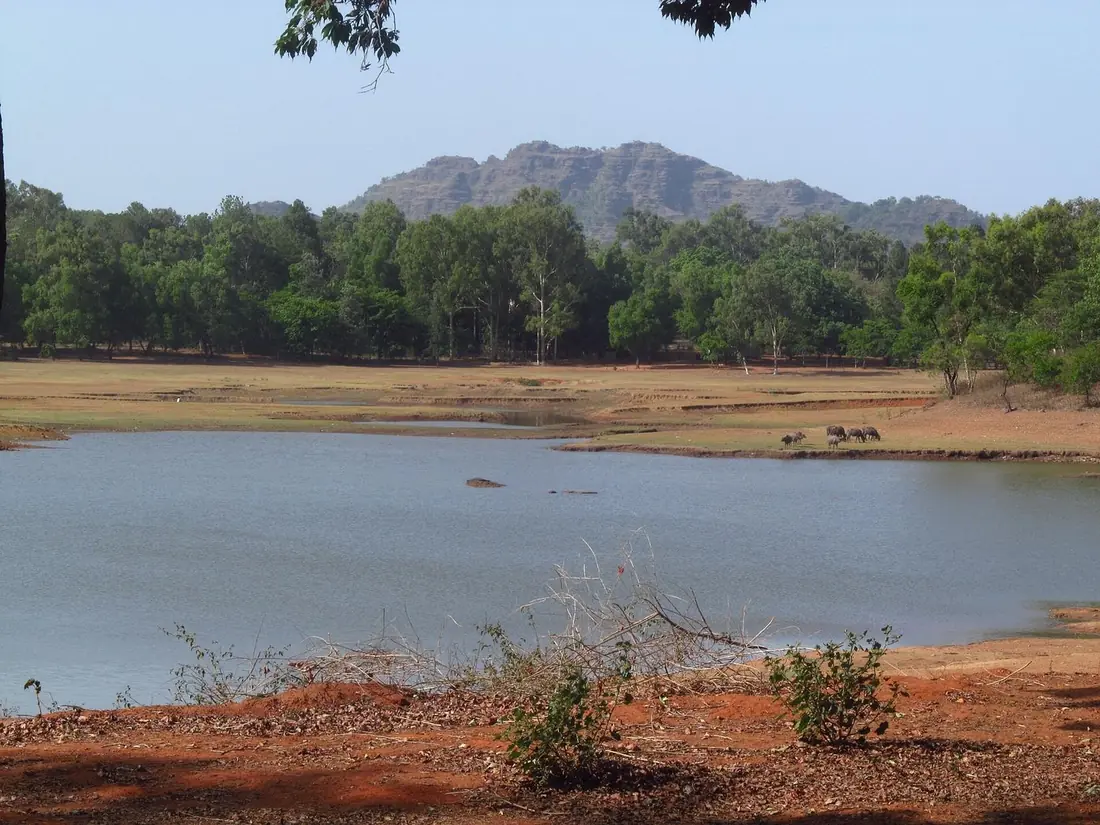
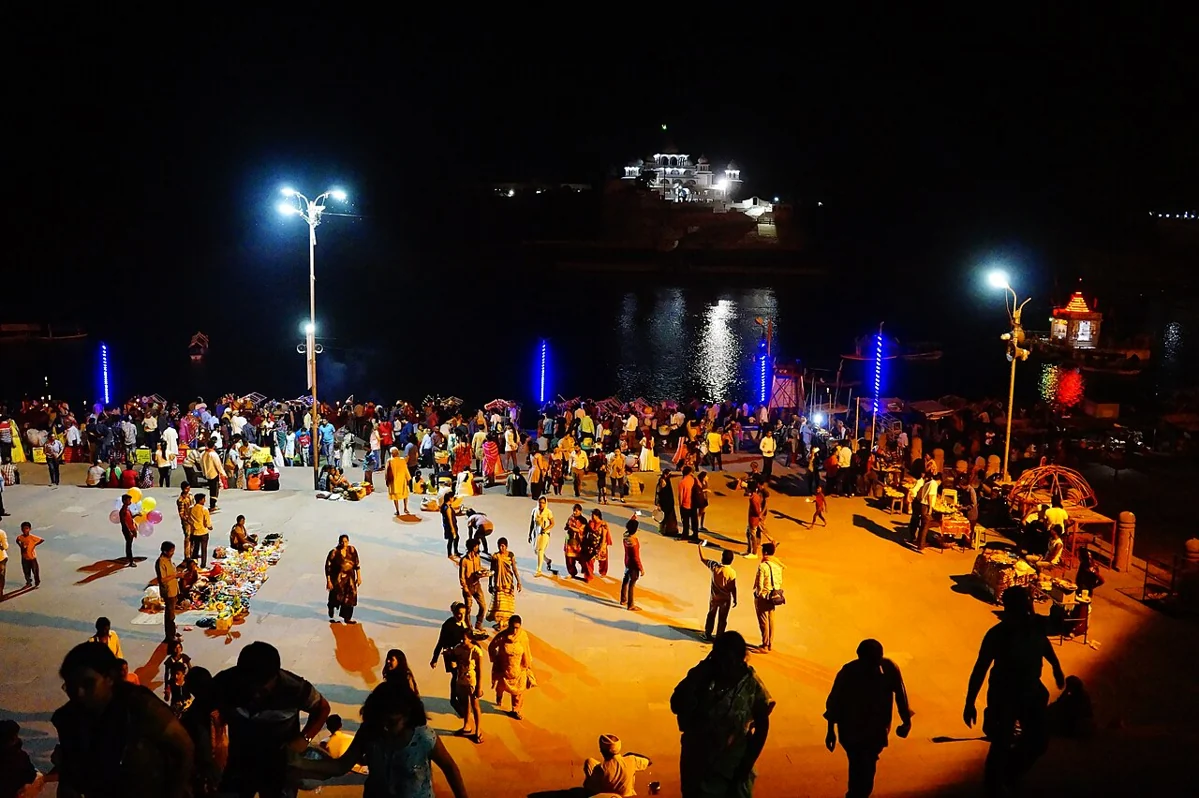
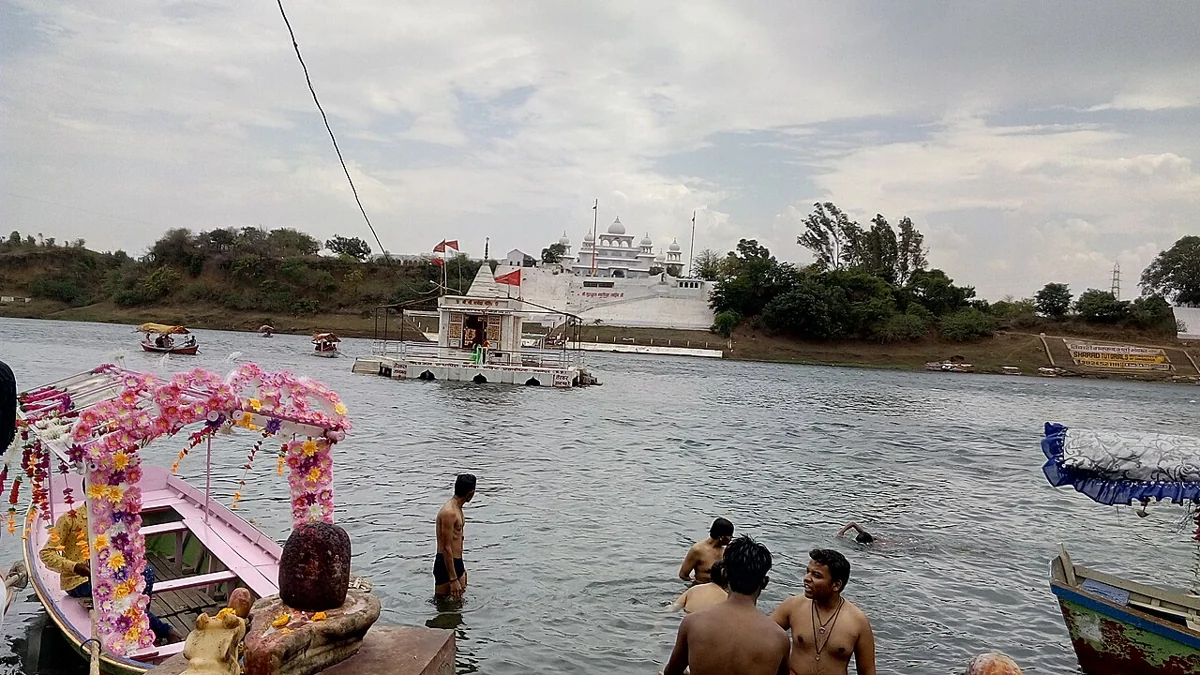
| Satpura · Madhai | Madhai riverfront & river crossing | Denwa river landscape in Satpura · Ritzy jain · CC BY-SA 4.0 · River landscape reference; not a photograph of the boarding jetty. | Published guide · Published image |
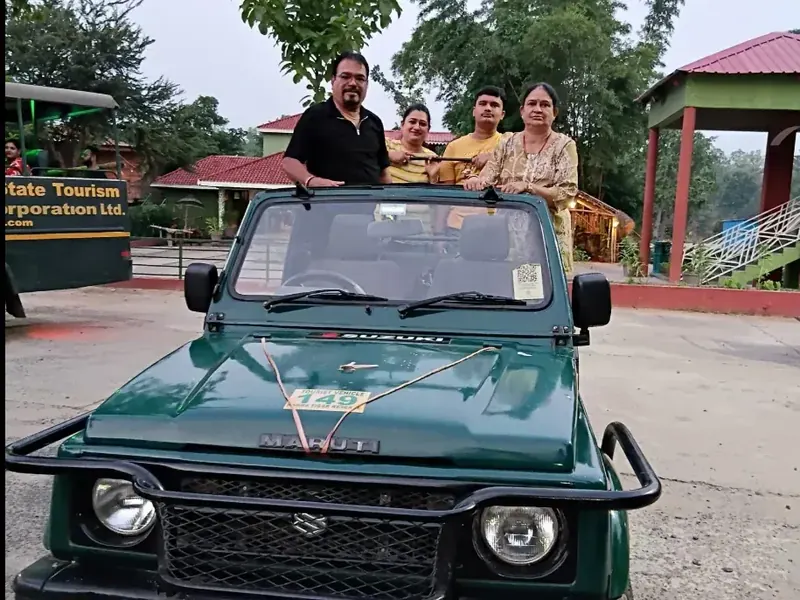
| Satpura · Madhai | Madhai core forest | Our guests ready for a jungle safari · Banjari MP Tours Private Limited. Safari reference; not taken inside the Madhai core. | Published guide · Published image |
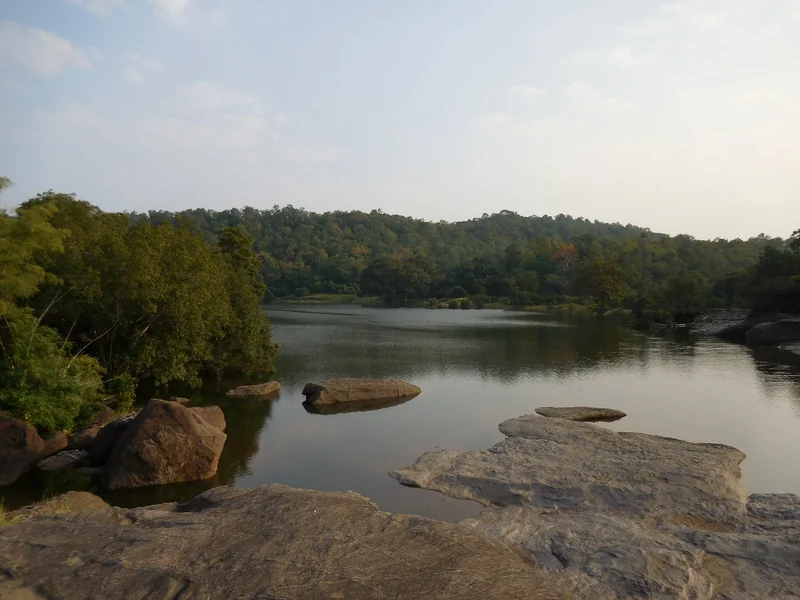
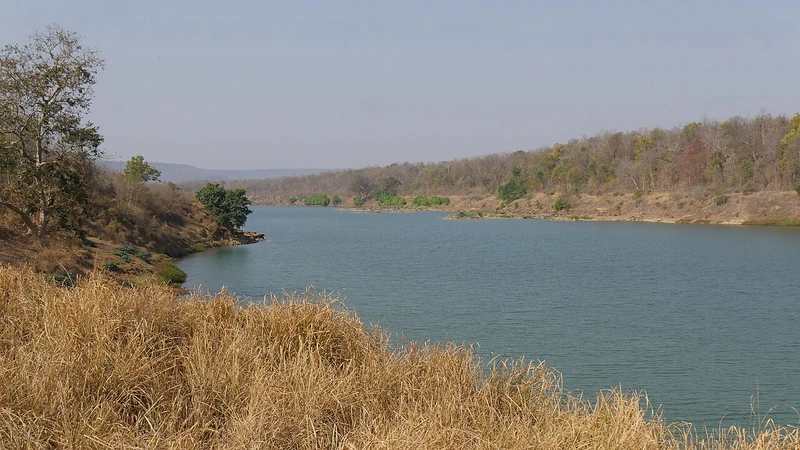
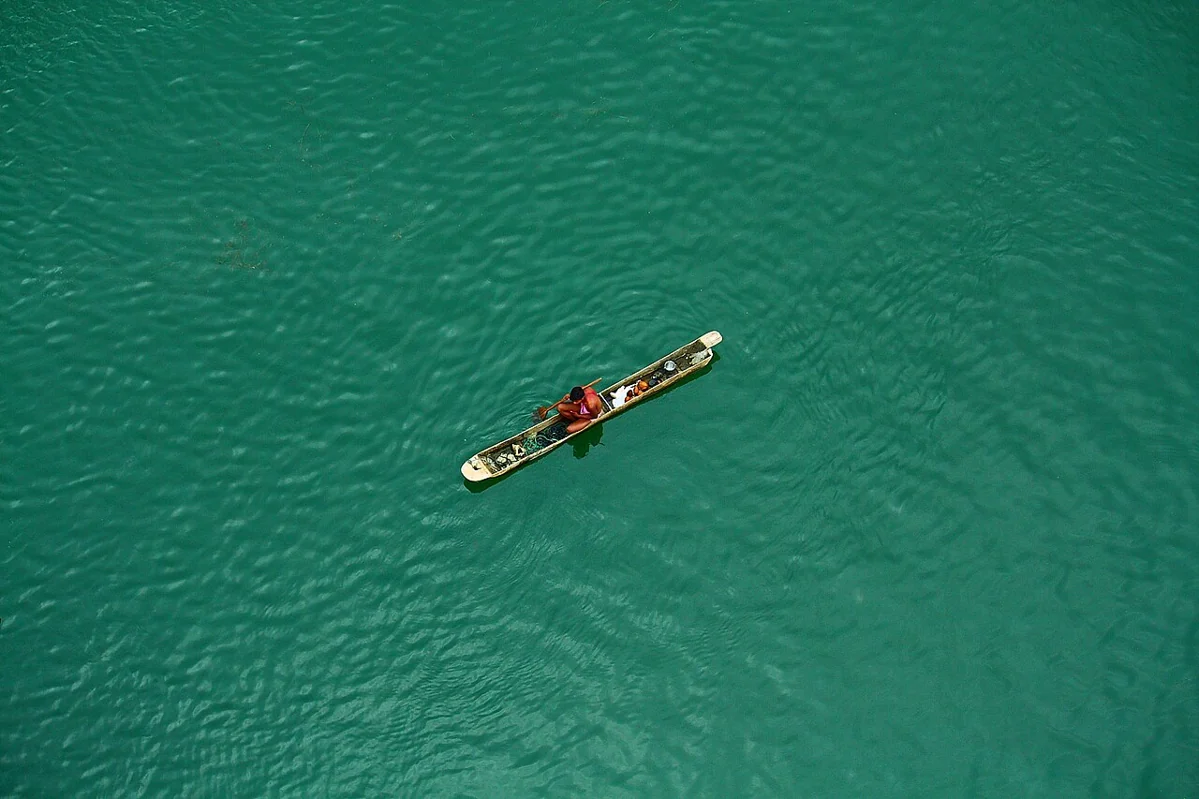
| Satpura · Madhai | Denwa River & backwaters | Denwa River in Satpura · Ritzy jain · CC BY-SA 4.0 | Published guide · Published image |
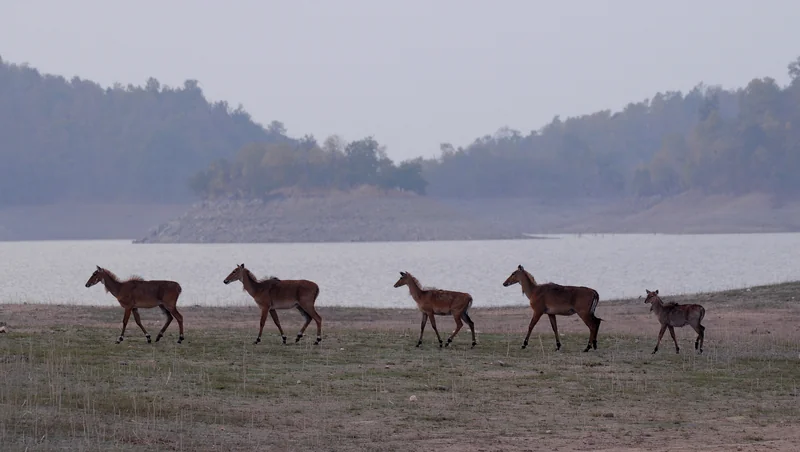
| Satpura · Madhai | Churna forest | Sambar deer photographed in Satpura · BSSKrishnaS · CC BY-SA 4.0 · Satpura wildlife reference; not a photograph of the Churna circuit. | Published guide · Published image |
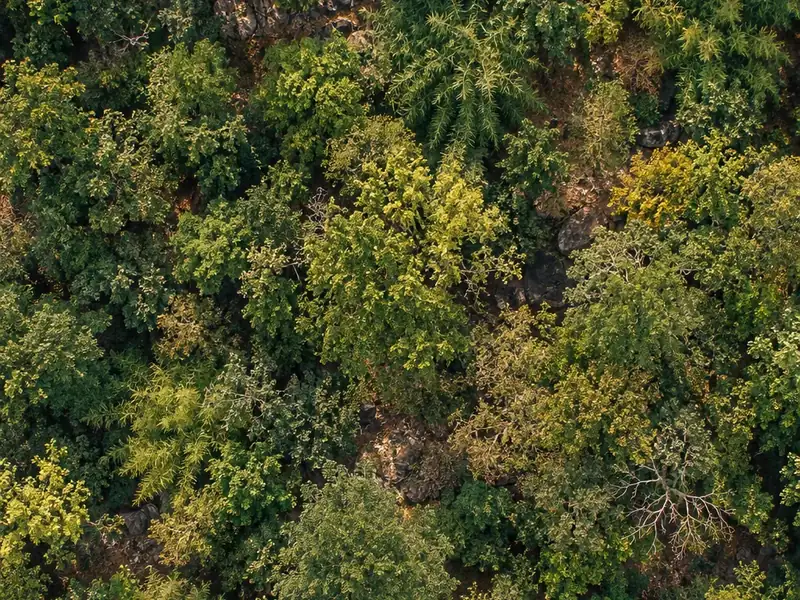
| Satpura · Madhai | Parsapani buffer | Illustration: mixed Satpura forest from above. Artwork, not a photograph of Parsapani. | Published guide · Published image |
| Satpura · Madhai | Jamanidev / Jamani Dev buffer | Denwa river landscape in Satpura · Ritzy jain · CC BY-SA 4.0 · Satpura landscape reference; not a photograph of Jamanidev. | Published guide · Published image |
| Satpura · Madhai | Tawa Reservoir & Dam | AI destination landscape reference only. The published guide has no separate photo for this stop. | Published guide |
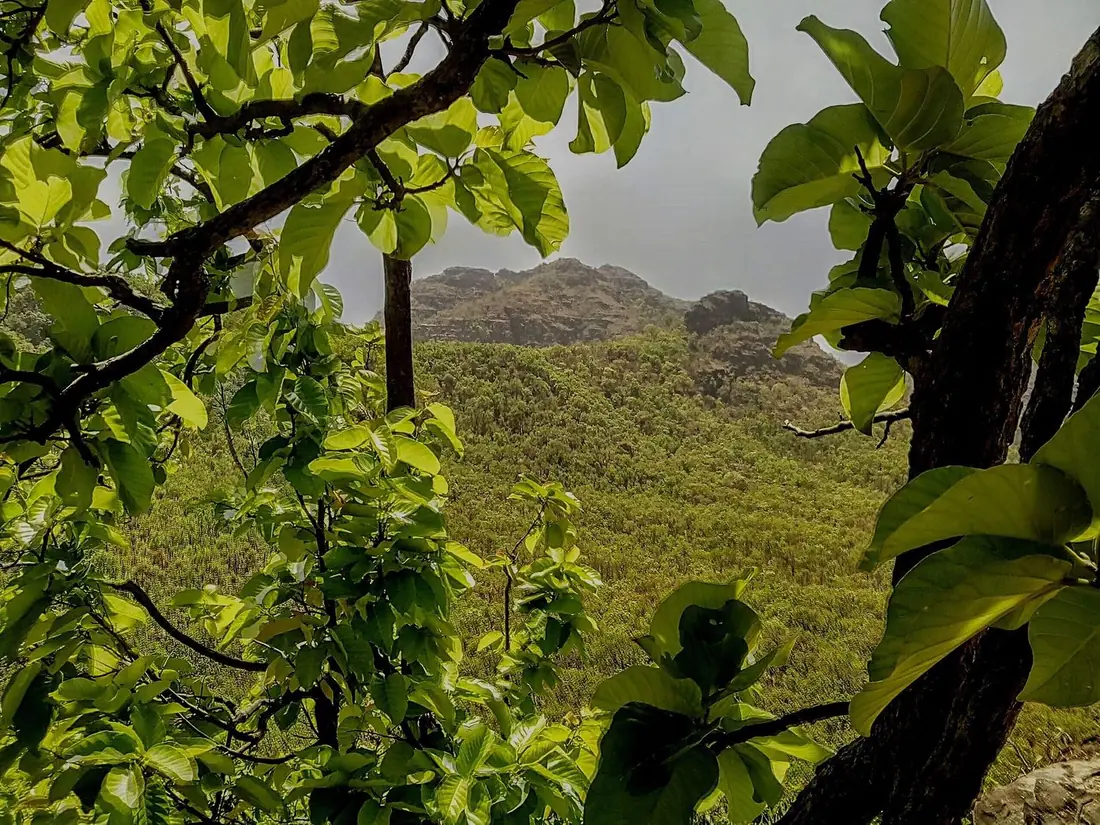
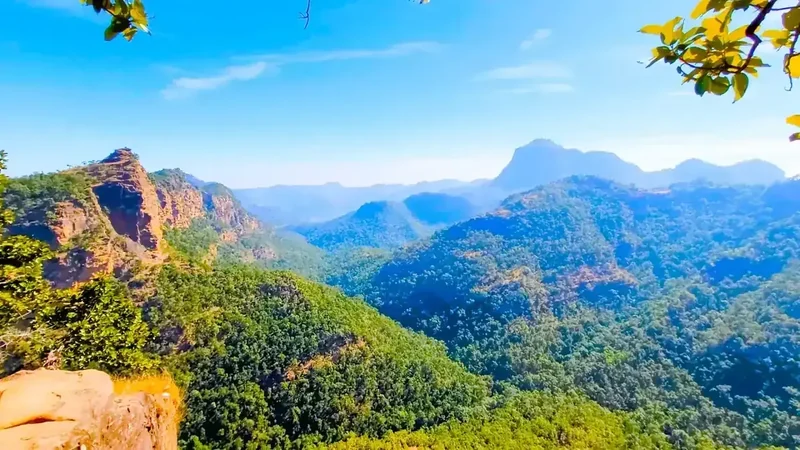
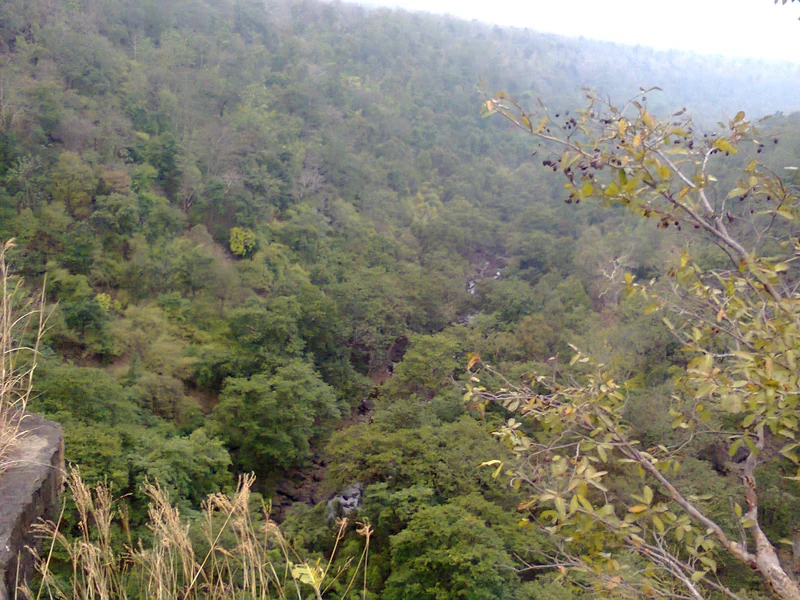
| Satpura · Madhai | Pachmarhi hills | Satpura hills viewed from Pachmarhi · Banjari MP Tours Private Limited | Published guide · Published image |
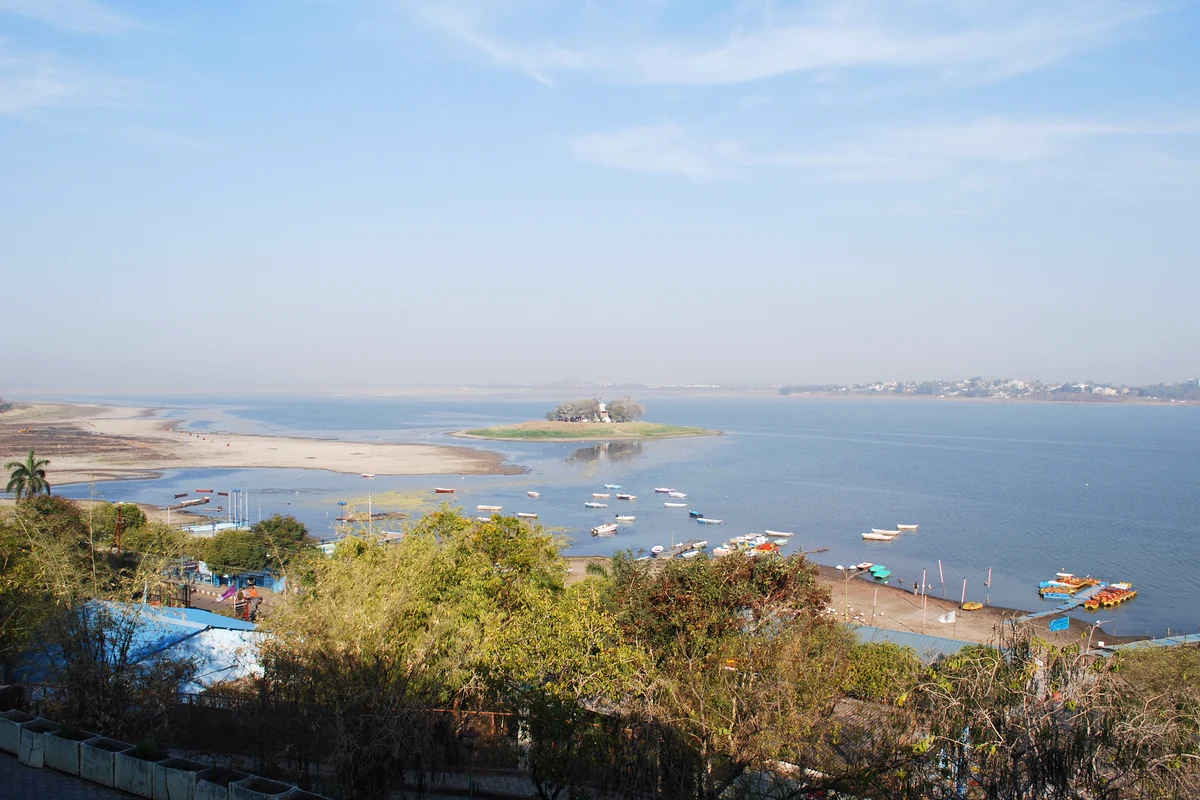
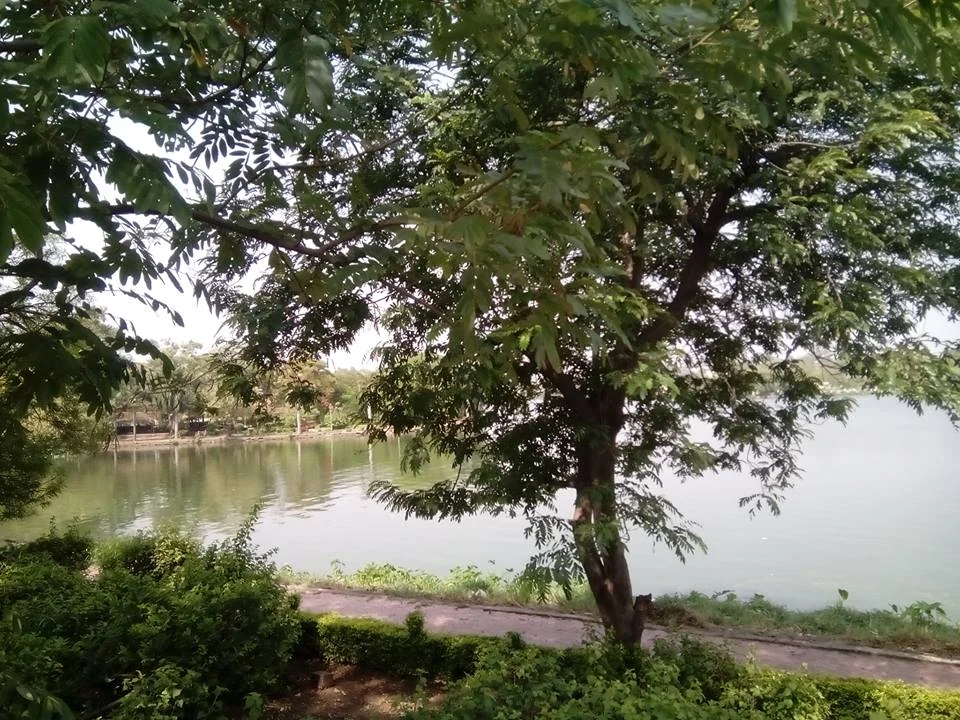
| Bhopal | Van Vihar National Park | Bhojtal viewed from the lakeside setting of Van Vihar National Park. Kuldeep ra1 · CC BY-SA 4.0 ↗ Kuldeep ra1 · CC BY-SA 4.0 ↗ | Published guide · Published image |
| Bhopal | Bhojtal / Upper Lake | Sanyam Bahga · CC BY-SA 3.0 ↗ Sanyam Bahga · CC BY-SA 3.0 ↗ | Published guide · Published image |
| Bhopal | Madhya Pradesh Tribal Museum | An exhibit interior at Madhya Pradesh Tribal Museum. Ardour art · CC BY-SA 4.0 ↗ Ardour art · CC BY-SA 4.0 ↗ | Published guide · Published image |
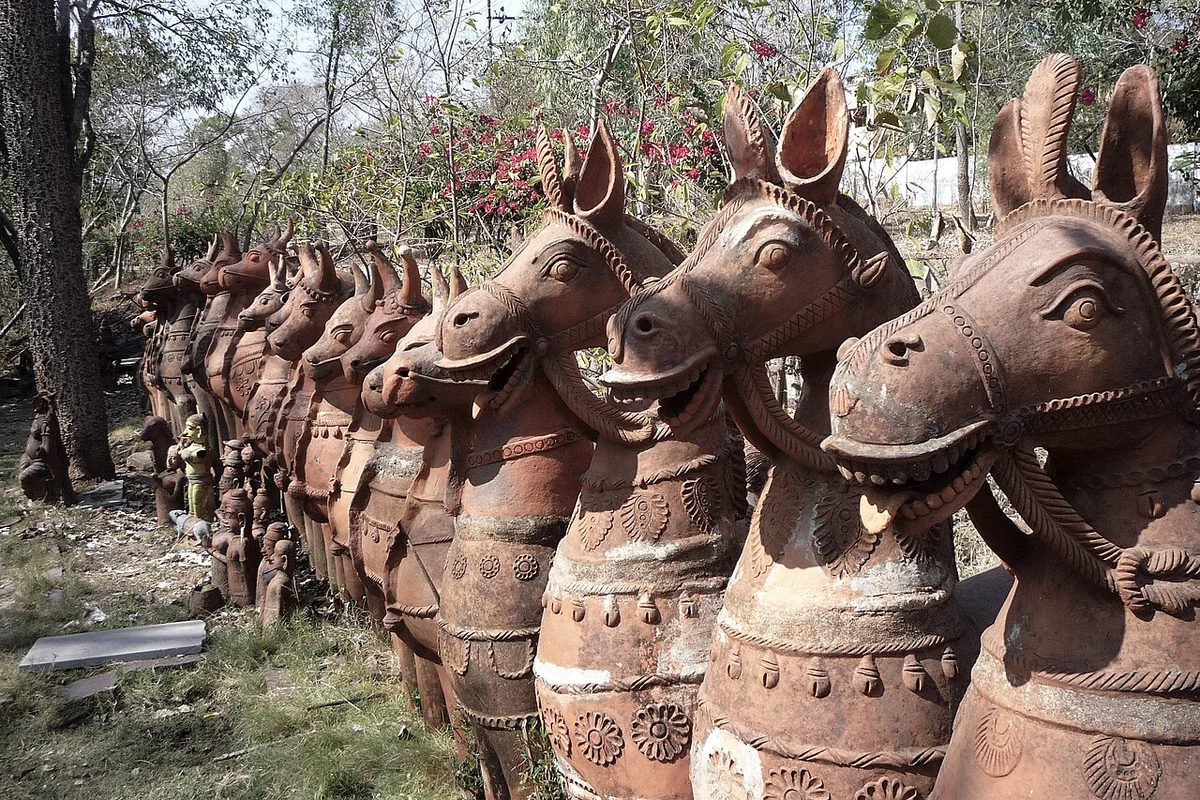
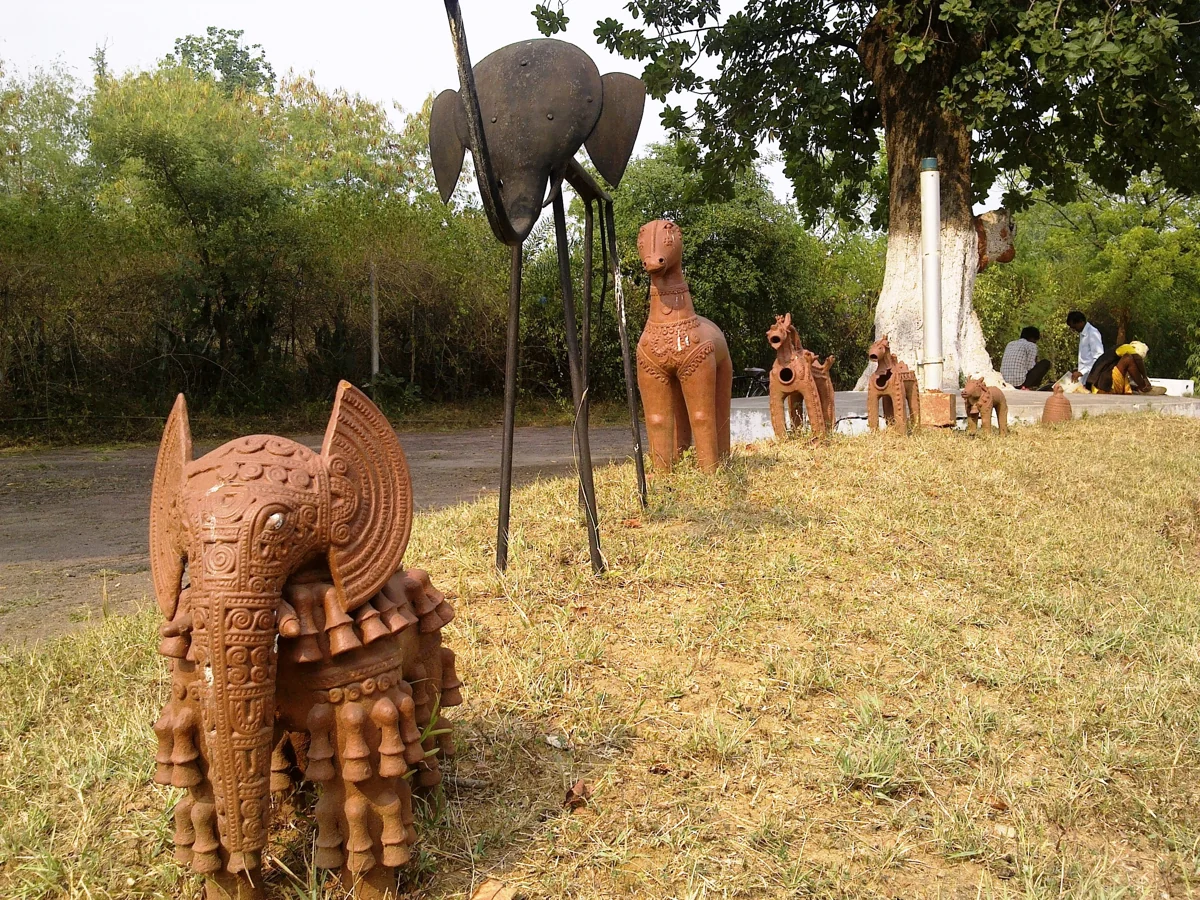
| Bhopal | Indira Gandhi Rashtriya Manav Sangrahalaya | Terracotta figures in the Museum of Mankind collection. J P Dutt · CC BY-SA 4.0 ↗ J P Dutt · CC BY-SA 4.0 ↗ | Published guide · Published image |
| Bhopal | Bharat Bhavan | Suyash Dwivedi · CC BY-SA 4.0 ↗ Suyash Dwivedi · CC BY-SA 4.0 ↗ | Published guide · Published image |
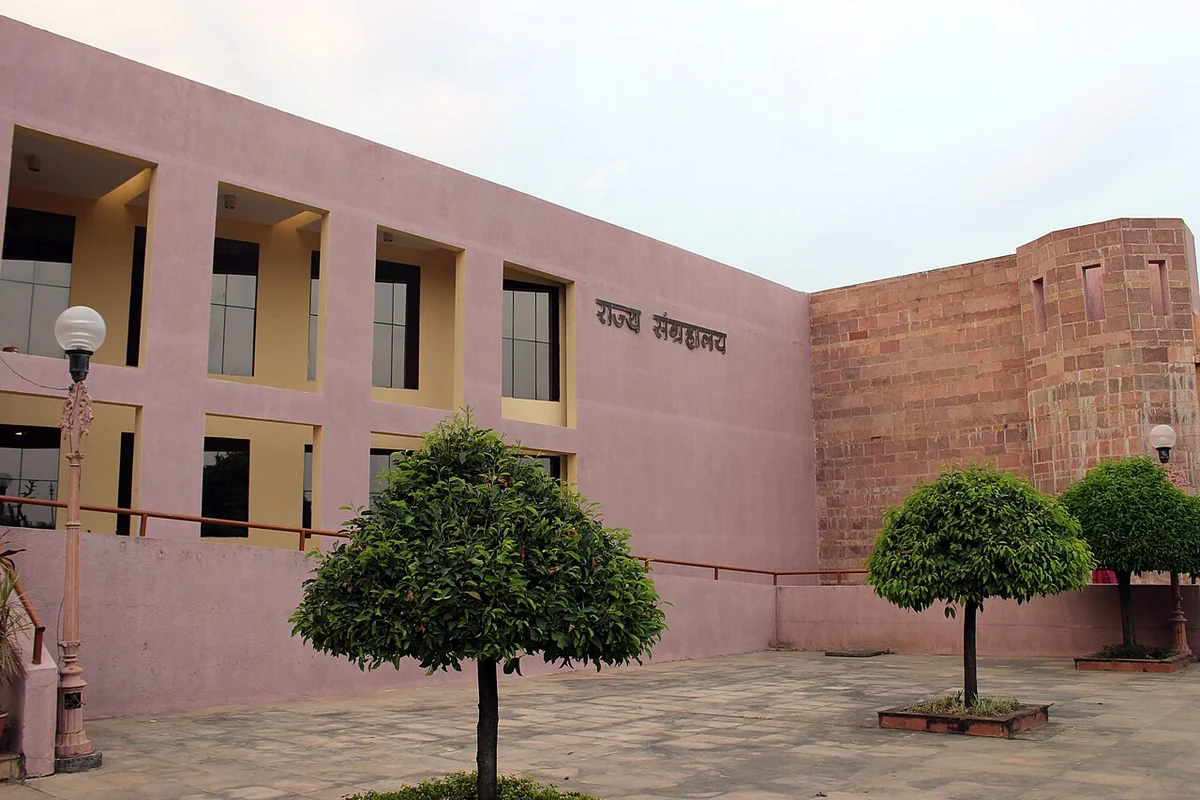
| Bhopal | State Museum, Bhopal | Suyash Dwivedi · CC BY-SA 4.0 ↗ Suyash Dwivedi · CC BY-SA 4.0 ↗ | Published guide · Published image |
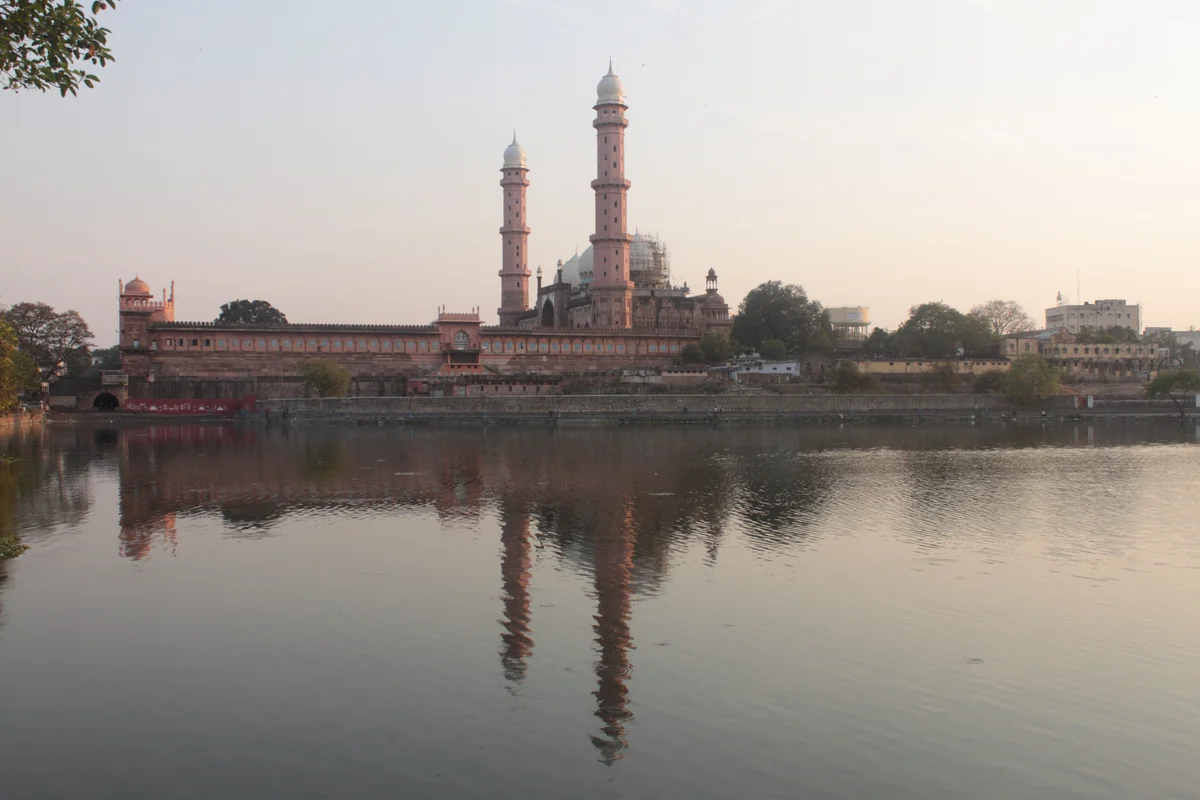
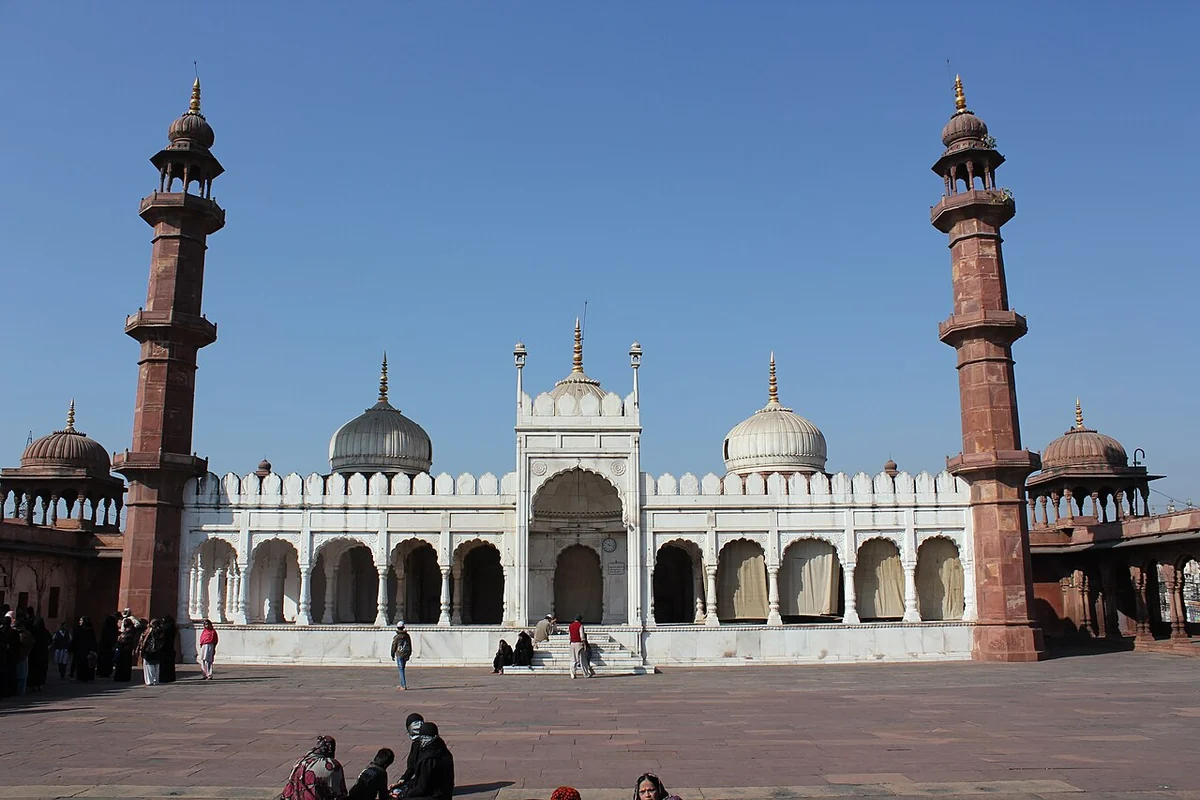
| Bhopal | Taj-ul-Masajid | Sutanu Mandal · CC BY-SA 4.0 ↗ Sutanu Mandal · CC BY-SA 4.0 ↗ | Published guide · Published image |
| Bhopal | Moti Masjid | Arian Zwegers from Brussels, Belgium · CC BY 2.0 ↗ Arian Zwegers from Brussels, Belgium · CC BY 2.0 ↗ | Published guide · Published image |
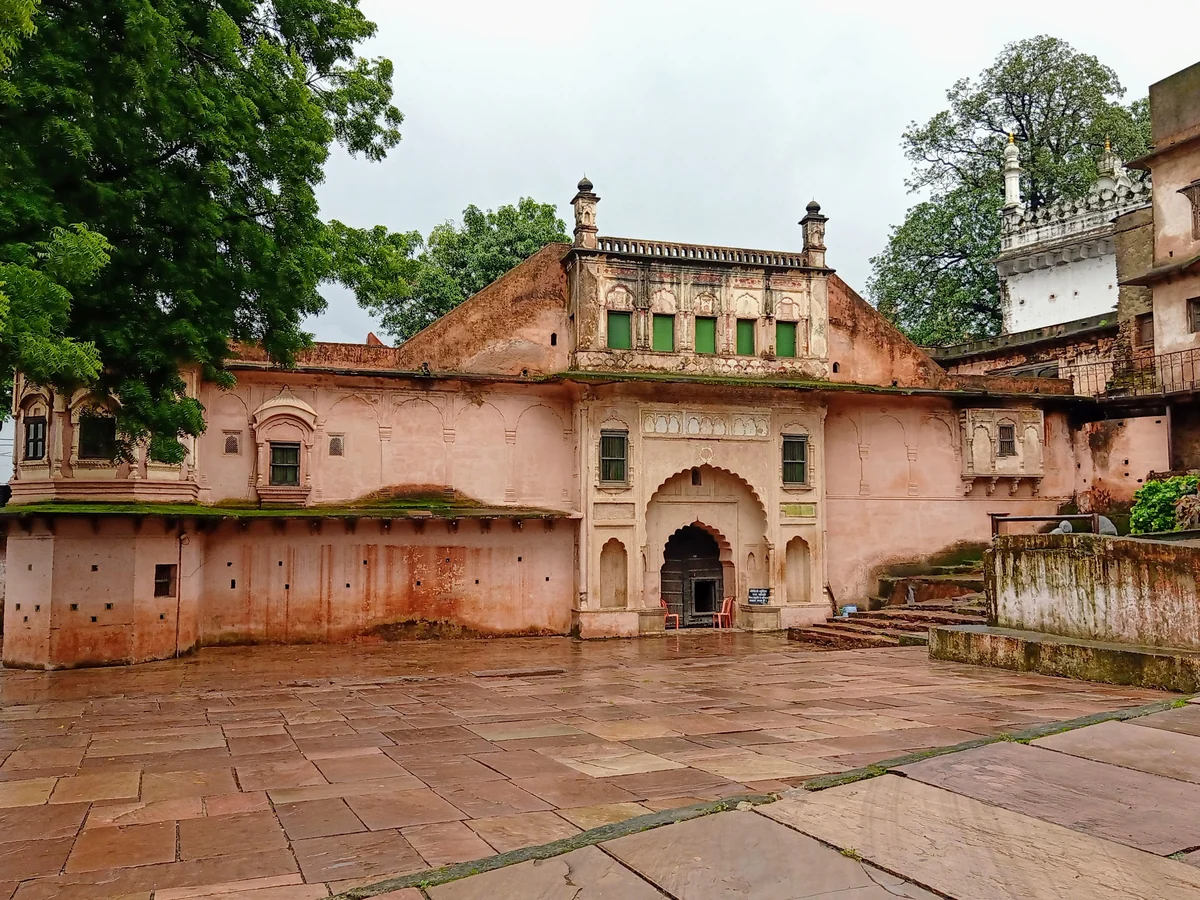
| Bhopal | Gohar Mahal | Suyash Dwivedi · CC BY-SA 4.0 ↗ Suyash Dwivedi · CC BY-SA 4.0 ↗ | Published guide · Published image |
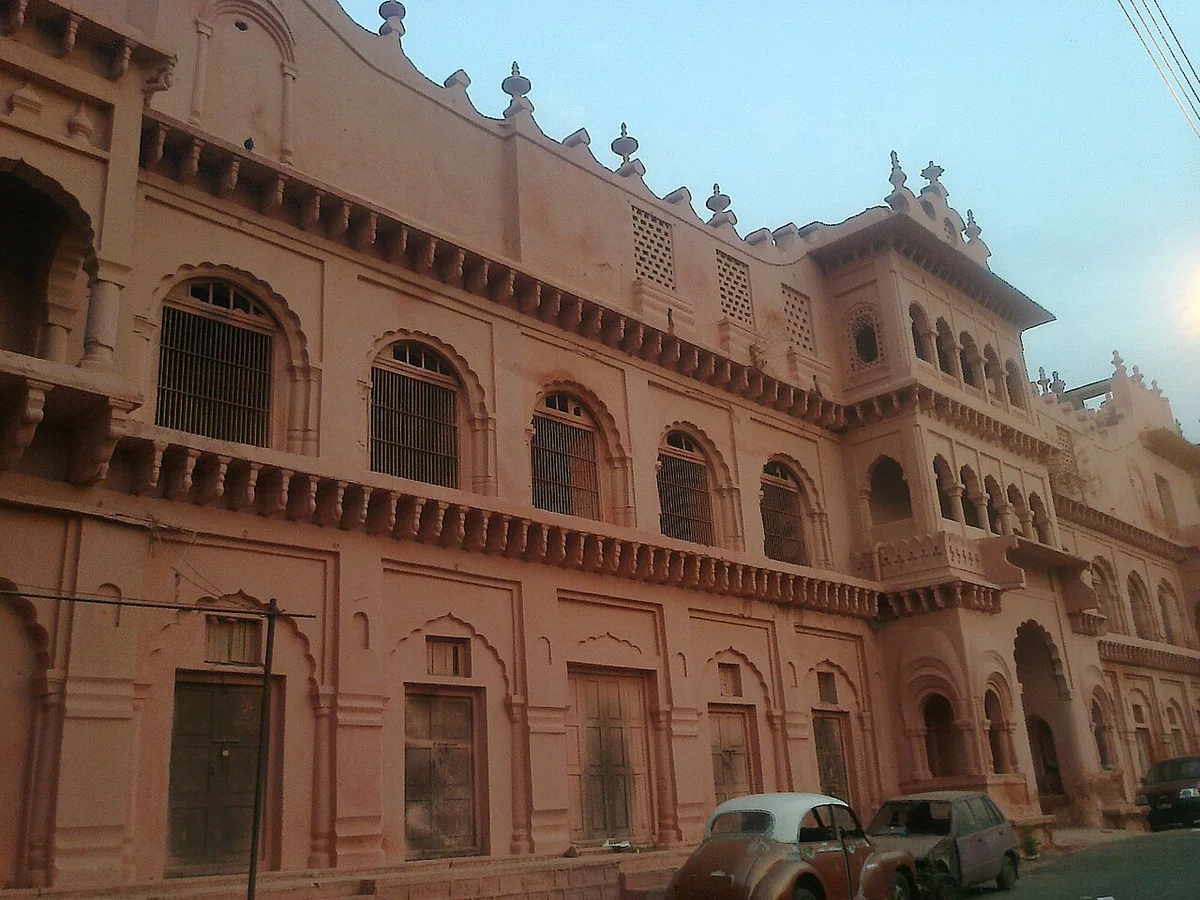
| Bhopal | Sadar Manzil | Heroo9211 · CC BY-SA 3.0 ↗ Heroo9211 · CC BY-SA 3.0 ↗ | Published guide · Published image |
| Bhopal | Lower Lake / Chhota Talab | Richi Simon · CC BY-SA 4.0 ↗ Richi Simon · CC BY-SA 4.0 ↗ | Published guide · Published image |
| Bhopal | Birla Mandir / Lakshmi Narayan Temple | Bernard Gagnon · GFDL CC BY-SA 3.0 ↗ Bernard Gagnon · GFDL CC BY-SA 3.0 ↗ | Published guide · Published image |
| Bhopal | Shaurya Smarak | Nitin1485 · CC BY-SA 4.0 ↗ Nitin1485 · CC BY-SA 4.0 ↗ | Published guide · Published image |
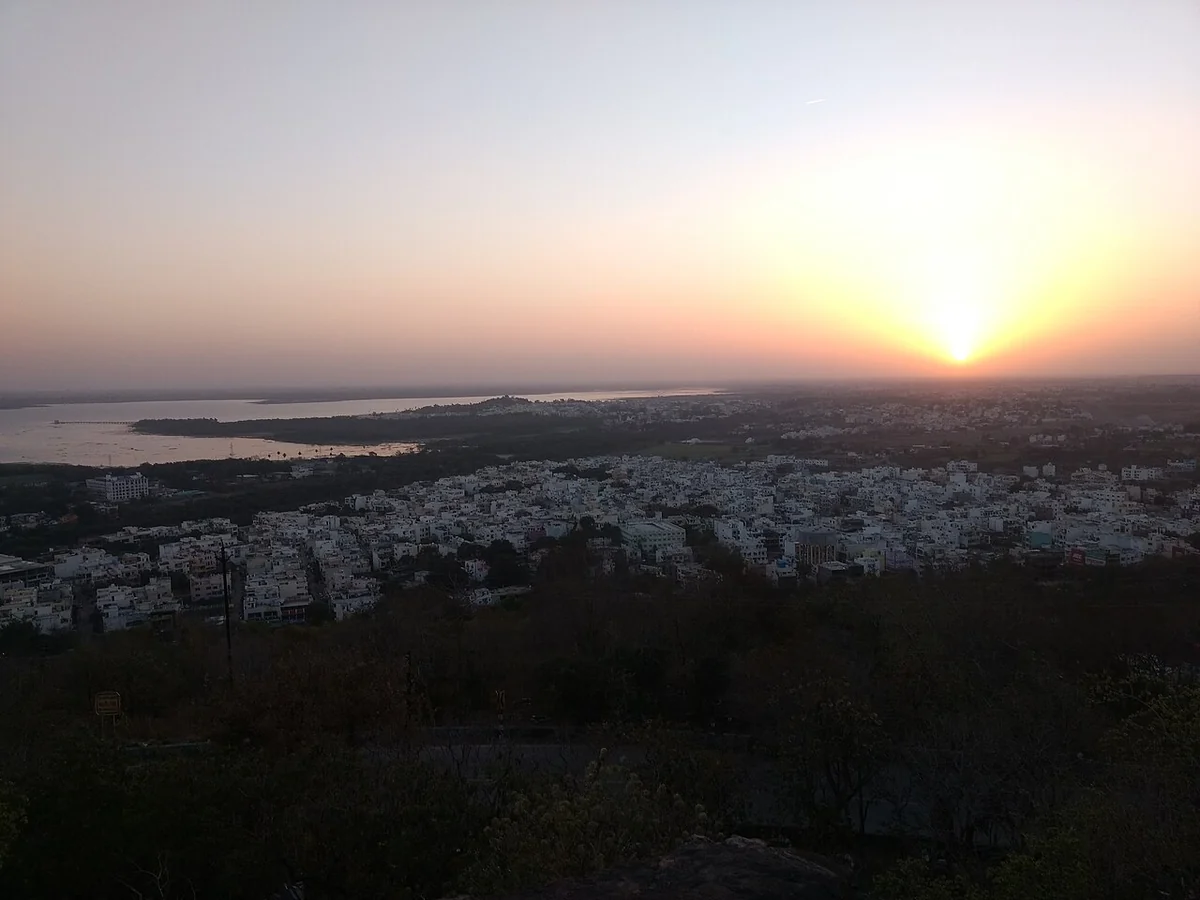
| Bhopal | Manuabhan Tekri | The view at sunset from Manuabhan Tekri. Waqasmanit · CC BY-SA 4.0 ↗ Waqasmanit · CC BY-SA 4.0 ↗ | Published guide · Published image |
| Bhopal | Sair Sapata | Vivek988 · CC BY 4.0 ↗ Vivek988 · CC BY 4.0 ↗ | Published guide · Published image |
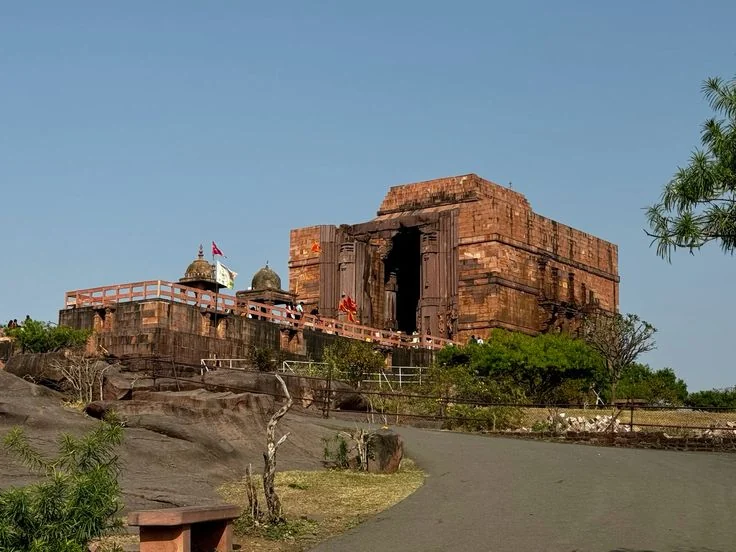
| Bhopal | Bhojpur Bhojeshwar Temple | SpeakingArch · CC BY-SA 4.0 ↗ SpeakingArch · CC BY-SA 4.0 ↗ | Published guide · Published image |
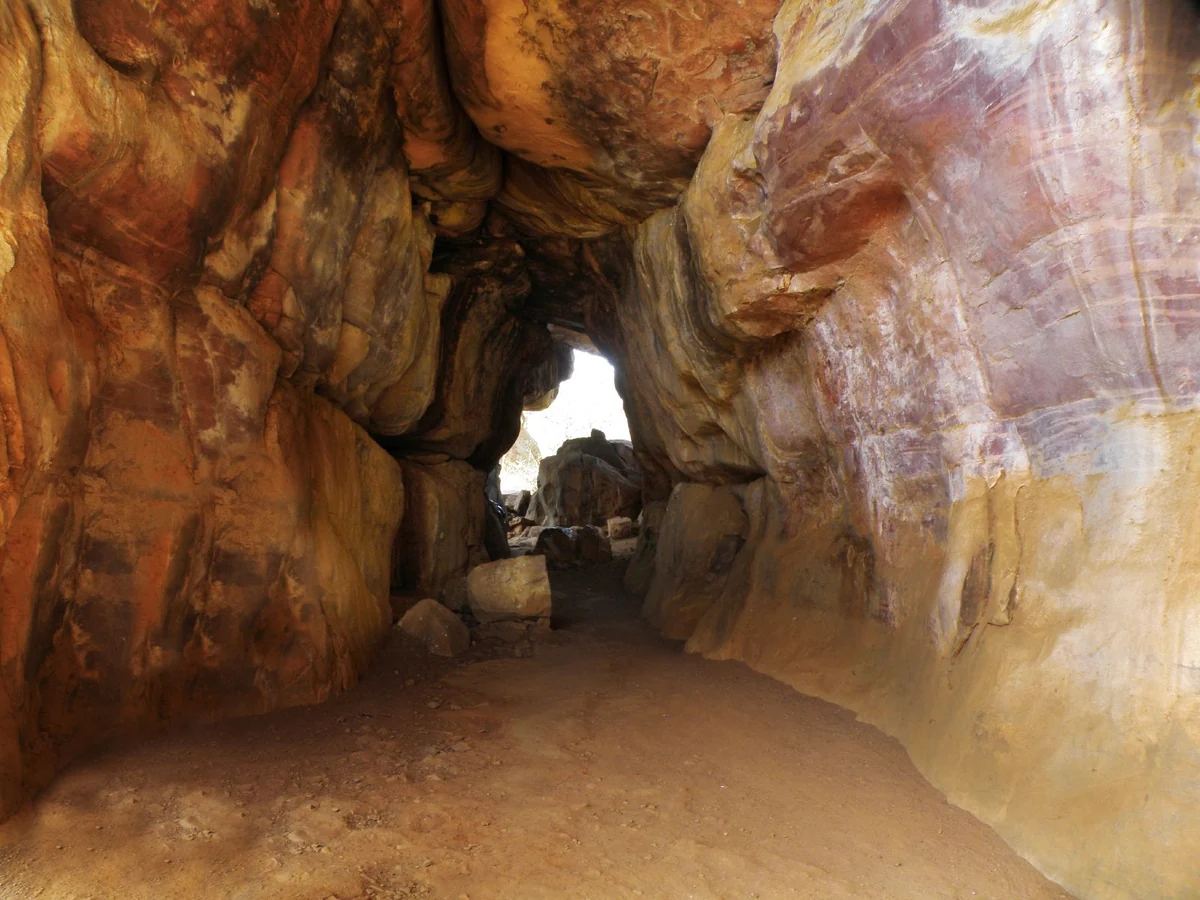
| Bhopal | Bhimbetka Rock Shelters | Raveesh Vyas · CC BY-SA 2.0 ↗ Raveesh Vyas · CC BY-SA 2.0 ↗ | Published guide · Published image |
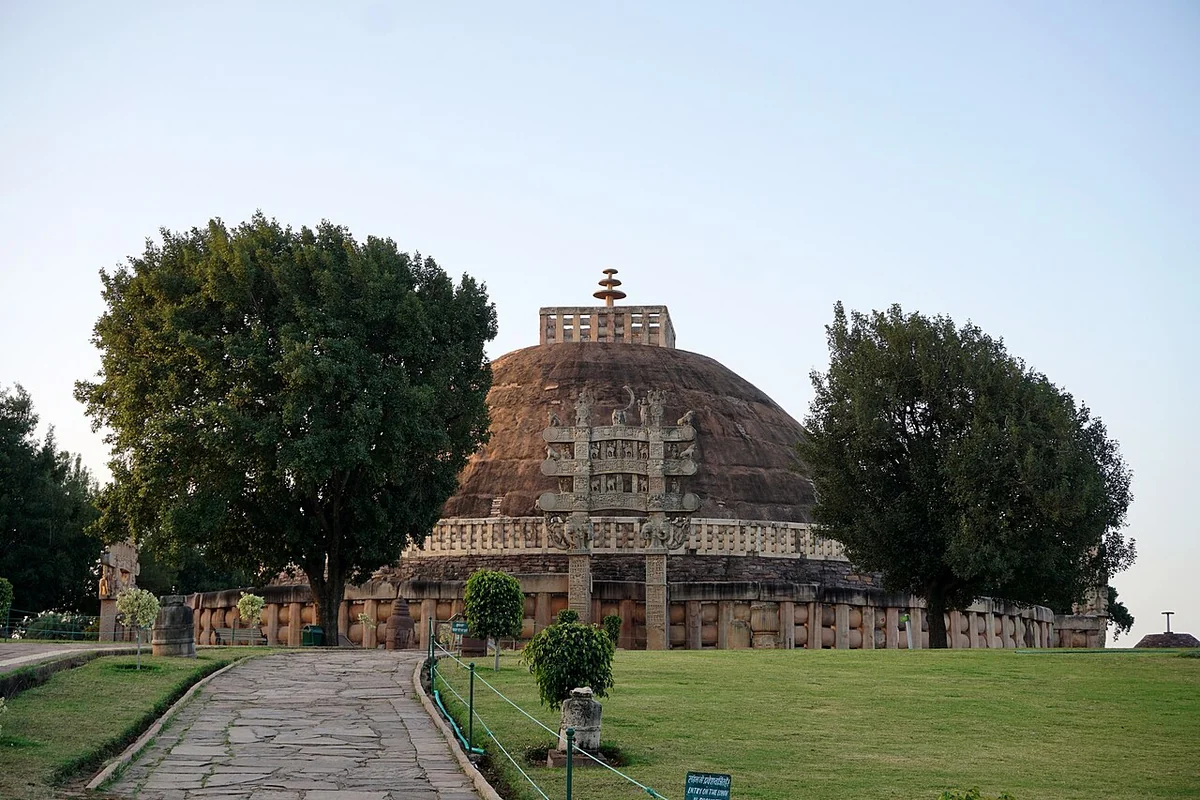
| Bhopal | Sanchi Buddhist Monuments | Photo Dharma from Sadao, Thailand · CC BY 2.0 ↗ Photo Dharma from Sadao, Thailand · CC BY 2.0 ↗ | Published guide · Published image |
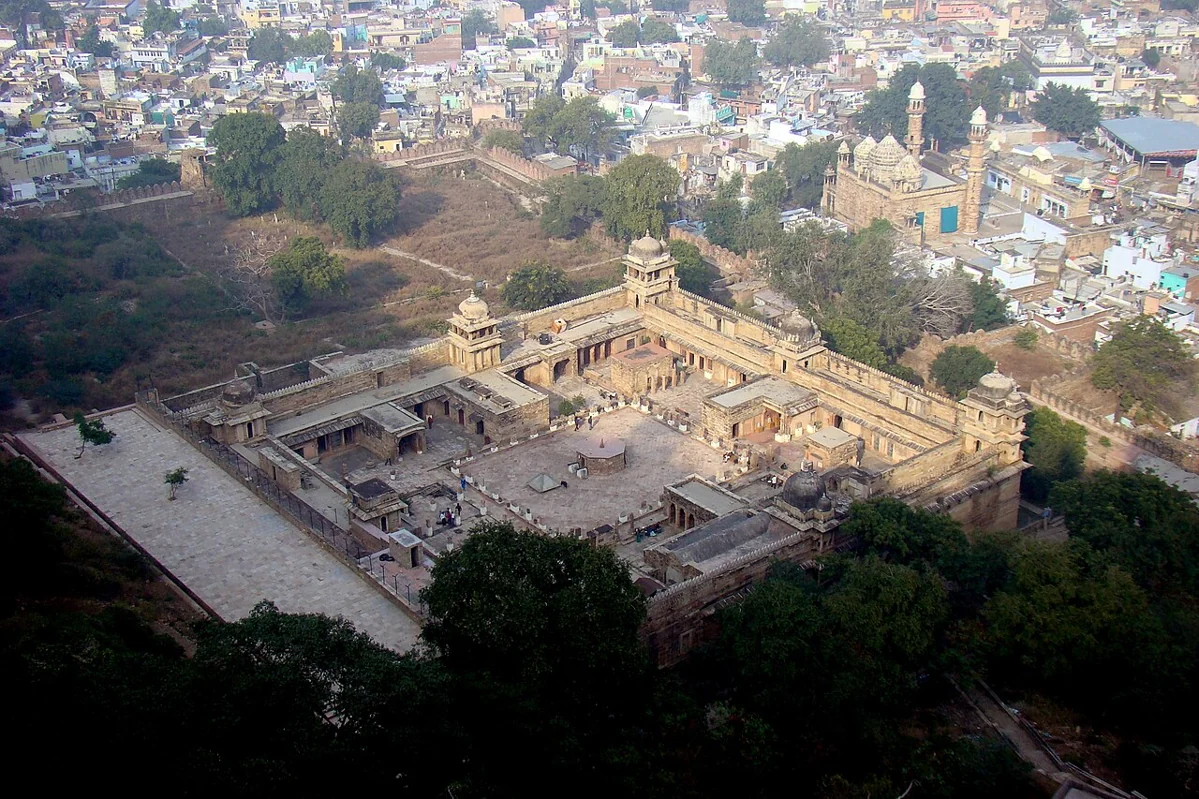
| Gwalior | Gwalior Fort | Anuppyr007 · CC BY-SA 4.0 ↗ Anuppyr007 · CC BY-SA 4.0 ↗ | Published guide · Published image |
| Gwalior | Man Mandir Palace | Sreyachat · CC BY-SA 3.0 ↗ Sreyachat · CC BY-SA 3.0 ↗ | Published guide · Published image |
| Gwalior | Gujari Mahal Archaeological Museum | Rohit Agarwal · CC BY-SA 4.0 ↗ Rohit Agarwal · CC BY-SA 4.0 ↗ | Published guide · Published image |
| Gwalior | Sas Bahu Temples | Airunp (attributed on source) · CC BY-SA 2.5 ↗ Airunp (attributed on source) · CC BY-SA 2.5 ↗ | Published guide · Published image |
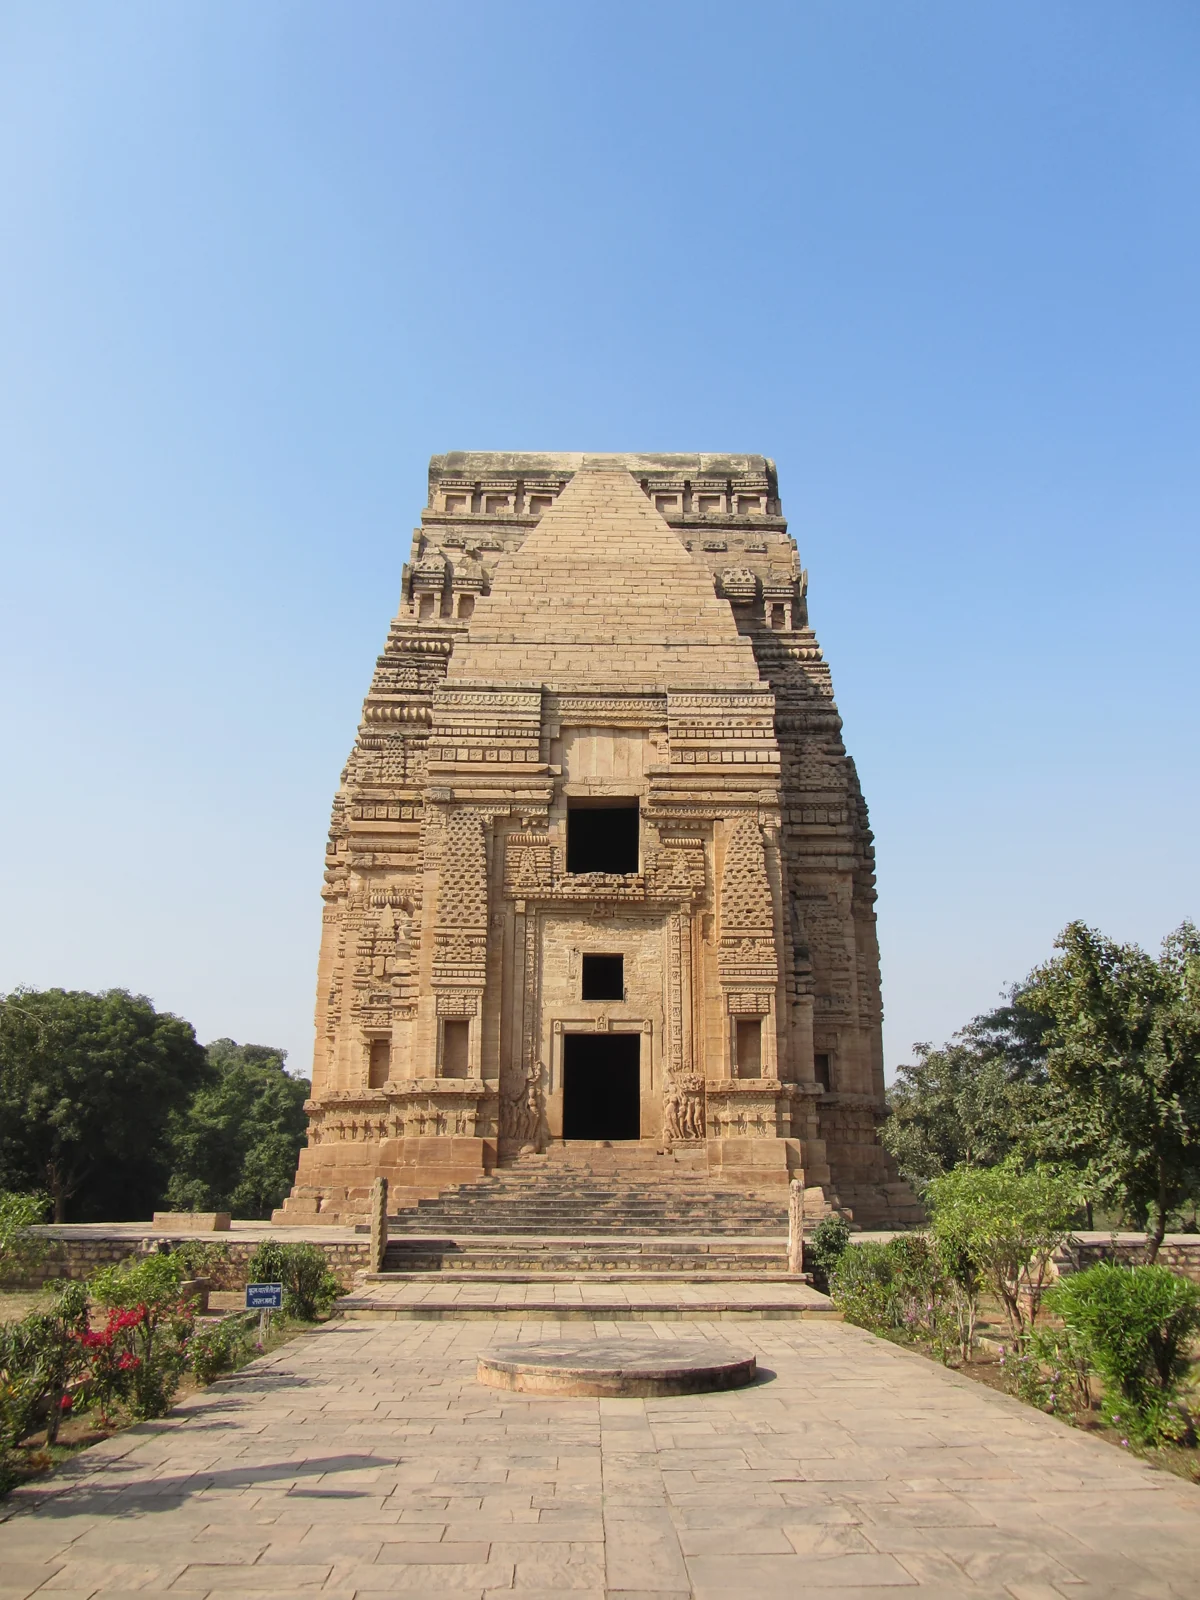
| Gwalior | Teli Ka Mandir | Sanchari5491 · CC BY-SA 3.0 ↗ Sanchari5491 · CC BY-SA 3.0 ↗ | Published guide · Published image |
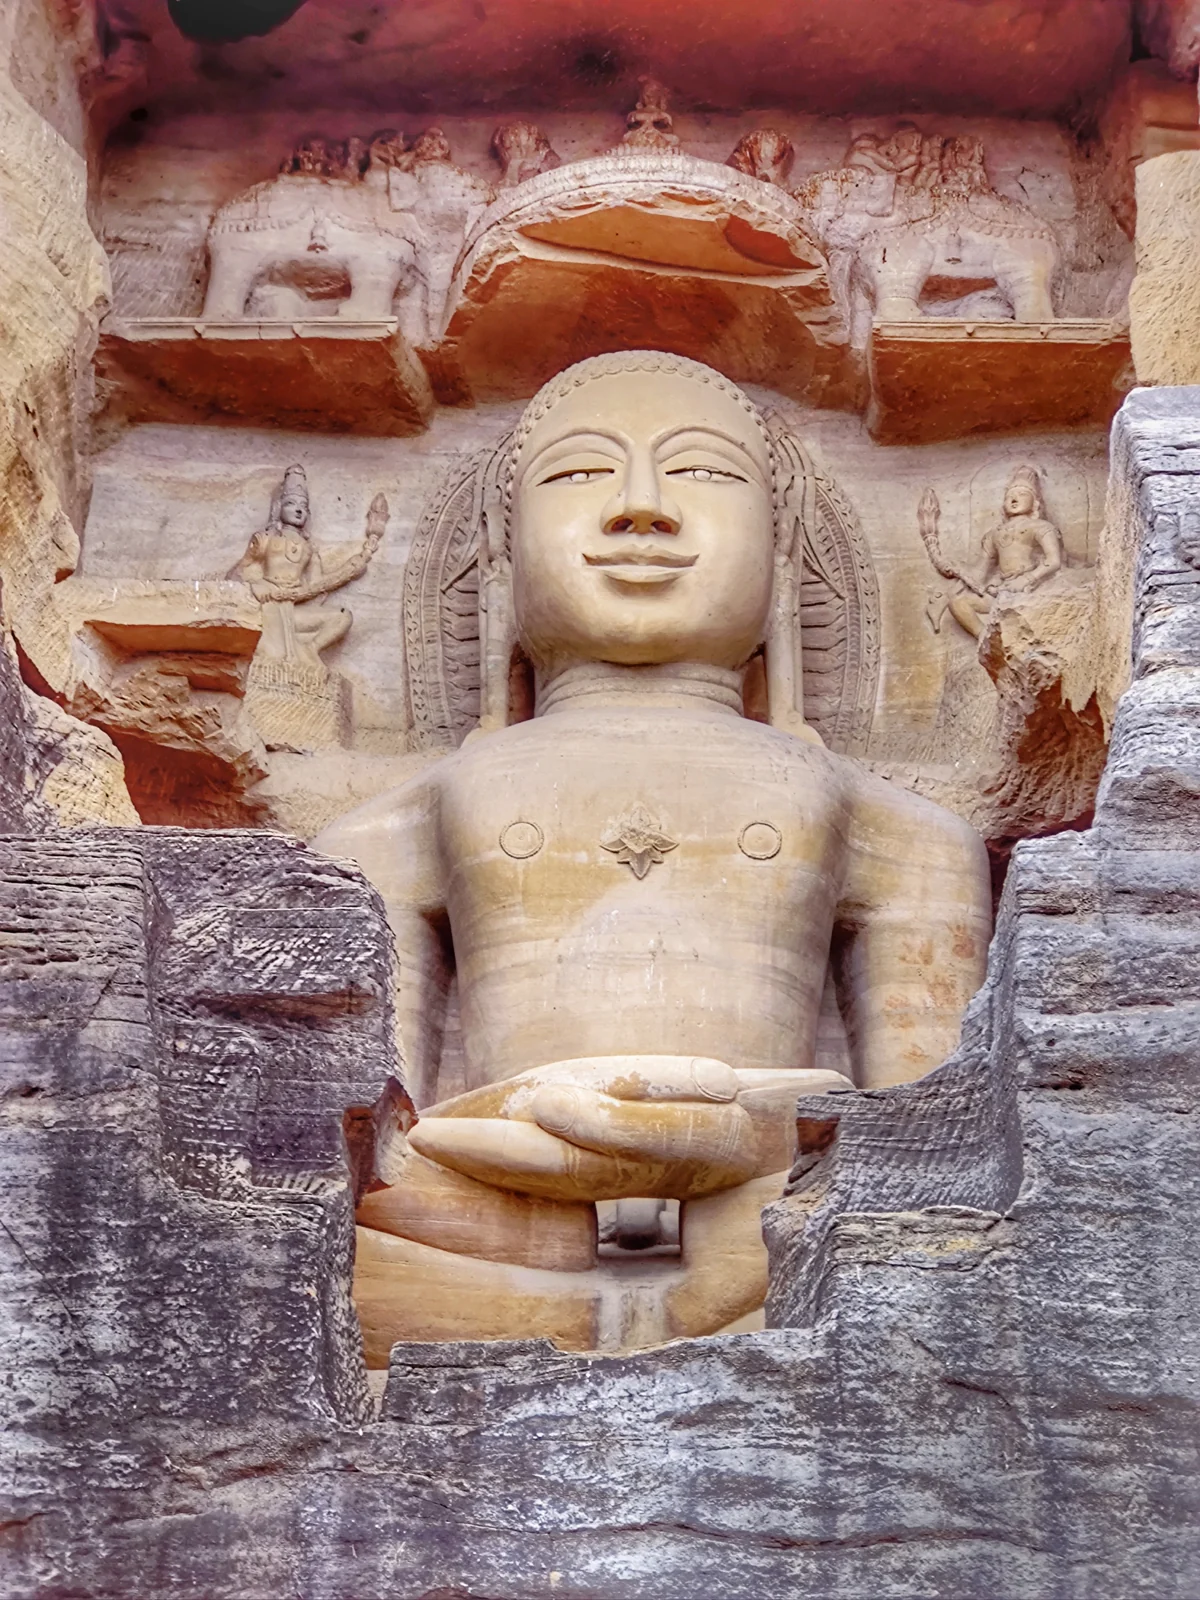
| Gwalior | Siddhachal Jain Colossi | Yann · GFDL CC BY-SA 4.0 ↗ Yann · GFDL CC BY-SA 4.0 ↗ | Published guide · Published image |
| Gwalior | Gopachal Parvat Jain Monuments | Pratyk321 · CC BY-SA 4.0 ↗ Pratyk321 · CC BY-SA 4.0 ↗ | Published guide · Published image |
| Gwalior | Gurudwara Data Bandi Chhor | Suyash Dwivedi · CC BY-SA 4.0 ↗ Suyash Dwivedi · CC BY-SA 4.0 ↗ | Published guide · Published image |
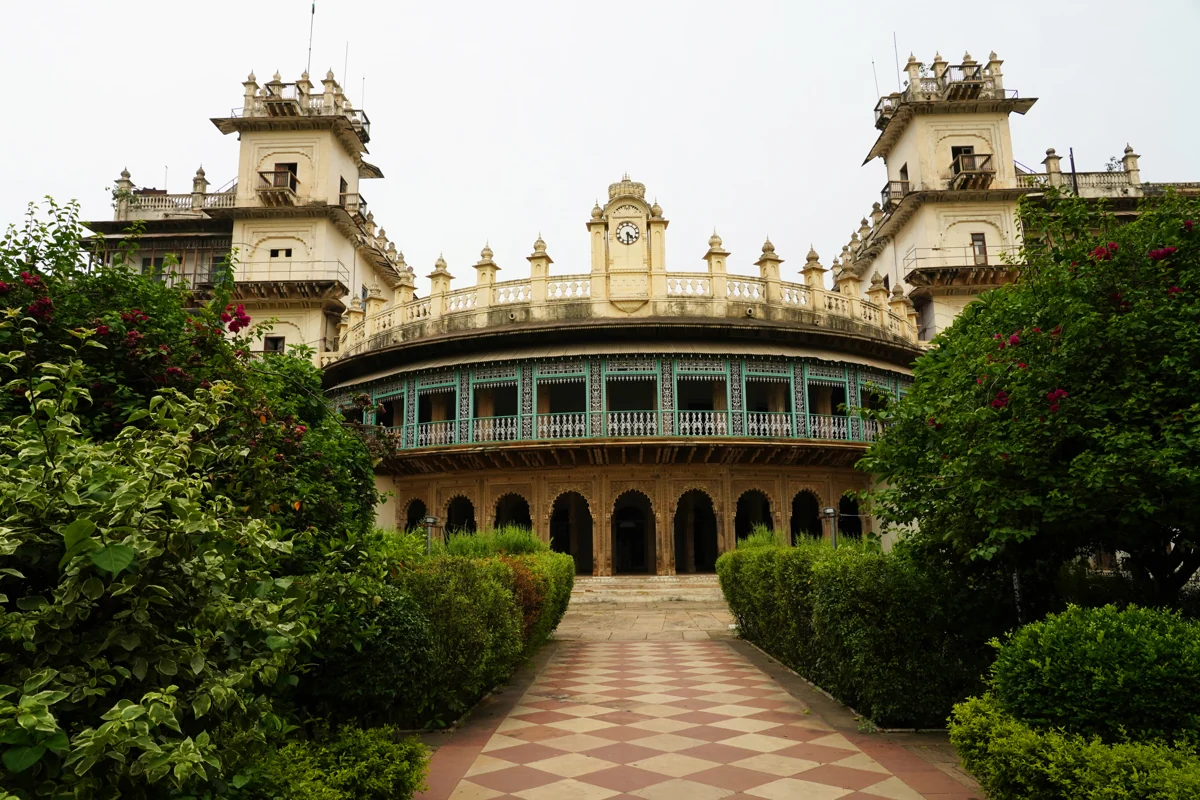
| Gwalior | Jai Vilas Palace & Scindia Museum | Mohitkjain123 · CC BY-SA 3.0 ↗ Mohitkjain123 · CC BY-SA 3.0 ↗ | Published guide · Published image |
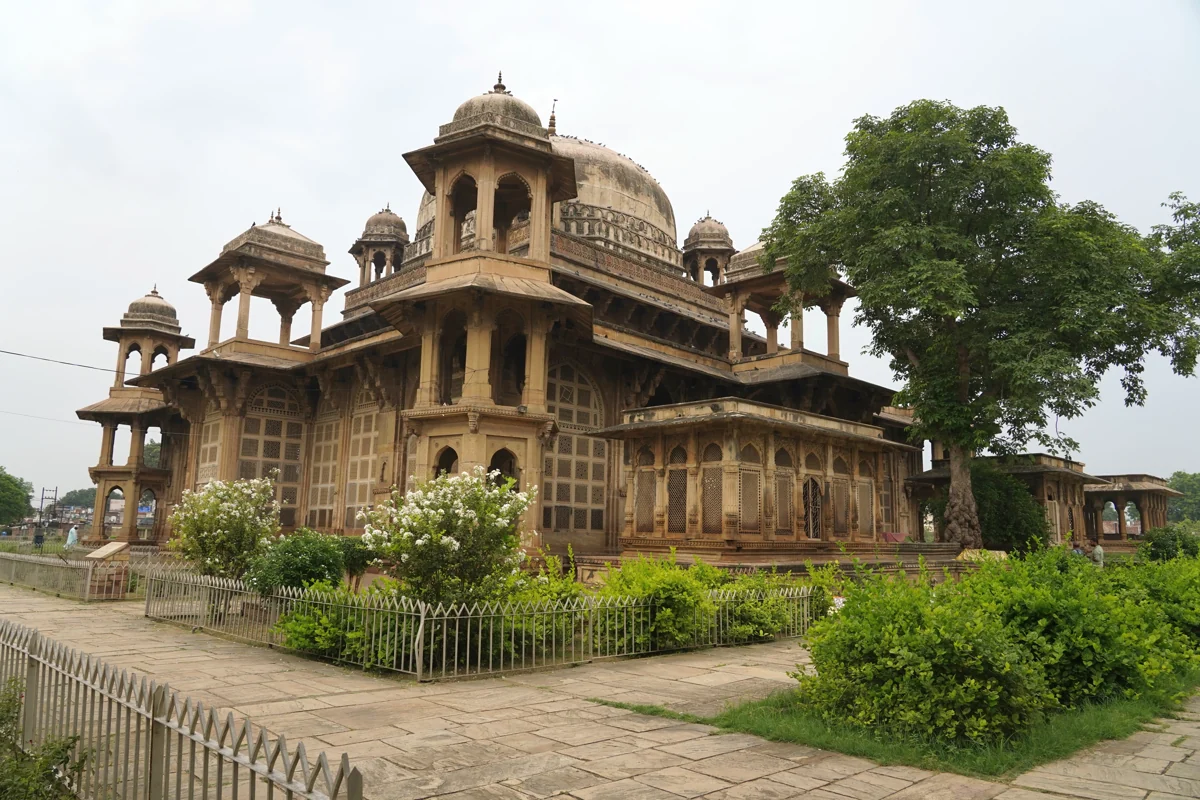
| Gwalior | Tomb of Muhammad Ghaus | Amitabha Gupta · CC BY-SA 4.0 ↗ Amitabha Gupta · CC BY-SA 4.0 ↗ | Published guide · Published image |
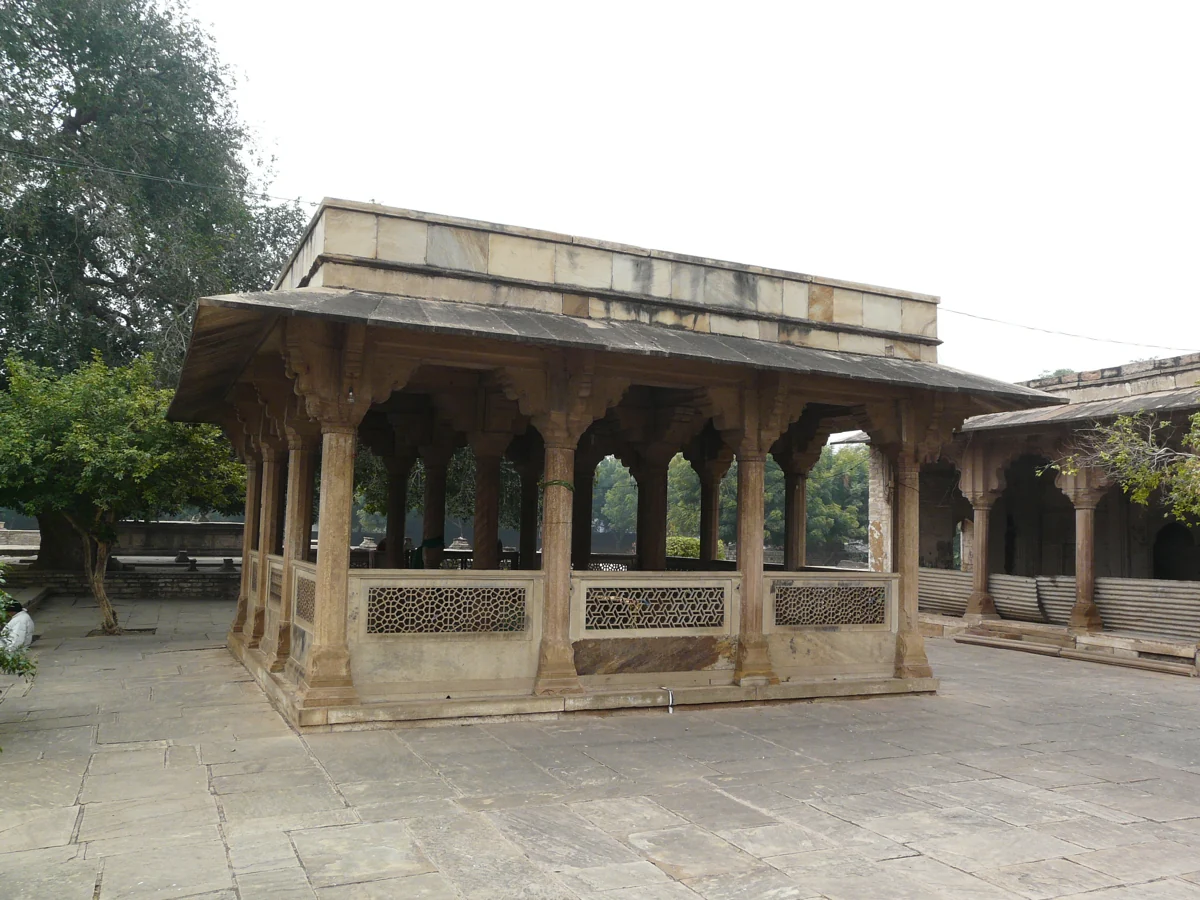
| Gwalior | Tansen’s Tomb | Varun Shiv Kapur from New Delhi, India · CC BY 2.0 ↗ Varun Shiv Kapur from New Delhi, India · CC BY 2.0 ↗ | Published guide · Published image |
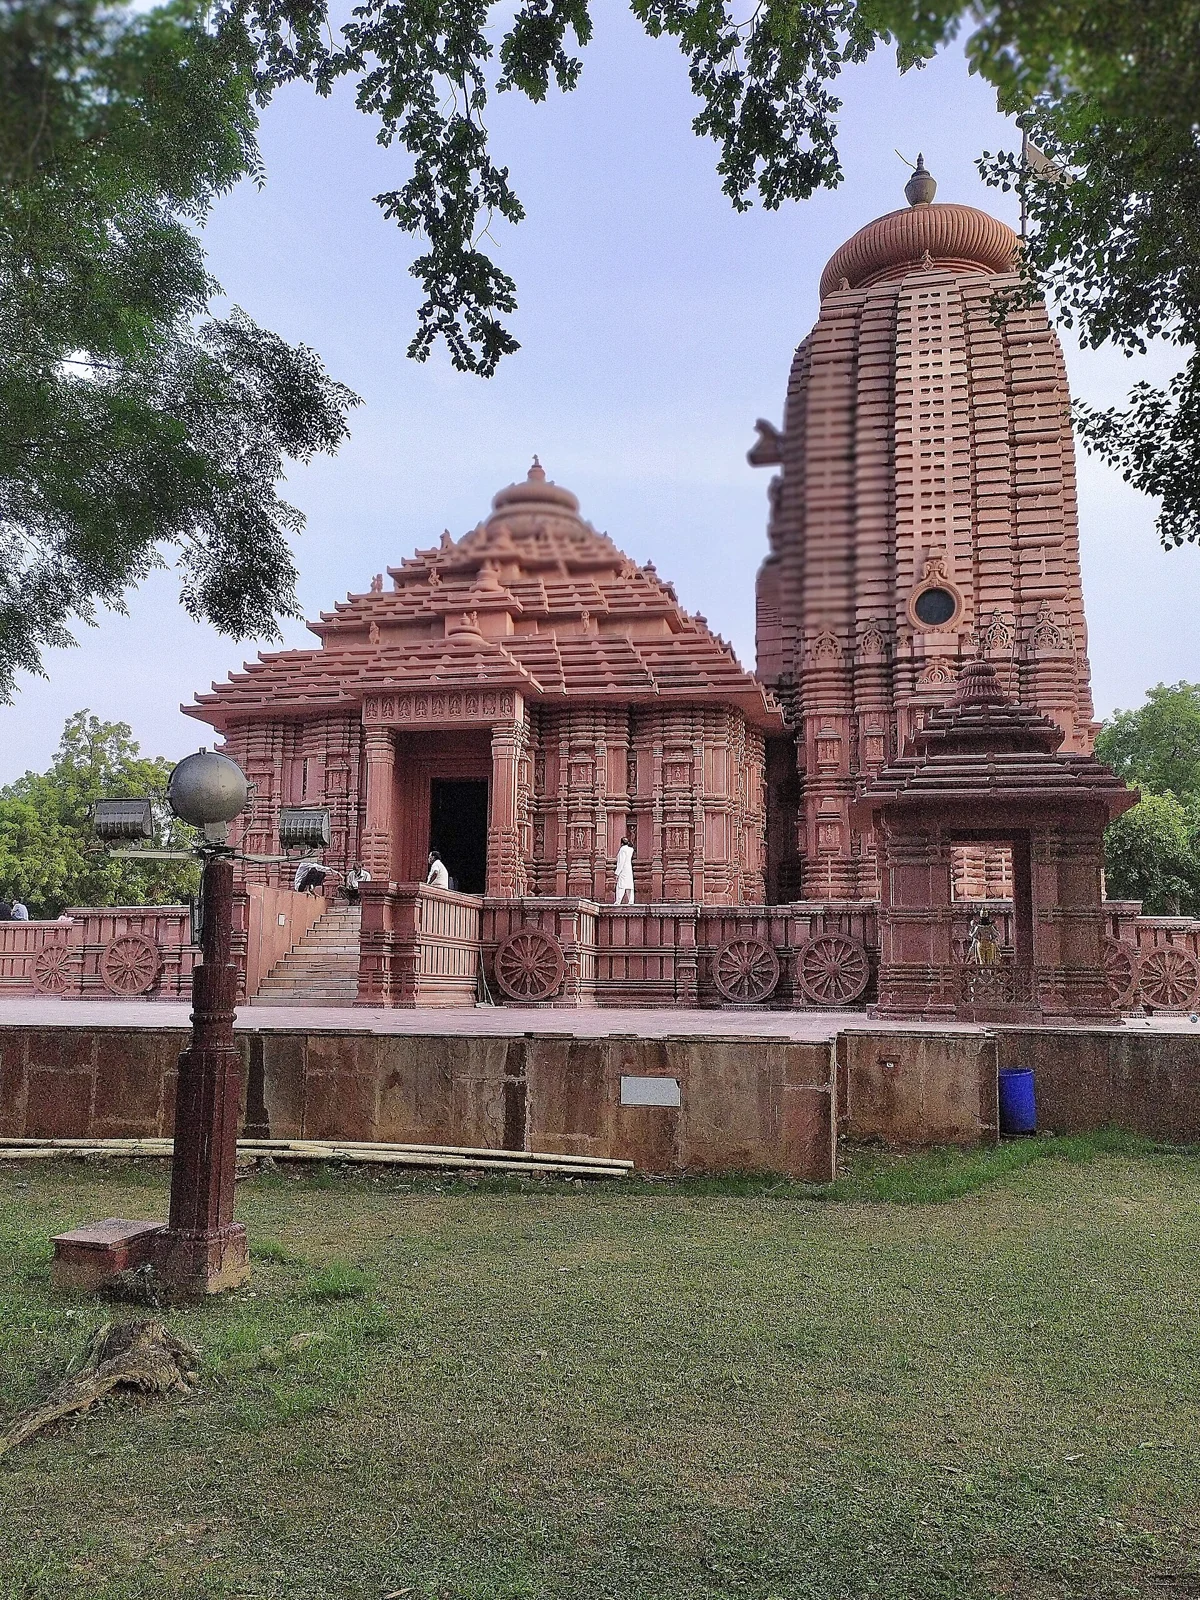
| Gwalior | Sun Temple (Surya Mandir) | Sudhanshusahu · CC BY-SA 4.0 ↗ Sudhanshusahu · CC BY-SA 4.0 ↗ | Published guide · Published image |
| Gwalior | Moti Mahal | Amitabha Gupta · CC BY-SA 4.0 ↗ Amitabha Gupta · CC BY-SA 4.0 ↗ | Published guide · Published image |
| Gwalior | Maharaj Bada (Jayaji Chowk) | Neerajshivpuri · CC BY-SA 4.0 ↗ Neerajshivpuri · CC BY-SA 4.0 ↗ | Published guide · Published image |
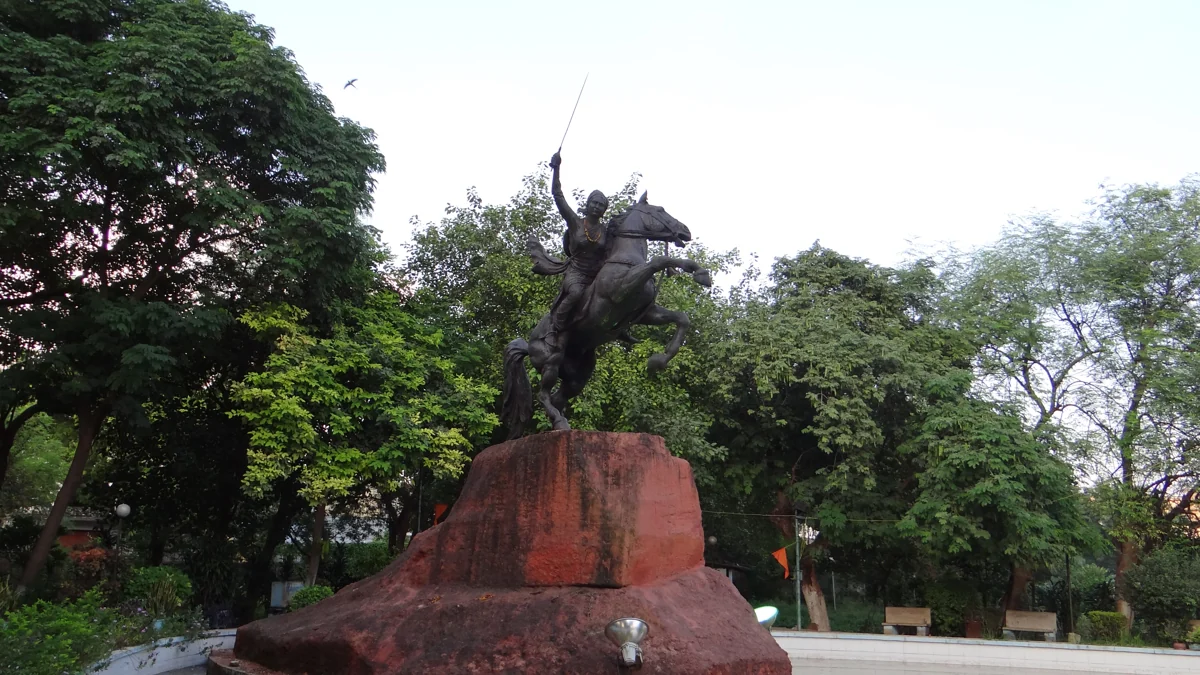
| Gwalior | Rani Lakshmibai Samadhi | VidhuKhare · CC BY-SA 3.0 ↗ VidhuKhare · CC BY-SA 3.0 ↗ | Published guide · Published image |
| Gwalior | Tigra Dam (Tighra Reservoir) | Ameybarve27 · CC BY-SA 4.0 ↗ Ameybarve27 · CC BY-SA 4.0 ↗ | Published guide · Published image |
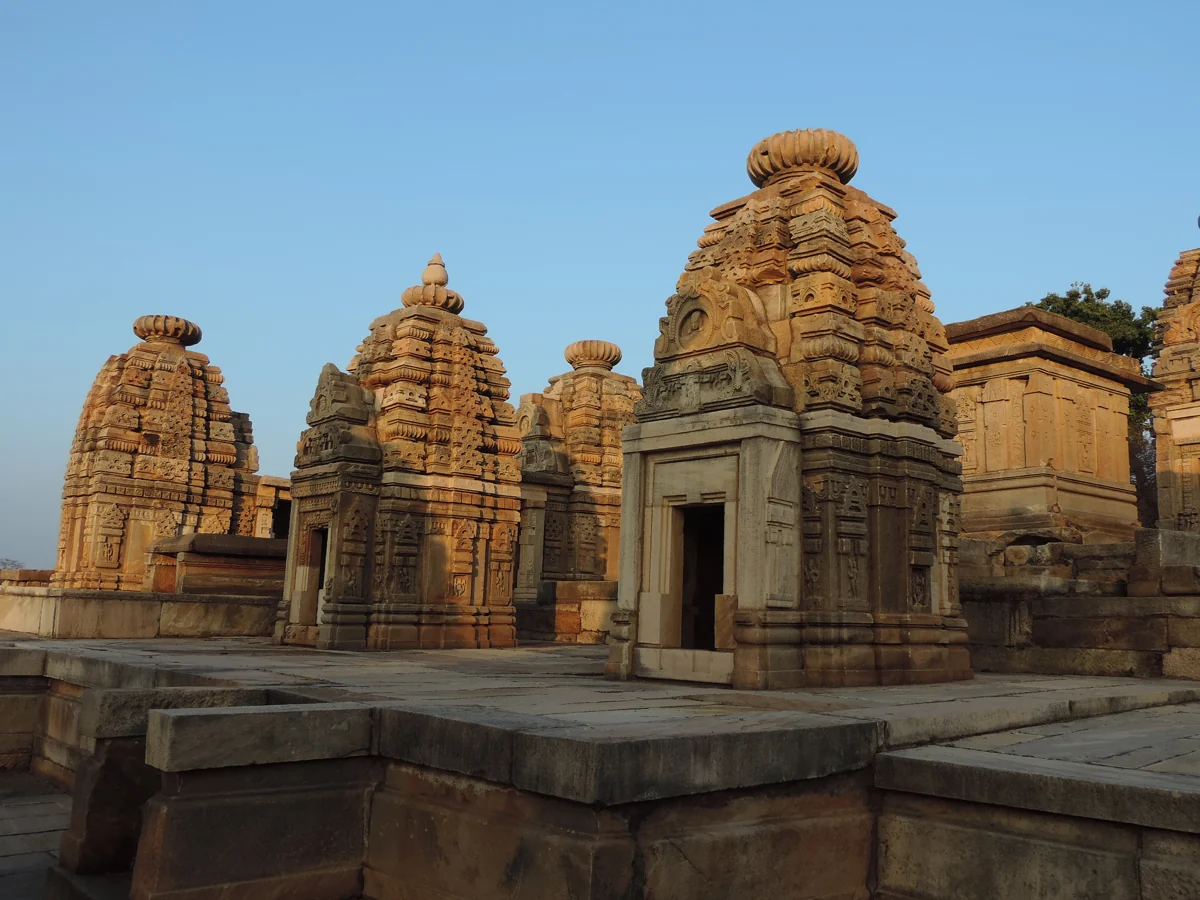
| Gwalior | Bateshwar Group of Temples | Varun Shiv Kapur from New Delhi, India · CC BY 2.0 ↗ Varun Shiv Kapur from New Delhi, India · CC BY 2.0 ↗ | Published guide · Published image |
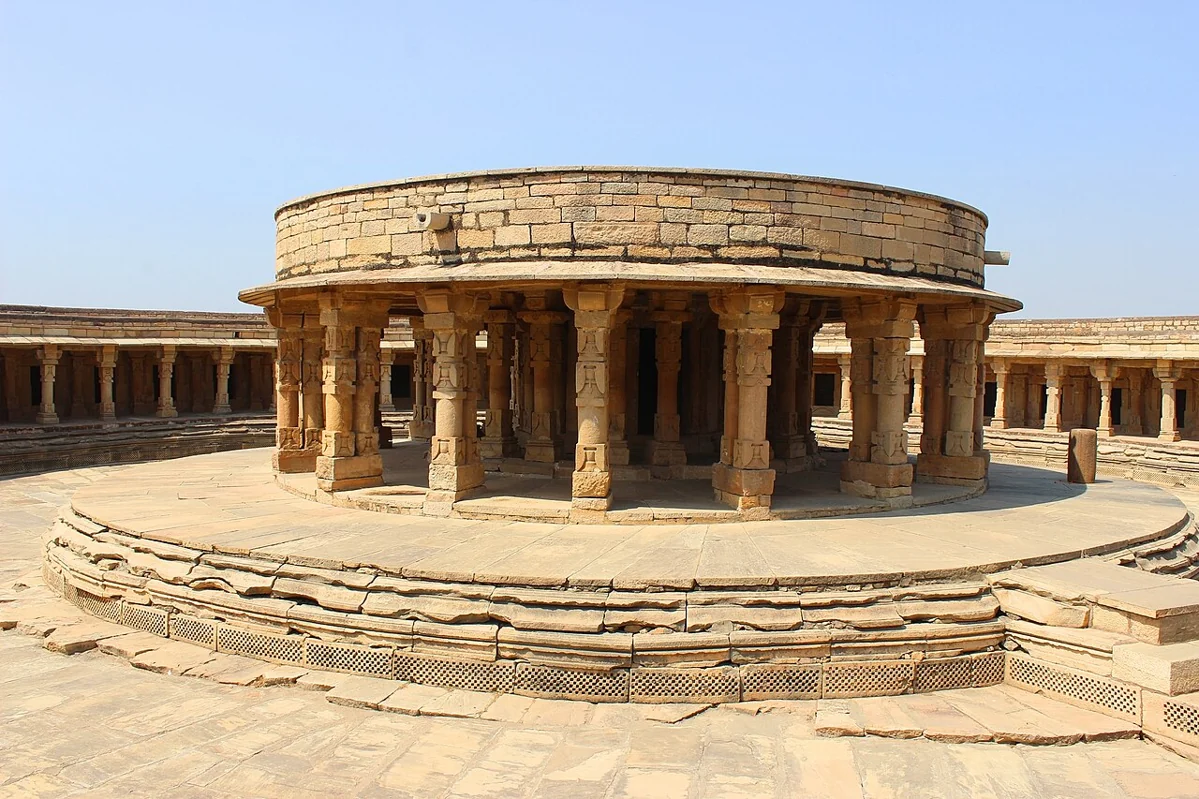
| Gwalior | Chausath Yogini Temple, Mitaoli | Suyash Dwivedi · CC BY-SA 4.0 ↗ Suyash Dwivedi · CC BY-SA 4.0 ↗ | Published guide · Published image |
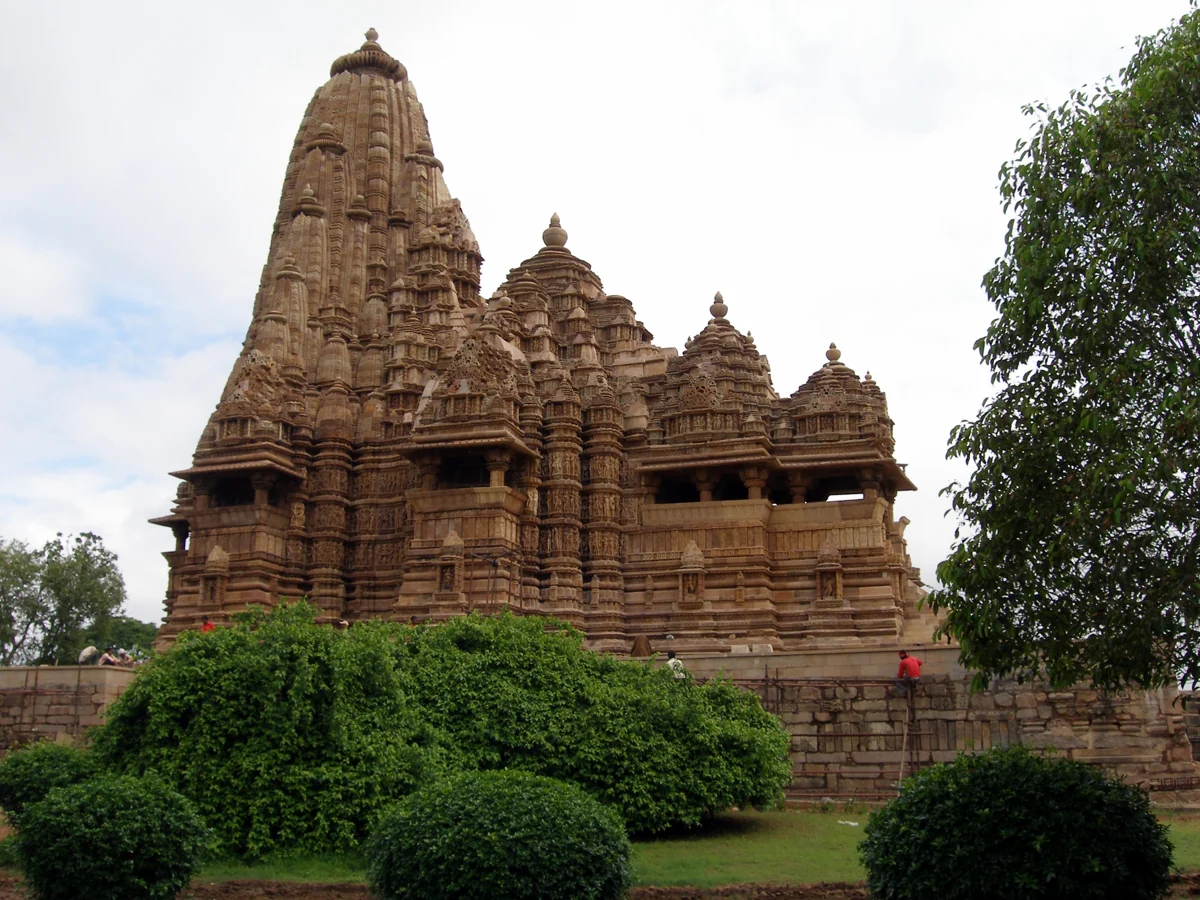
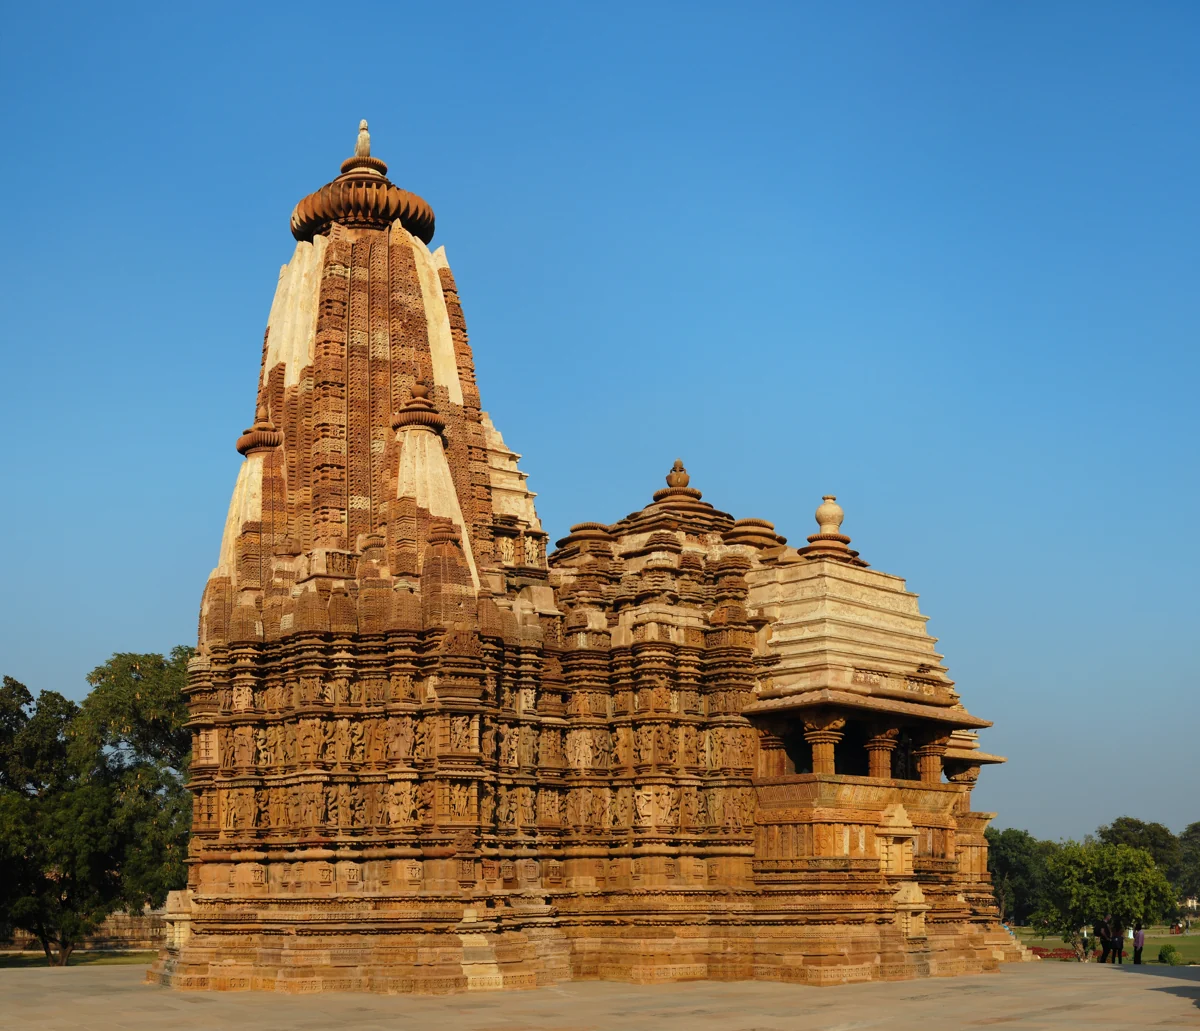
| Khajuraho | Kandariya Mahadeva Temple | China Crisis · CC BY-SA 3.0 GFDL ↗ China Crisis · CC BY-SA 3.0 GFDL ↗ | Published guide · Published image |
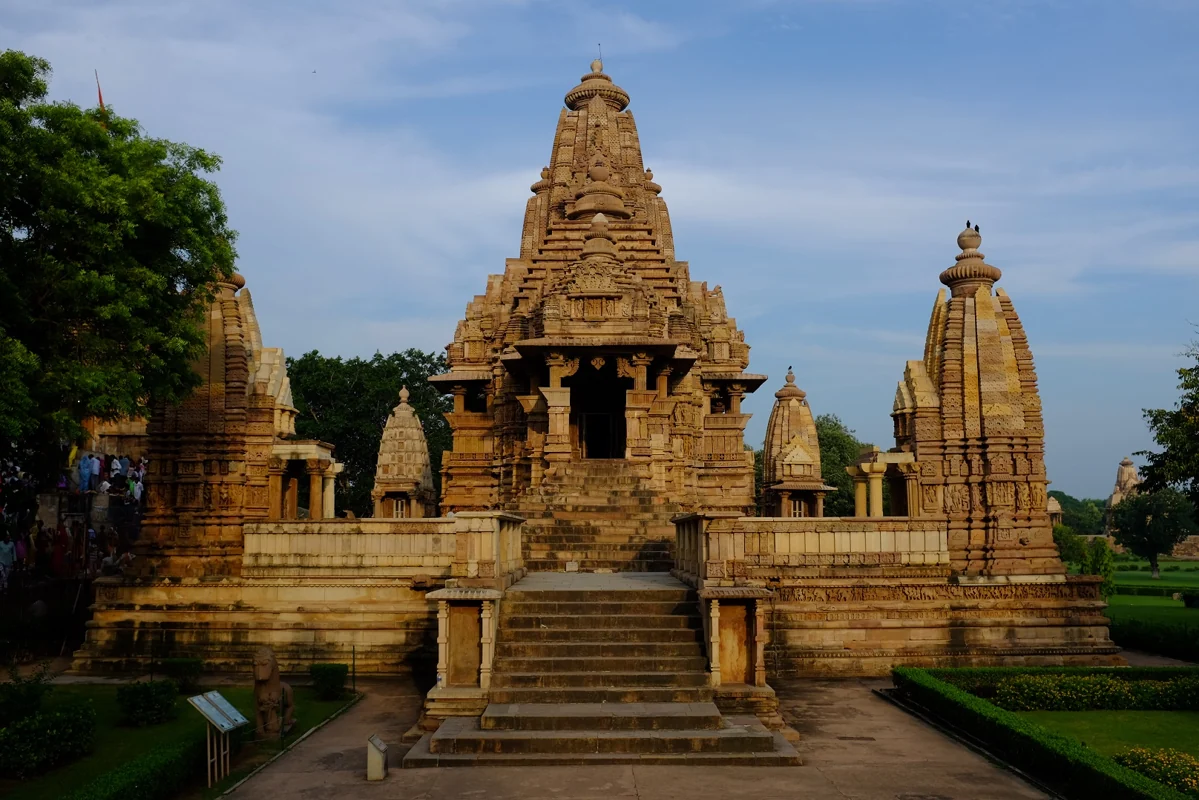
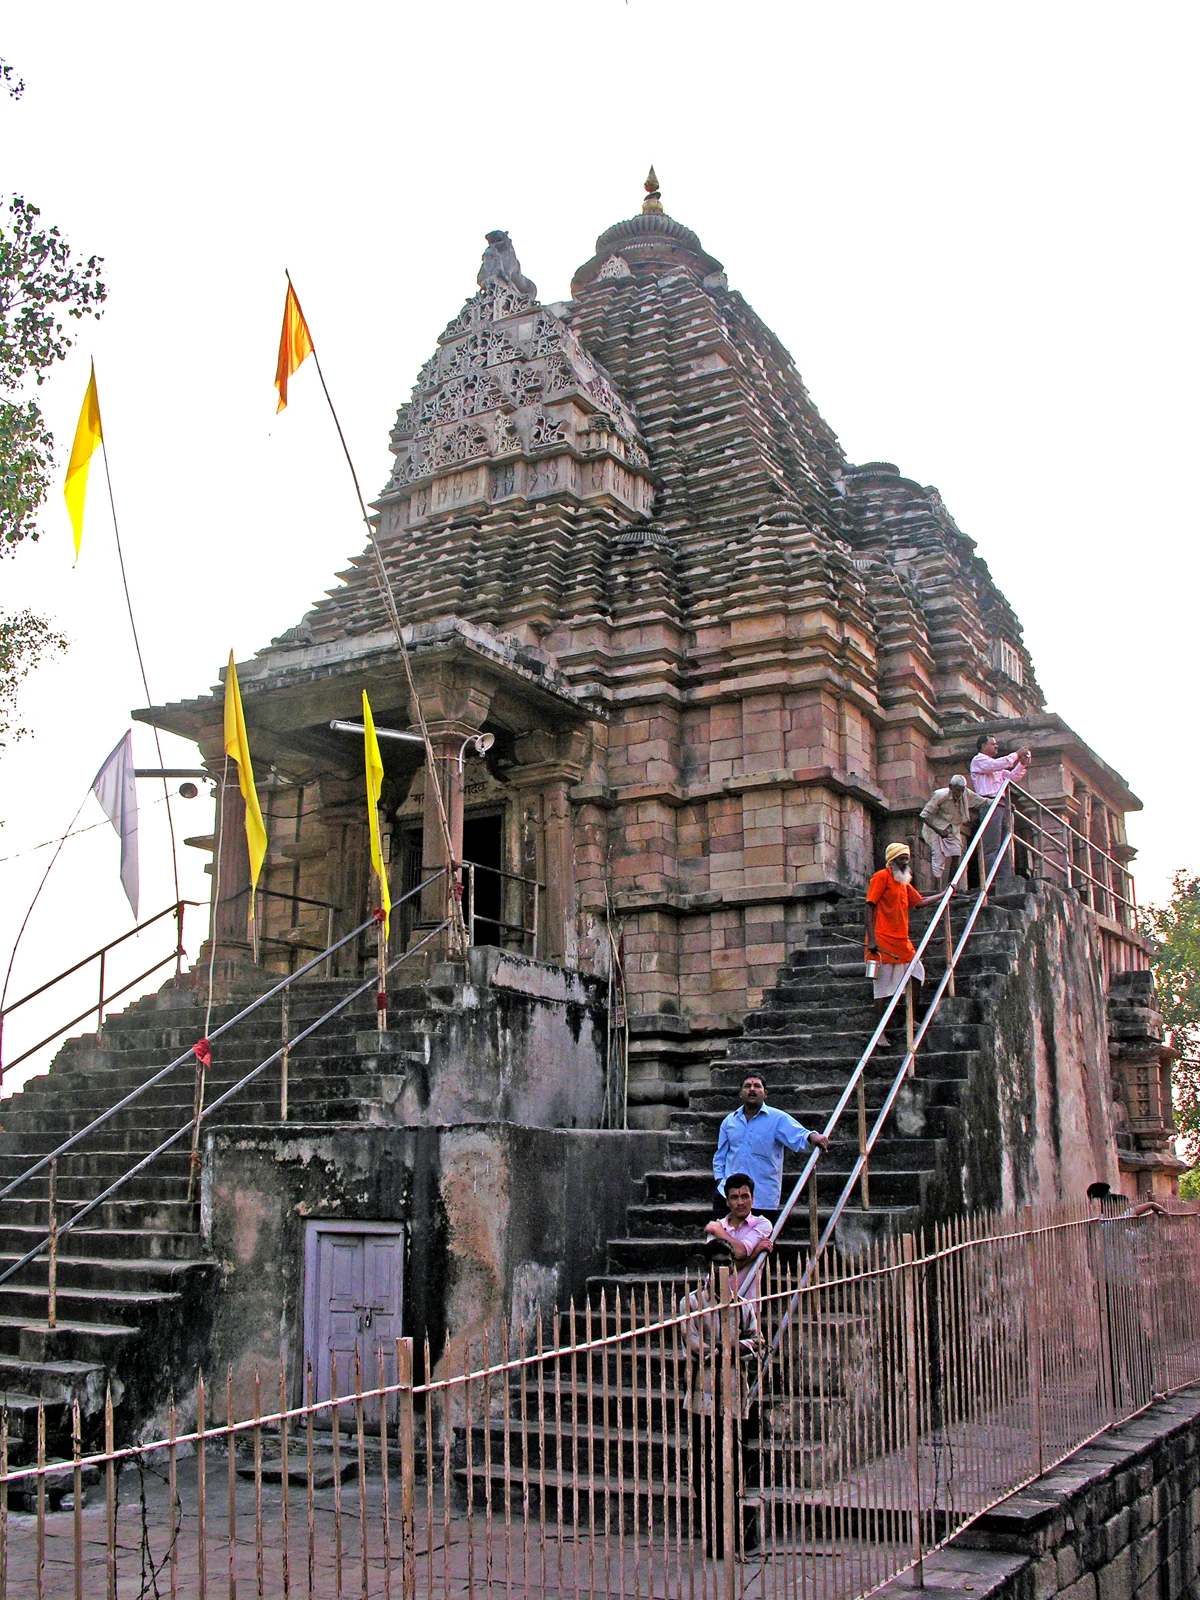
| Khajuraho | Lakshmana Temple | Itsmalay~commonswiki · CC BY-SA 4.0 ↗ Itsmalay~commonswiki · CC BY-SA 4.0 ↗ | Published guide · Published image |
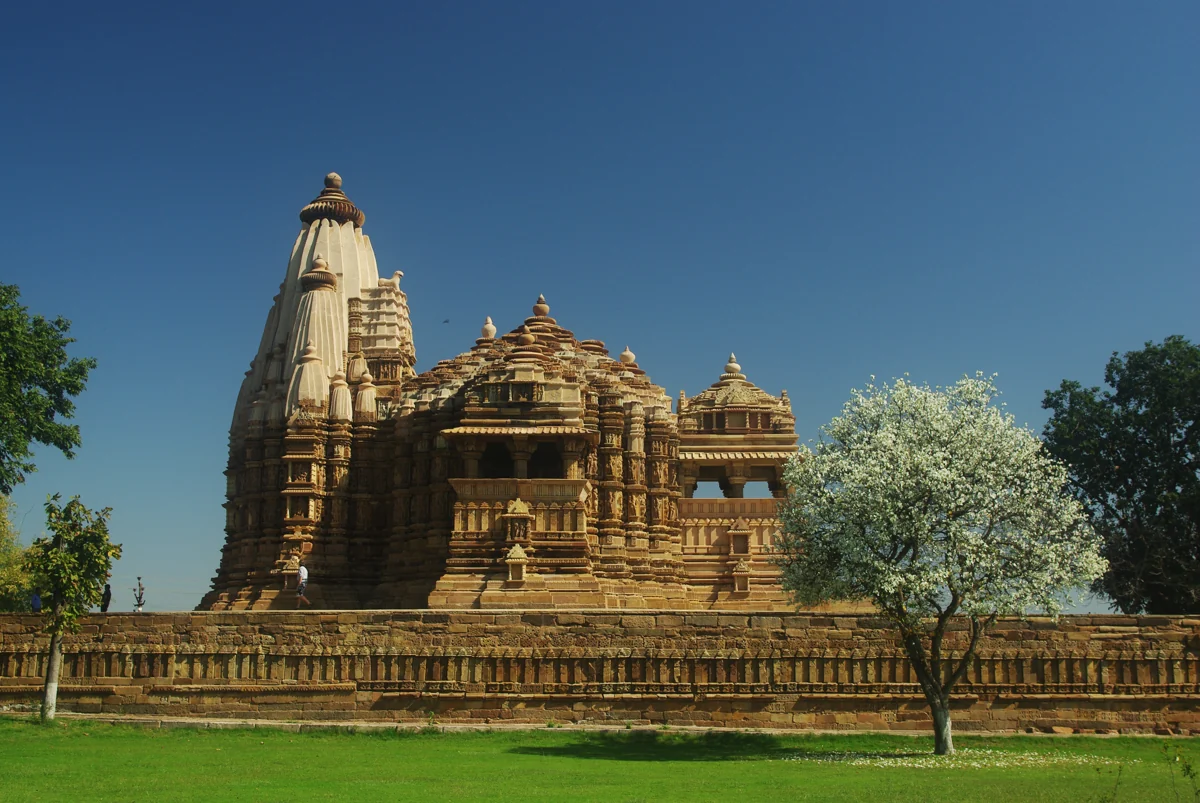
| Khajuraho | Devi Jagadambi Temple | Marcin Białek · GFDL CC BY-SA 4.0 ↗ Marcin Białek · GFDL CC BY-SA 4.0 ↗ | Published guide · Published image |
| Khajuraho | Chitragupta Temple | Amitabha Gupta · CC BY-SA 4.0 ↗ Amitabha Gupta · CC BY-SA 4.0 ↗ | Published guide · Published image |
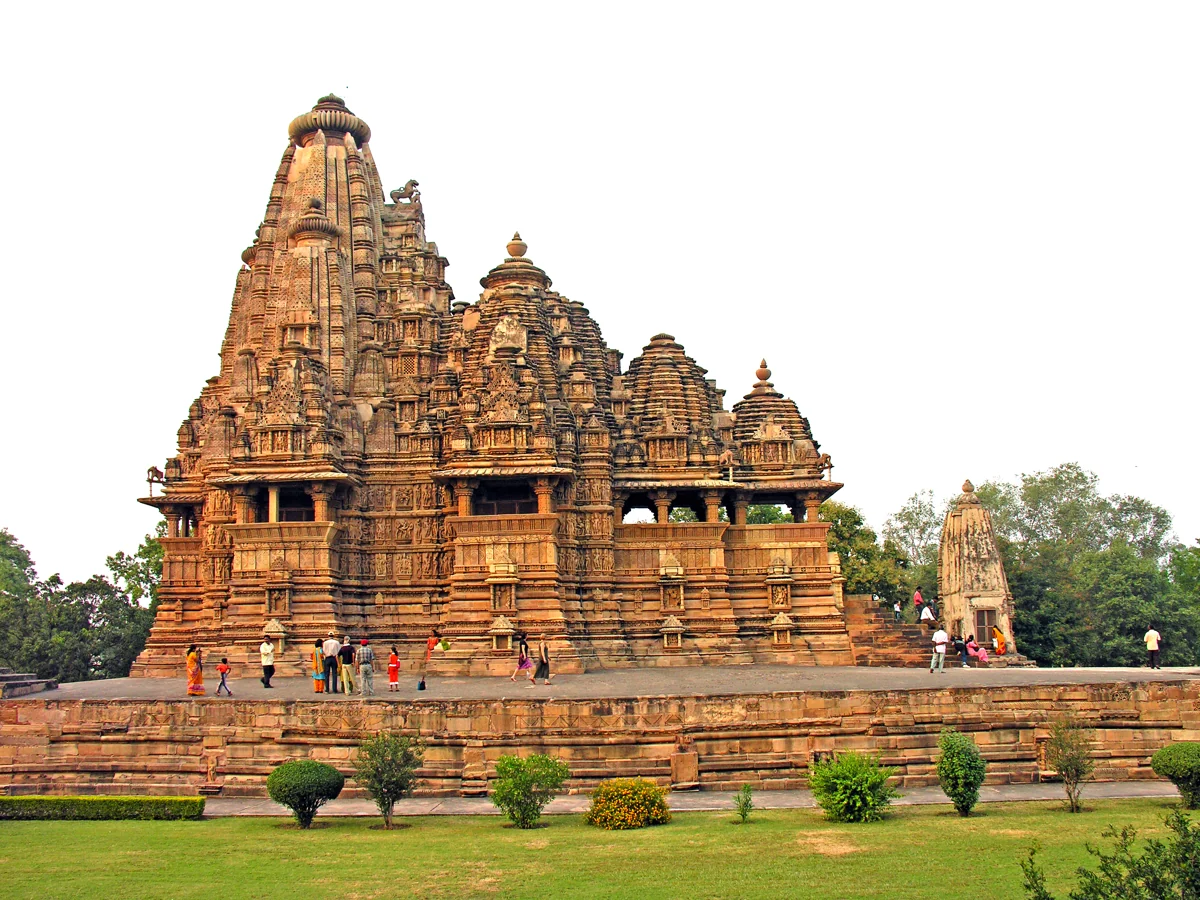
| Khajuraho | Vishvanatha Temple & Nandi | Dennis G. Jarvis · CC BY-SA 2.0 ↗ Dennis G. Jarvis · CC BY-SA 2.0 ↗ | Published guide · Published image |
| Khajuraho | Matangeshwar Temple | Dennis G. Jarvis · CC BY-SA 2.0 ↗ Dennis G. Jarvis · CC BY-SA 2.0 ↗ | Published guide · Published image |
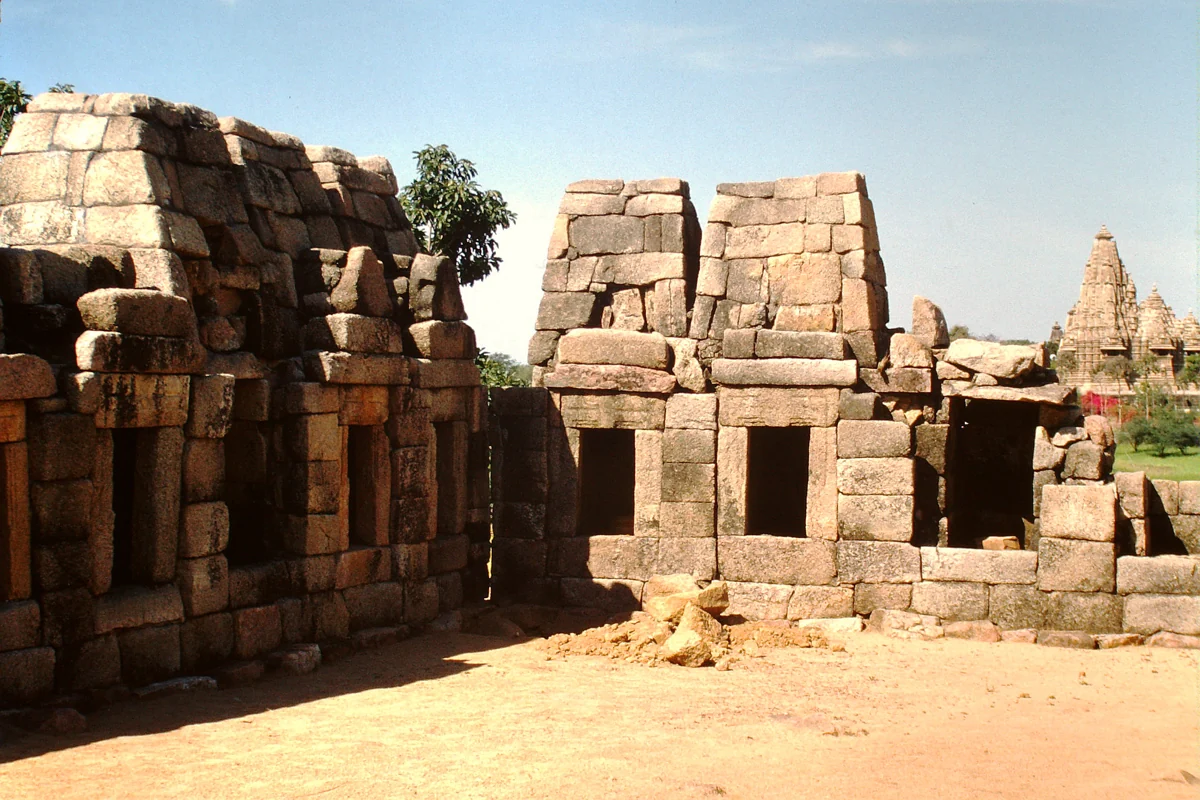
| Khajuraho | Chausath Yogini Temple | Arnold Betten · Public domain ↗ Arnold Betten · Public domain ↗ | Published guide · Published image |
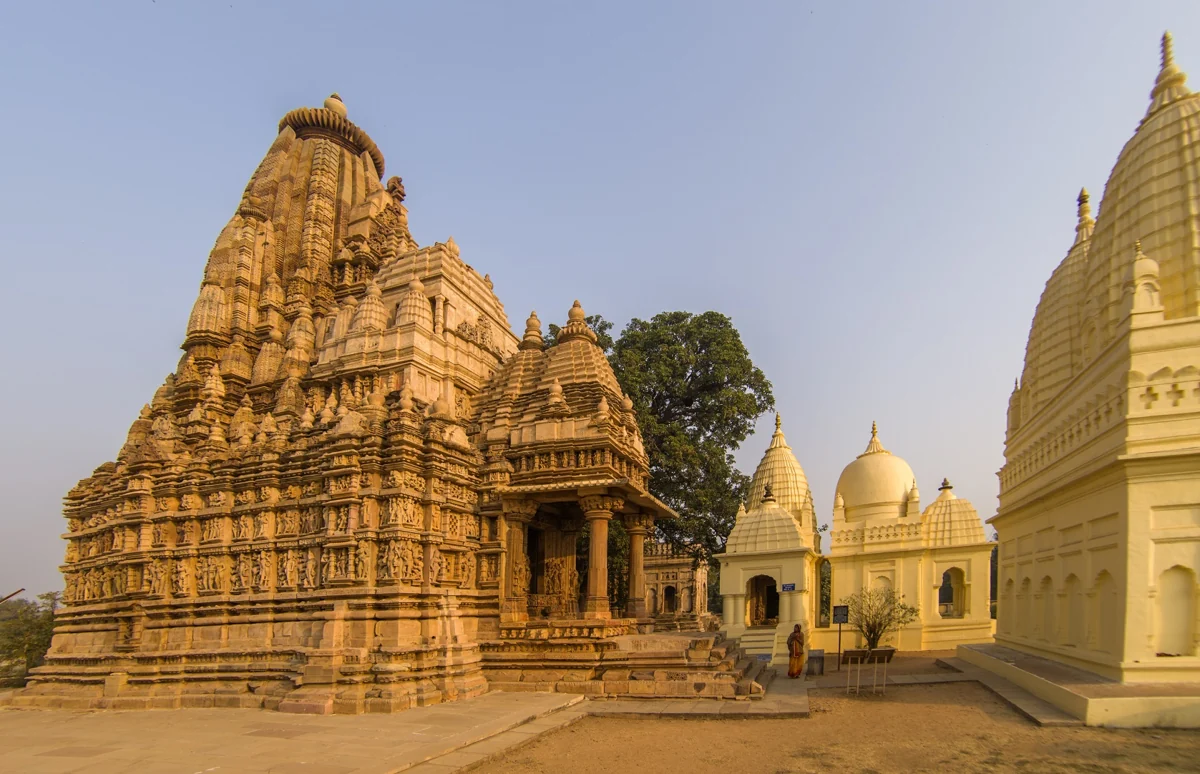
| Khajuraho | Parsvanath Temple | Itsmalay~commonswiki · CC BY-SA 4.0 ↗ Itsmalay~commonswiki · CC BY-SA 4.0 ↗ | Published guide · Published image |
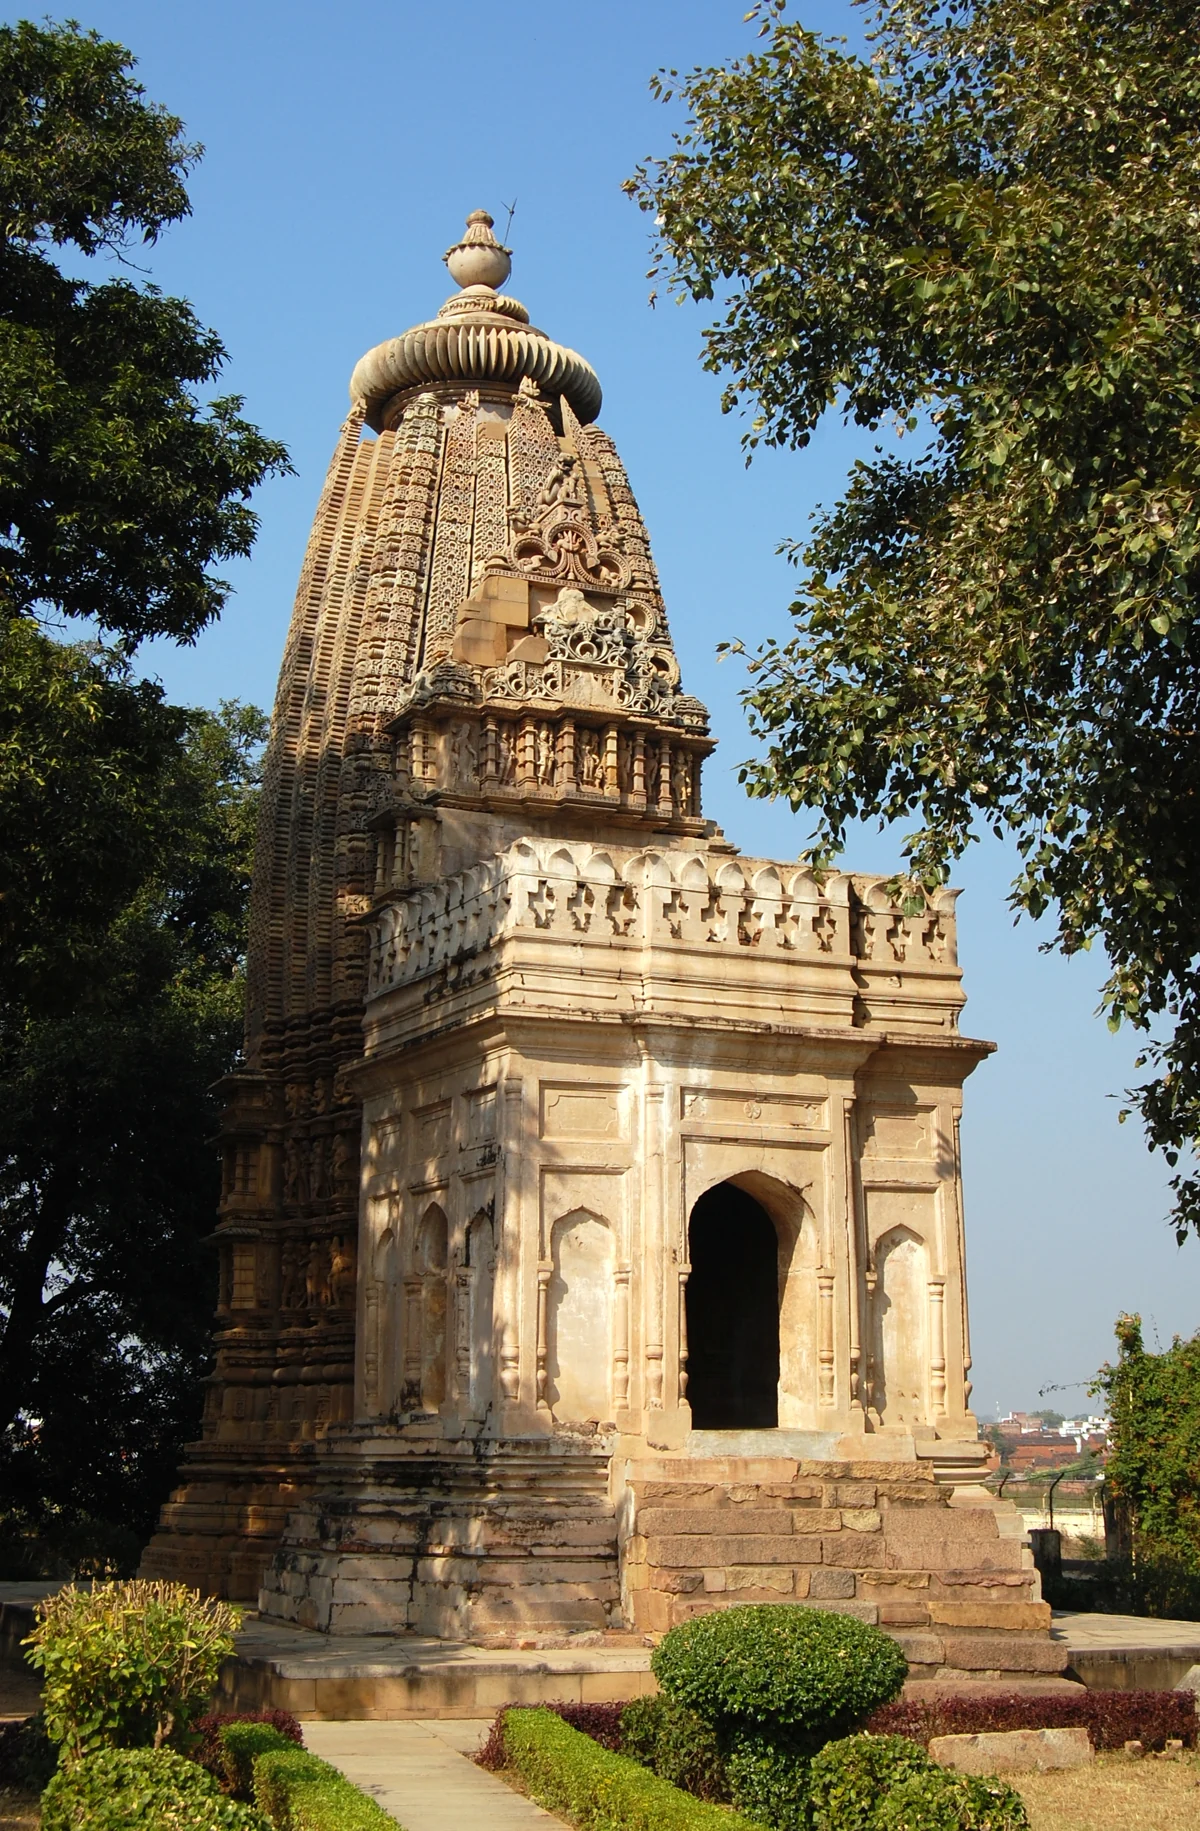
| Khajuraho | Adinath Temple | Marcin Białek · GFDL CC BY-SA 4.0 ↗ Marcin Białek · GFDL CC BY-SA 4.0 ↗ | Published guide · Published image |
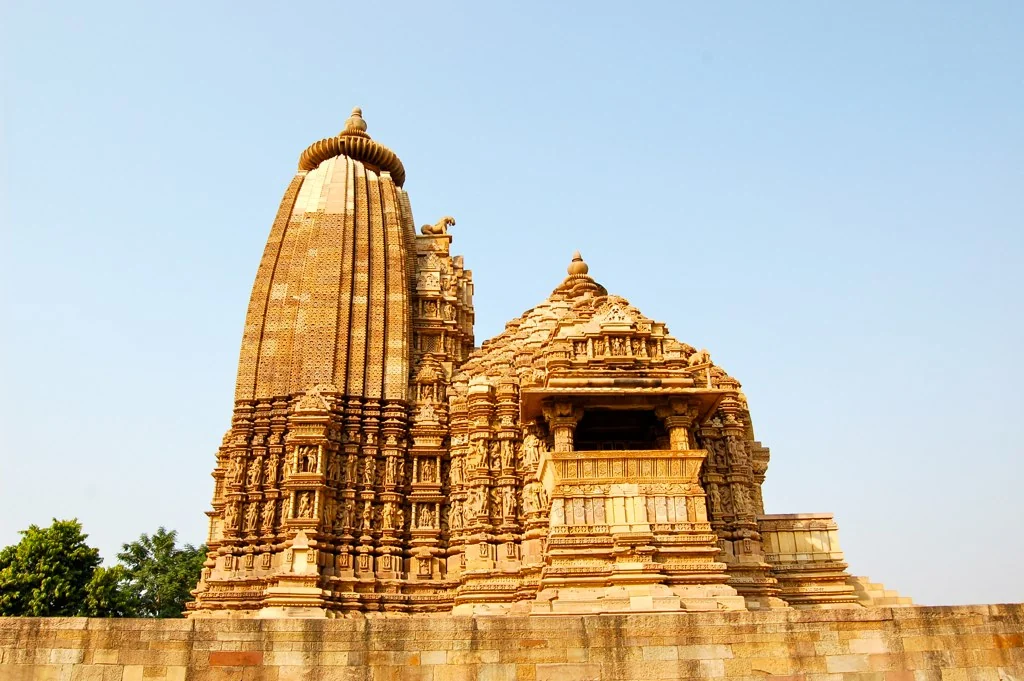
| Khajuraho | Vamana Temple | Manuel Menal · CC BY-SA 2.0 ↗ Manuel Menal · CC BY-SA 2.0 ↗ | Published guide · Published image |
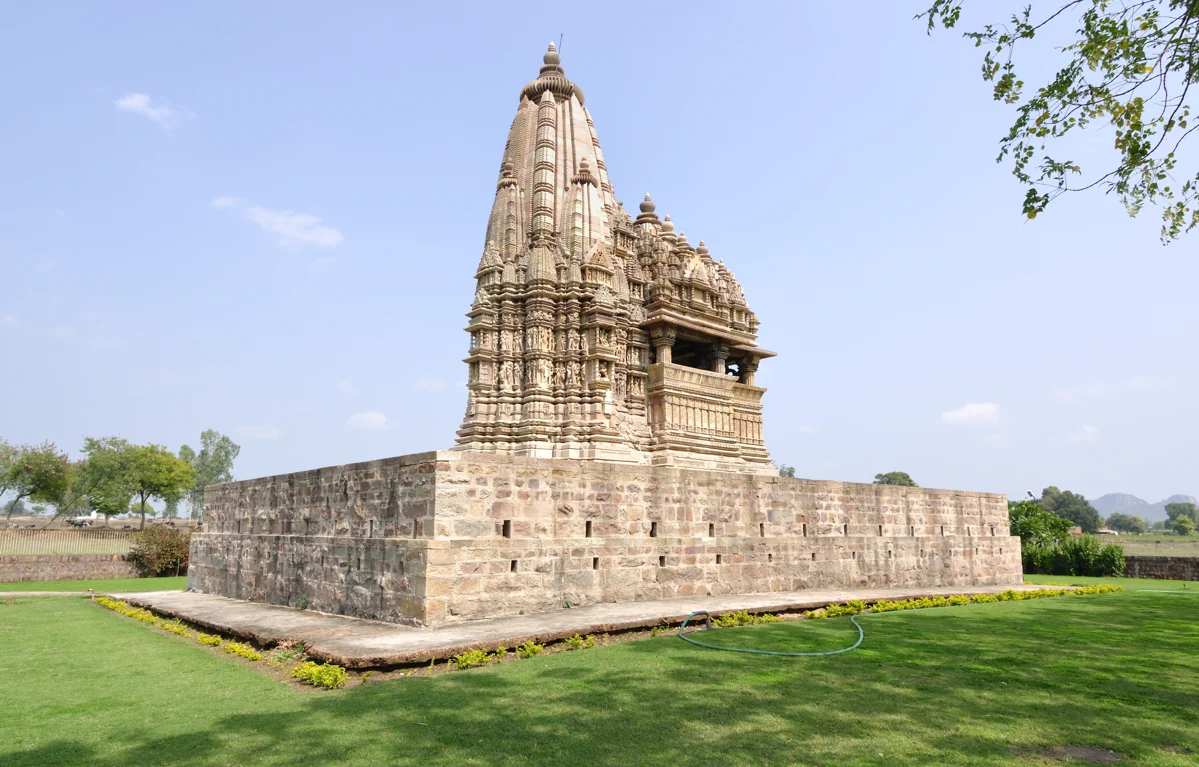
| Khajuraho | Javari Temple | Dey.sandip · CC BY-SA 3.0 ↗ Dey.sandip · CC BY-SA 3.0 ↗ | Published guide · Published image |
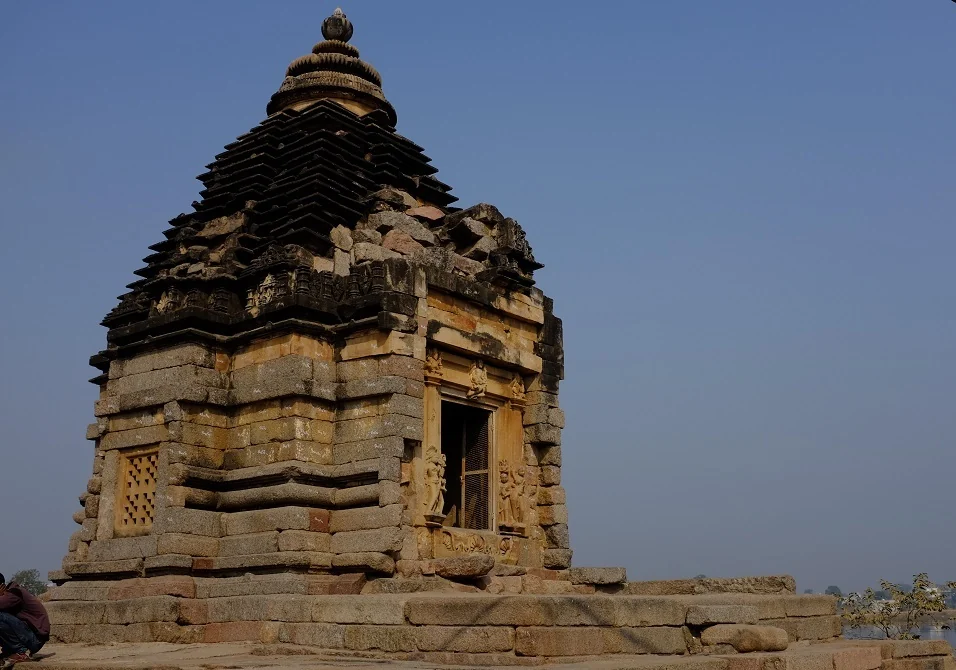
| Khajuraho | Brahma Temple | Itsmalay~commonswiki · CC BY-SA 4.0 ↗ Itsmalay~commonswiki · CC BY-SA 4.0 ↗ | Published guide · Published image |
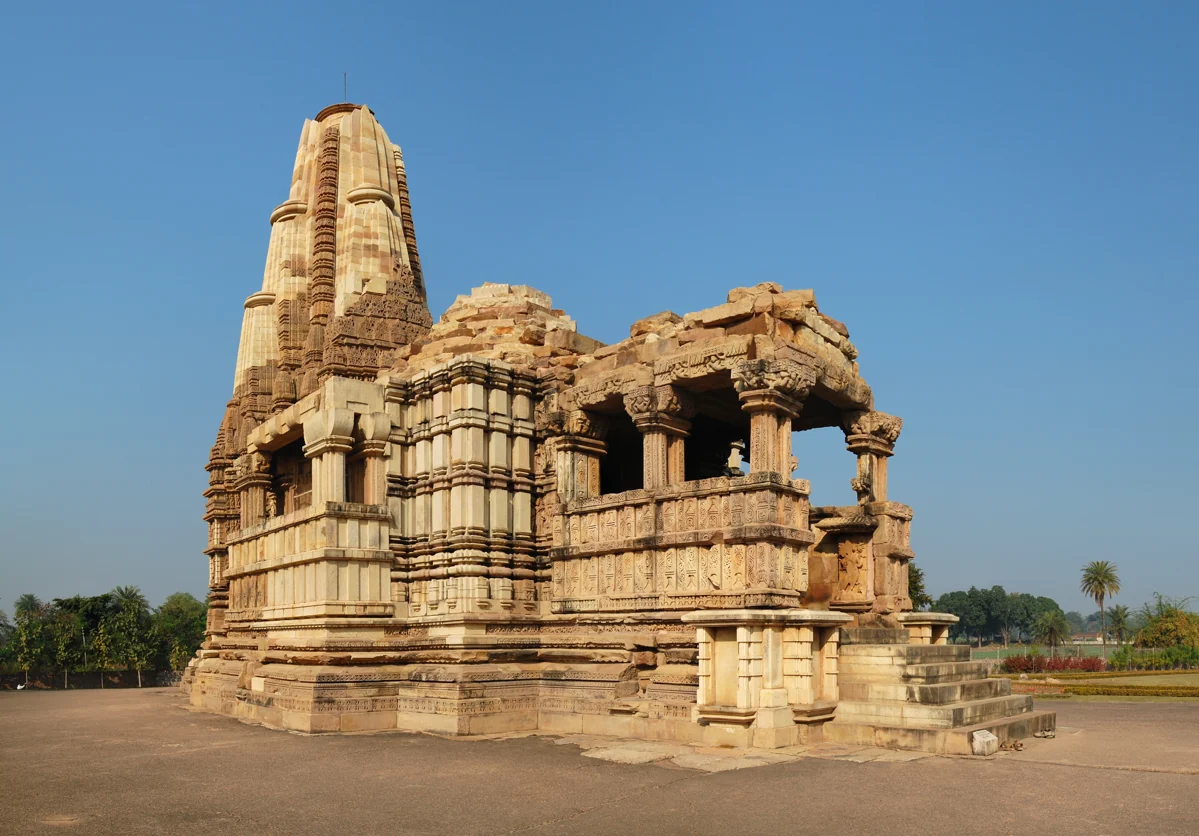
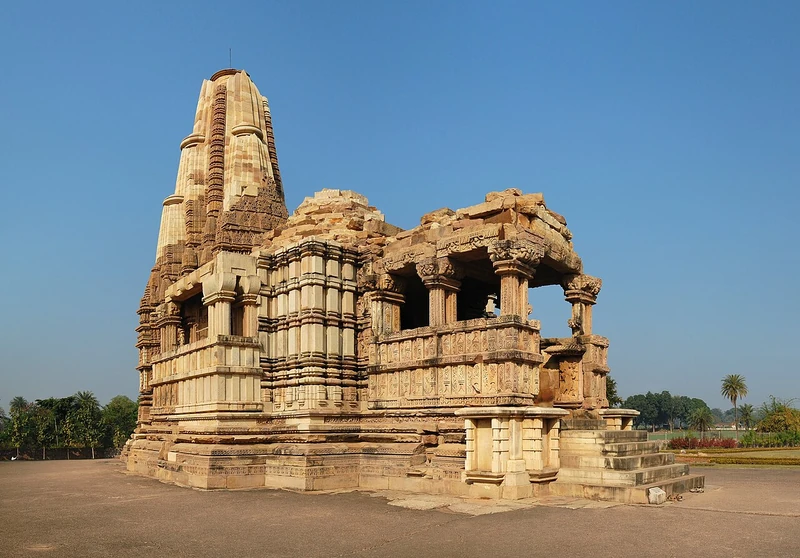
| Khajuraho | Duladeo Temple | Marcin Białek · GFDL CC BY-SA 4.0 ↗ Marcin Białek · GFDL CC BY-SA 4.0 ↗ | Published guide · Published image |
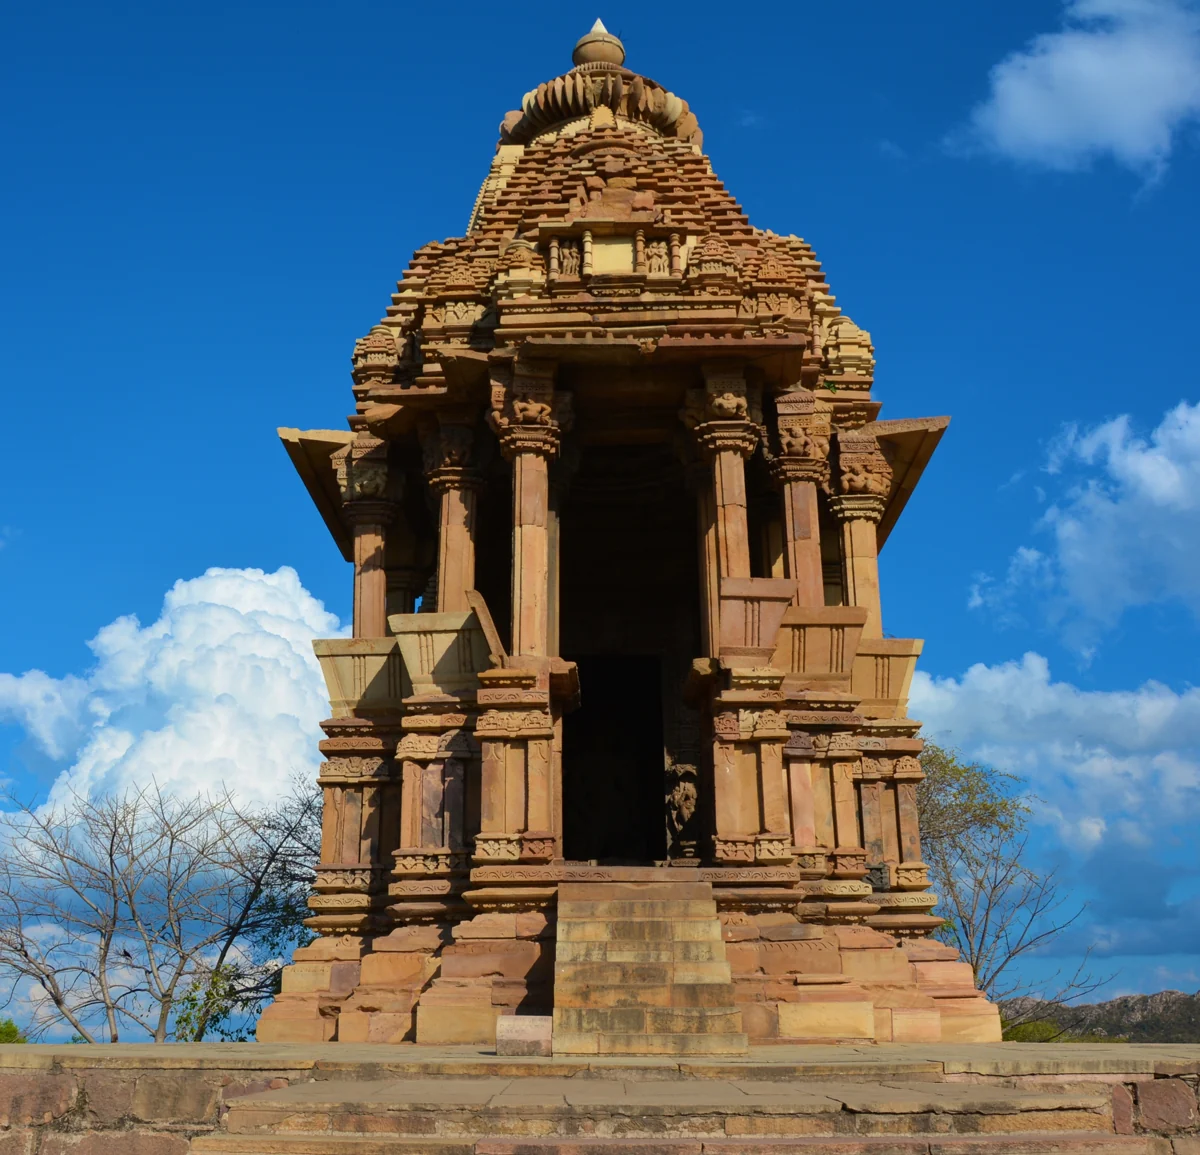
| Khajuraho | Chaturbhuj Temple | Navin Gautam · CC BY-SA 4.0 ↗ Navin Gautam · CC BY-SA 4.0 ↗ | Published guide · Published image |
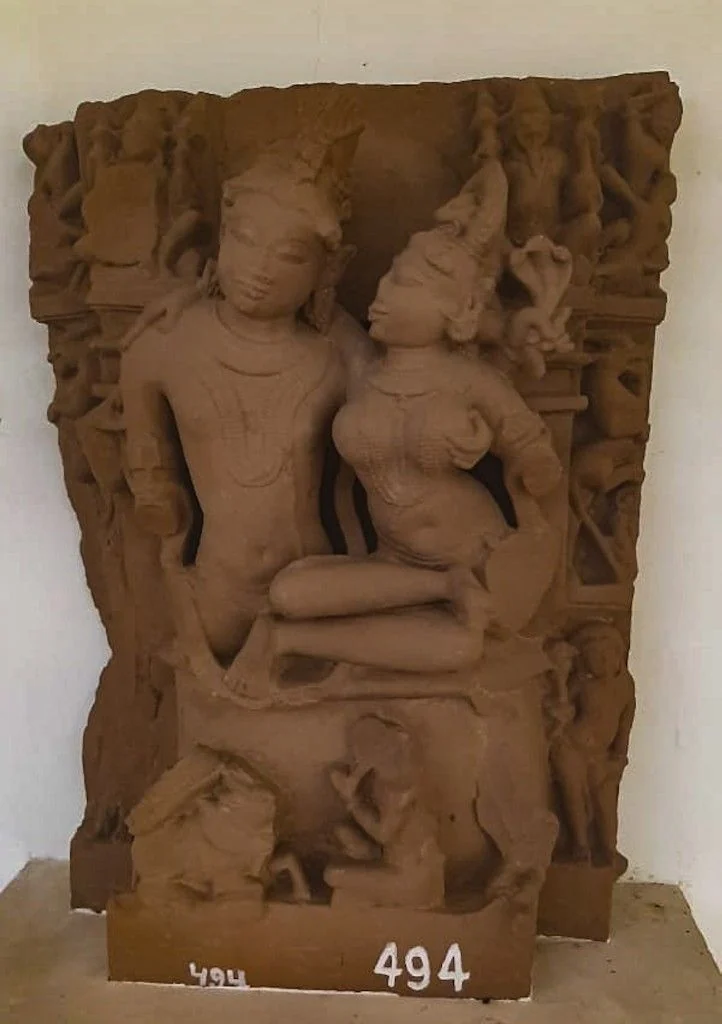
| Khajuraho | Archaeological Museum | SpeakingArch · CC BY-SA 4.0 ↗ SpeakingArch · CC BY-SA 4.0 ↗ | Published guide · Published image |
| Khajuraho | Adivart Tribal & Folk Art Museum | juggadery · CC BY-SA 2.0 ↗ juggadery · CC BY-SA 2.0 ↗ | Published guide · Published image |
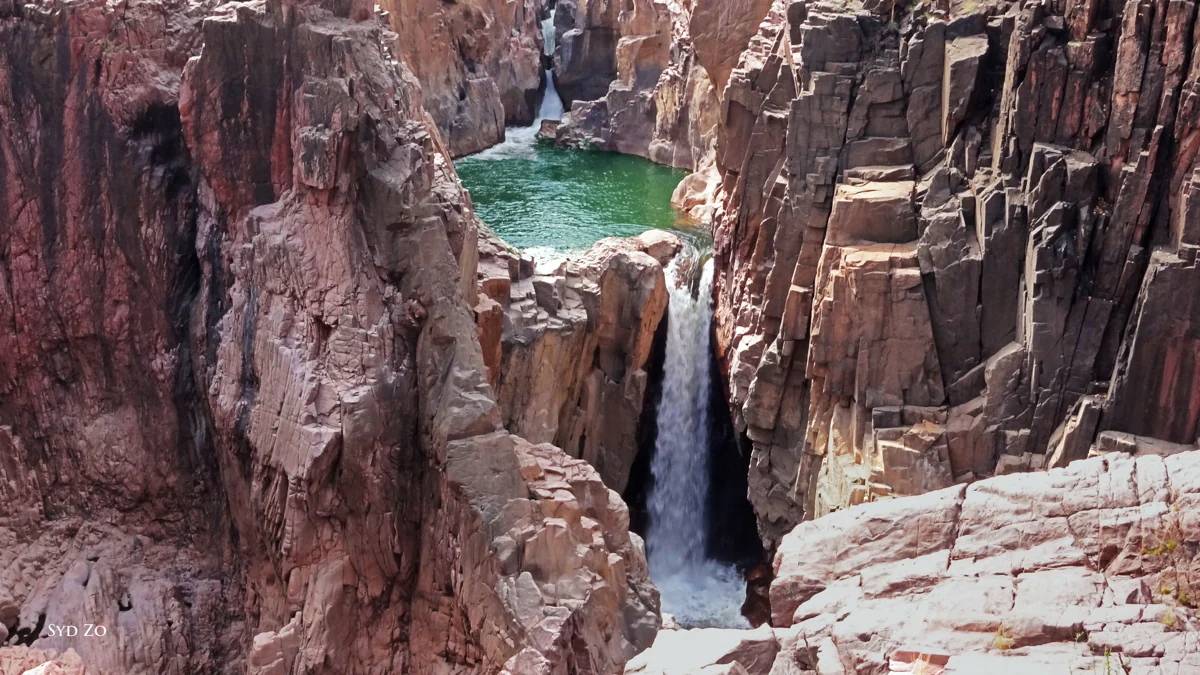
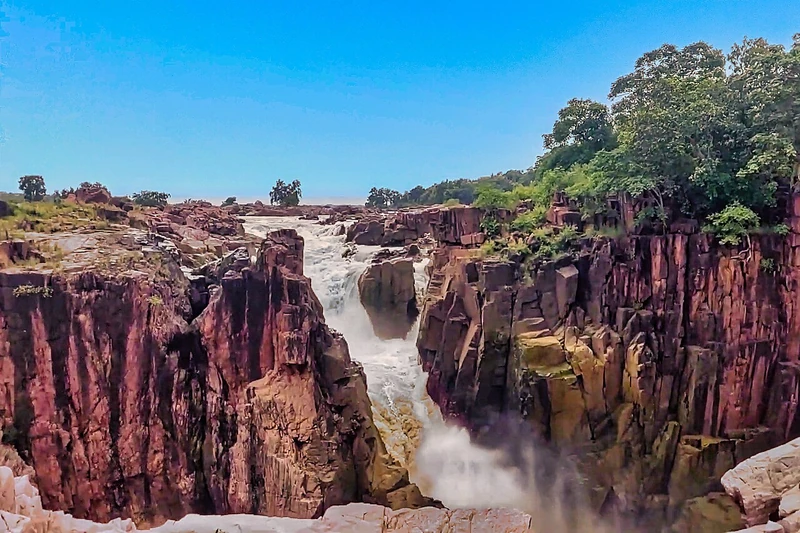
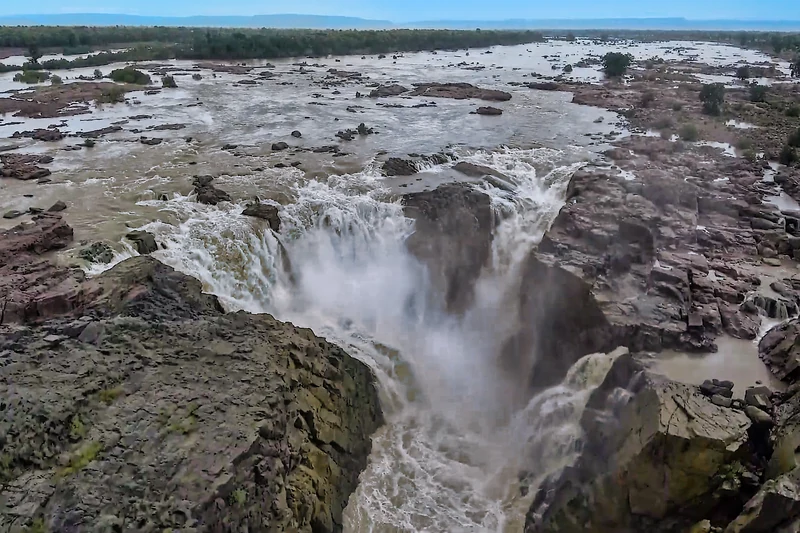
| Khajuraho | Raneh Falls & Ken River Canyon | Syedzohaibullah · CC BY-SA 3.0 ↗ Syedzohaibullah · CC BY-SA 3.0 ↗ | Published guide · Published image |
| Khajuraho | Pandav Falls | Sushil Panthri · CC BY-SA 4.0 ↗ Sushil Panthri · CC BY-SA 4.0 ↗ | Published guide · Published image |
| Panna National Park | The safari forest | Laxmikant22 · CC BY-SA 4.0 · Panna landscape reference; not a particular safari circuit | Published guide · Published image |
| Panna National Park | The Ken River | tjabeljan · CC BY 2.0 · Ken River in Panna Tiger Reserve | Published guide · Published image |
| Panna National Park | Pandav Falls & caves | Sushil Panthri · CC BY-SA 4.0 · Pandav Falls | Published guide · Published image |
| Panna National Park | Dhundwa Seha | Laxmikant22 · CC BY-SA 4.0 · Habitat reference; not a verified photograph of Dhundwa Seha | Published guide · Published image |
| Panna National Park | Raneh Falls | Ms Sarah Welch · CC0 · Raneh Falls canyon | Published guide · Published image |
| Panna National Park | Ken Gharial Sanctuary | Ms Sarah Welch · CC0 · Ken river-system habitat reference; not a verified sanctuary viewing point | Published guide · Published image |
| Panna National Park | Khajuraho temples | Marcin Białek · CC BY-SA 4.0 · Dulhadeo Temple, Khajuraho | Published guide · Published image |
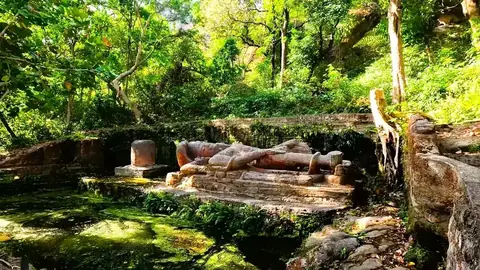
| Bandhavgarh | Shesh Shaiya | Photo | Published guide · Published image |
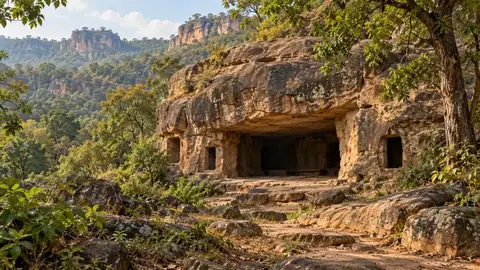
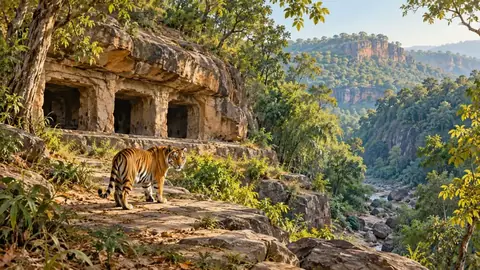
| Bandhavgarh | Badi Gufa (Bari Gufa) | Illustration | Published guide · Published image |
| Bandhavgarh | Three Cave Point | Illustration | Published guide · Published image |
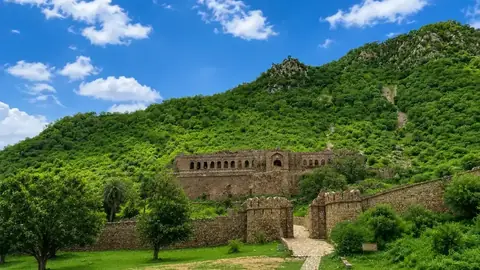
| Bandhavgarh | Bandhavgarh Fort | Photo | Published guide · Published image |
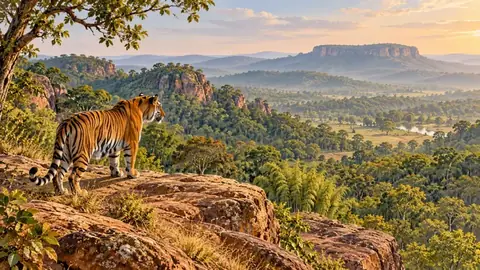
| Bandhavgarh | Climber's Point | Illustration | Published guide · Published image |
| Bandhavgarh | Mahaman Pond | Illustration | Published guide · Published image |
| Bandhavgarh | Panpatha Wildlife Sanctuary | Illustration | Published guide · Published image |
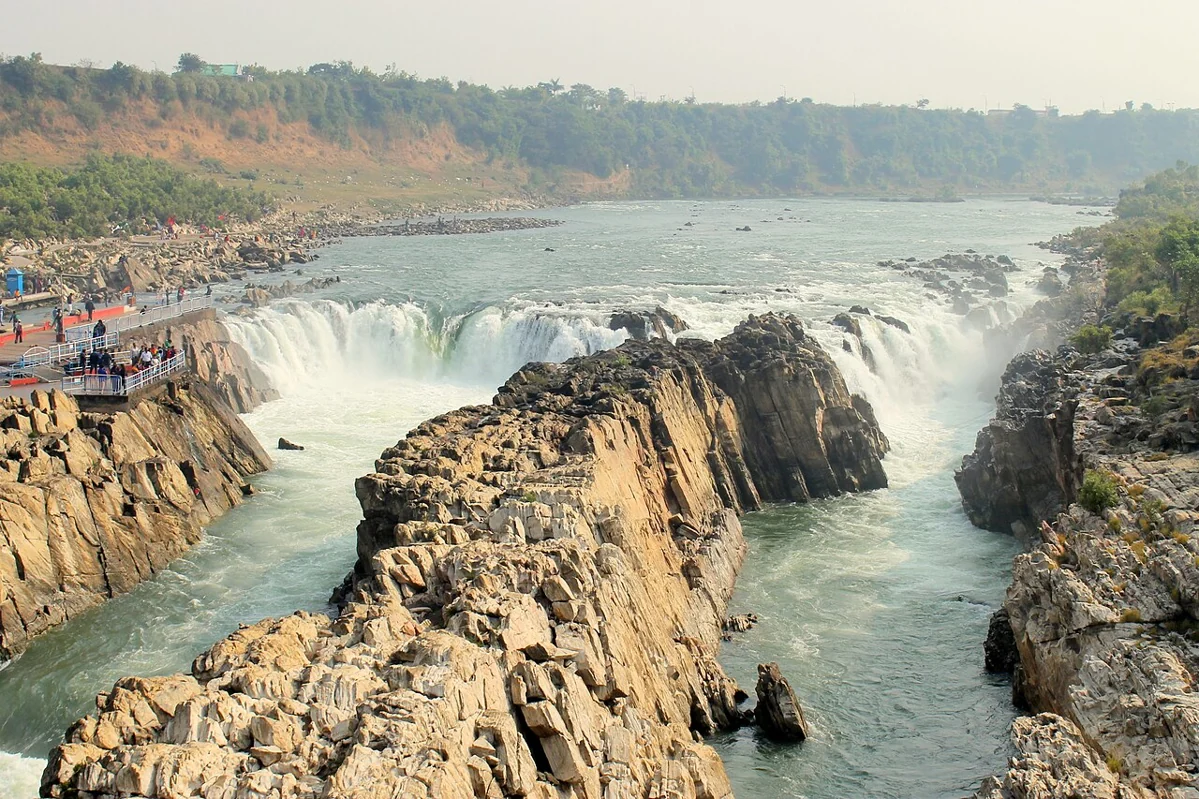
| Jabalpur | Dhuandhar Falls | Anshikasjv12 · CC BY-SA 4.0 ↗ Anshikasjv12 · CC BY-SA 4.0 ↗ | Published guide · Published image |
| Jabalpur | Bhedaghat & Marble Rocks | Anshikasjv12 · CC BY-SA 4.0 ↗ Anshikasjv12 · CC BY-SA 4.0 ↗ | Published guide · Published image |
| Jabalpur | Chausath Yogini Temple | Itsmalay~commonswiki · CC BY-SA 4.0 ↗ Itsmalay~commonswiki · CC BY-SA 4.0 ↗ | Published guide · Published image |
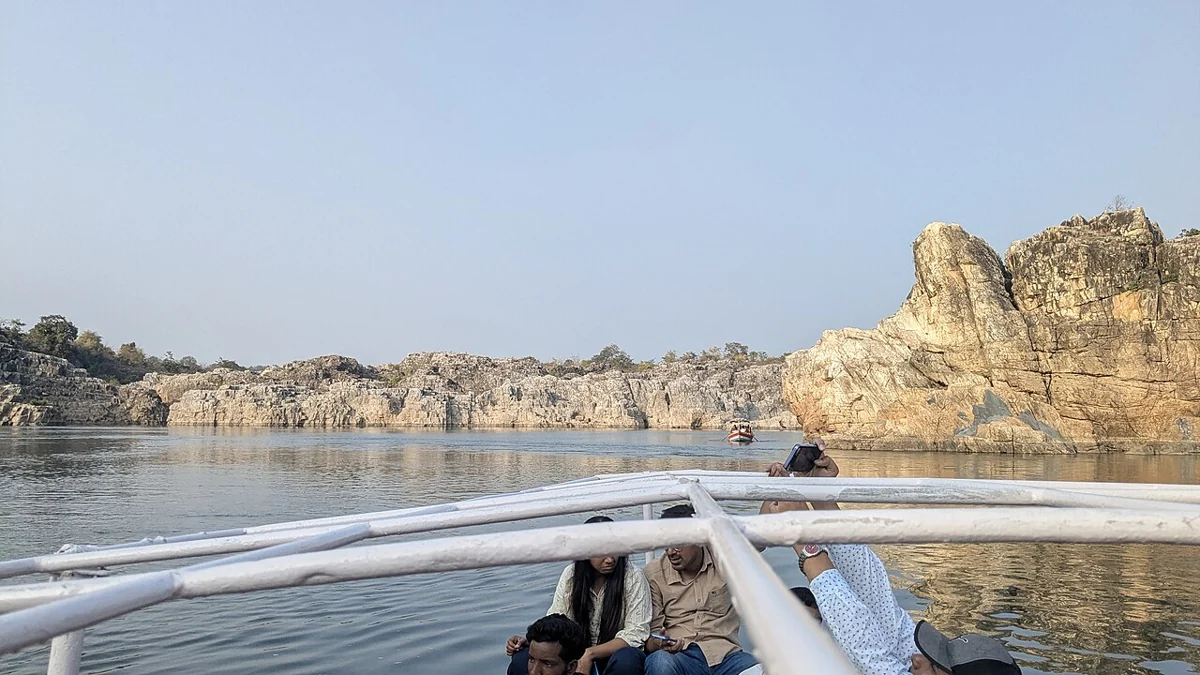
| Jabalpur | Panchvati Ghat | A boat-level view from the Bhedaghat river outing. Imphenominal · CC BY-SA 4.0 ↗ Imphenominal · CC BY-SA 4.0 ↗ | Published guide · Published image |
| Jabalpur | Madan Mahal Fort | Vizziee · CC BY 3.0 ↗ Vizziee · CC BY 3.0 ↗ | Published guide · Published image |
| Jabalpur | Balancing Rock | Mityrocks · GFDL CC BY 3.0 ↗ Mityrocks · GFDL CC BY 3.0 ↗ | Published guide · Published image |
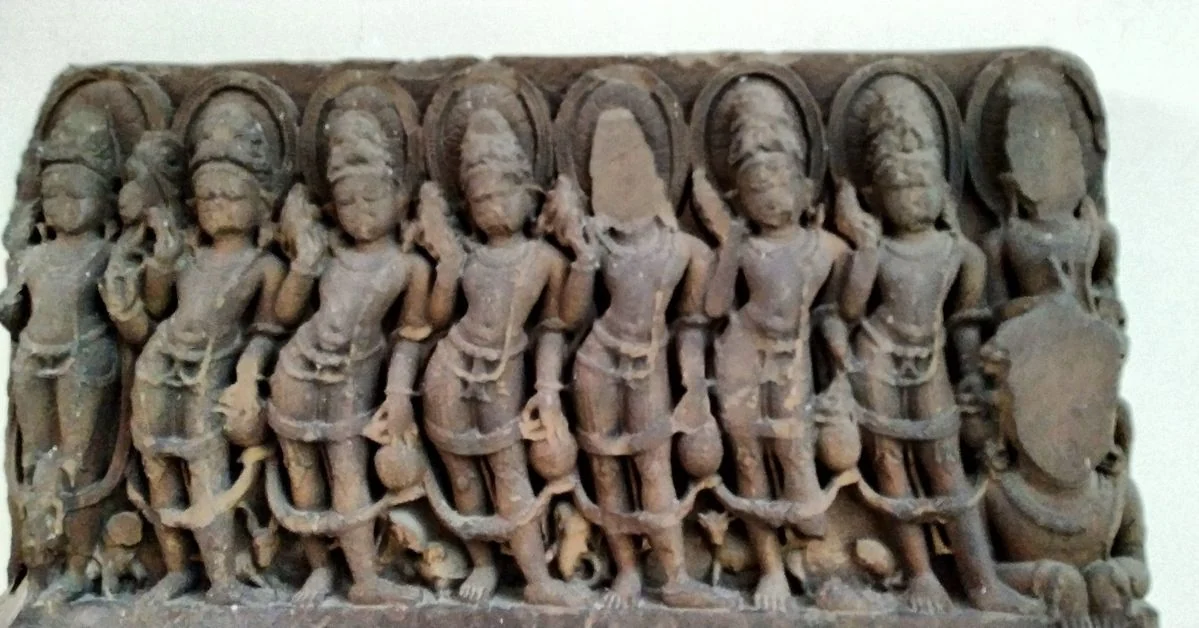
| Jabalpur | Rani Durgavati Museum | Navagraha panel in the Rani Durgavati Museum collection. SpeakingArch · CC BY-SA 4.0 ↗ SpeakingArch · CC BY-SA 4.0 ↗ | Published guide · Published image |
| Jabalpur | Kachnar City Shiva Temple | Shraddhasinghuikey · CC BY-SA 4.0 ↗ Shraddhasinghuikey · CC BY-SA 4.0 ↗ | Published guide · Published image |
| Jabalpur | Gwarighat | Mity05 · CC BY-SA 4.0 ↗ Mity05 · CC BY-SA 4.0 ↗ | Published guide · Published image |
| Jabalpur | Tilwara Ghat | Aksveer · CC BY-SA 4.0 ↗ Aksveer · CC BY-SA 4.0 ↗ | Published guide · Published image |
| Jabalpur | Pisanhari Ki Madiya | Loveallwiki · CC BY-SA 4.0 ↗ Loveallwiki · CC BY-SA 4.0 ↗ | Published guide · Published image |
| Jabalpur | Hanumantal Bada Jain Mandir | Malaiya · CC BY-SA 3.0 ↗ Malaiya · CC BY-SA 3.0 ↗ | Published guide · Published image |
| Jabalpur | Dumna Nature Reserve | Jyotirmayyy · CC BY-SA 4.0 ↗ Jyotirmayyy · CC BY-SA 4.0 ↗ | Published guide · Published image |
| Jabalpur | Khandari Lake | Sandeep Shukla · CC BY 2.0 ↗ Sandeep Shukla · CC BY 2.0 ↗ | Published guide · Published image |
| Jabalpur | Bargi Dam | Gamerzer · CC0 ↗ Gamerzer · CC0 ↗ | Published guide · Published image |
| Jabalpur | Badi Khermai Temple | Shraddhasinghuikey · CC BY-SA 4.0 ↗ Shraddhasinghuikey · CC BY-SA 4.0 ↗ | Published guide · Published image |
| Jabalpur | Saraswati Ghat | Ms Sarah Welch · CC0 ↗ Ms Sarah Welch · CC0 ↗ | Published guide · Published image |
| Jabalpur | Gwarighat Sahib Gurudwara | The wider Gwarighat riverfront setting, including the Gurudwara. Rattna16 · CC BY-SA 4.0 ↗ Rattna16 · CC BY-SA 4.0 ↗ | Published guide · Published image |
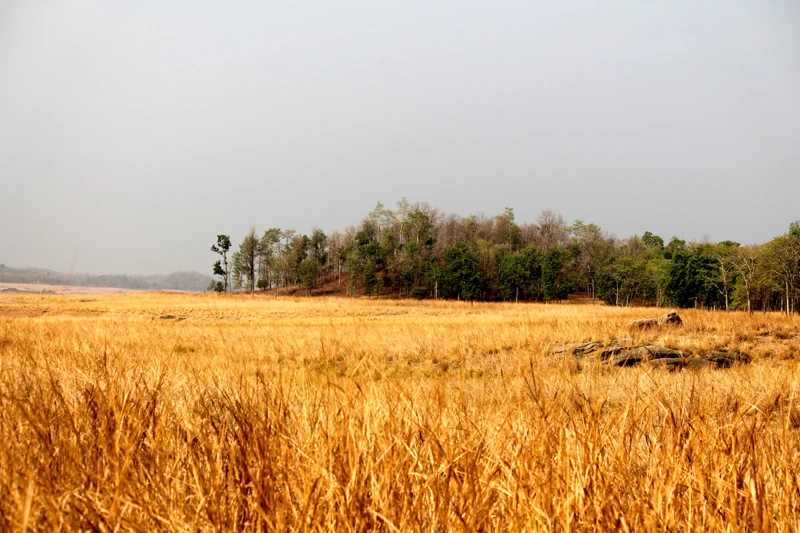
| Kanha National Park | Kanha Meadows | Kanha grassland · Minku2016 · CC BY-SA 4.0 | Published guide · Published image |
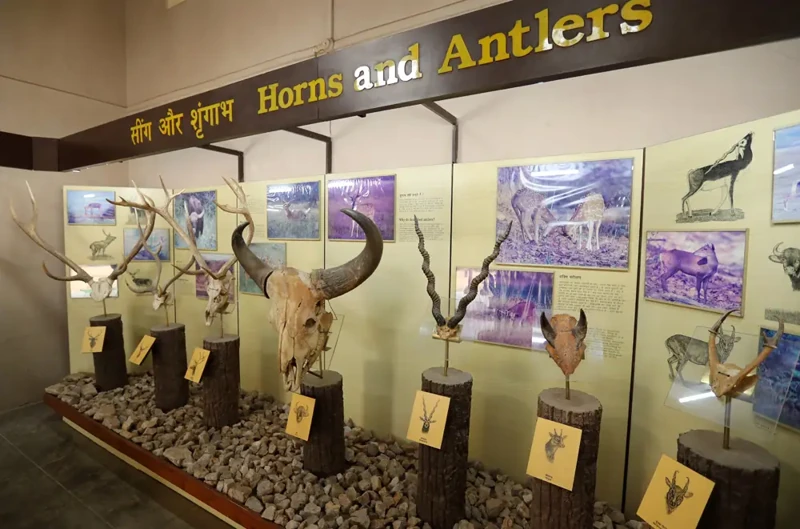
| Kanha National Park | Kanha Museum | Kanha Museum · MP Tourism | Published guide · Published image |
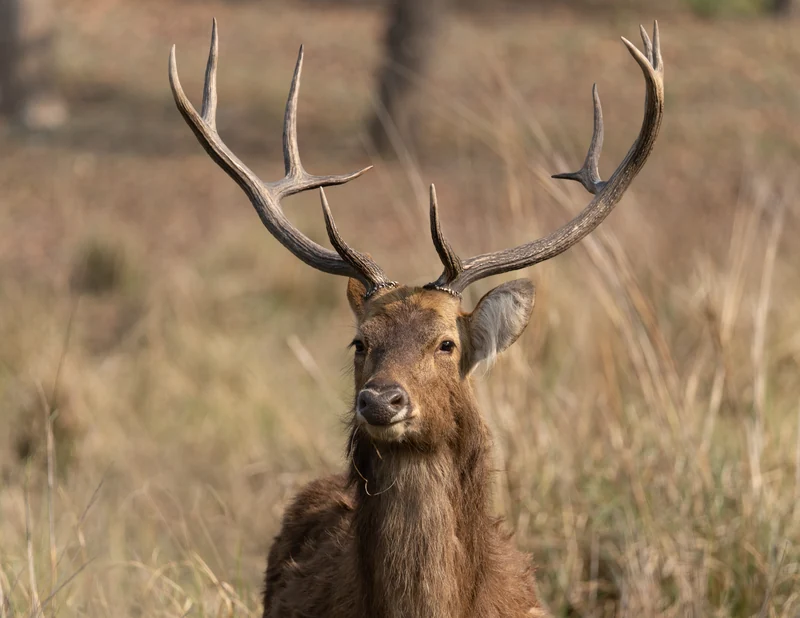
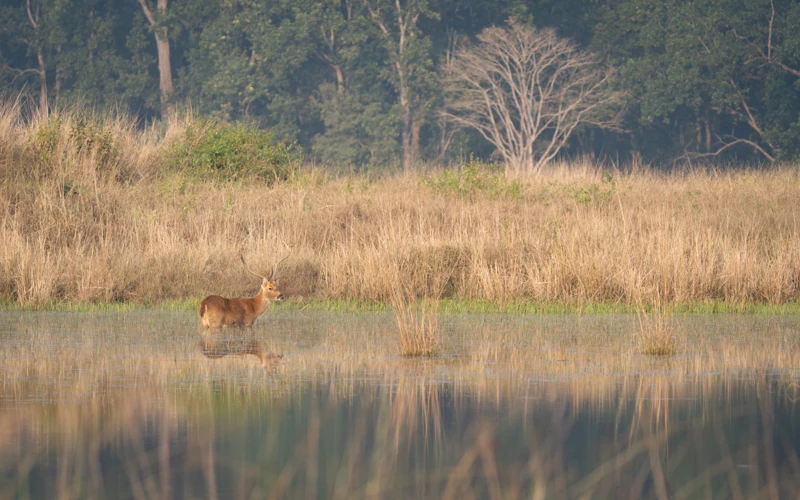
| Kanha National Park | Sonf Meadows | Barasingha in Kanha · Kandukuru Nagarjun · CC BY 2.0 · Habitat reference; not a photograph of Sonf Meadows | Published guide · Published image |
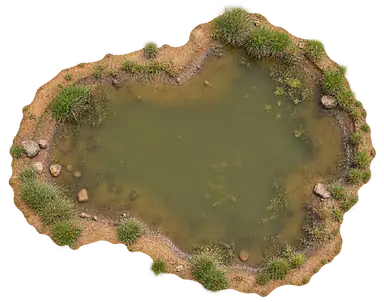
| Kanha National Park | Shravan Tal | Illustration · not a photograph of Shravan Tal | Published guide · Published image |
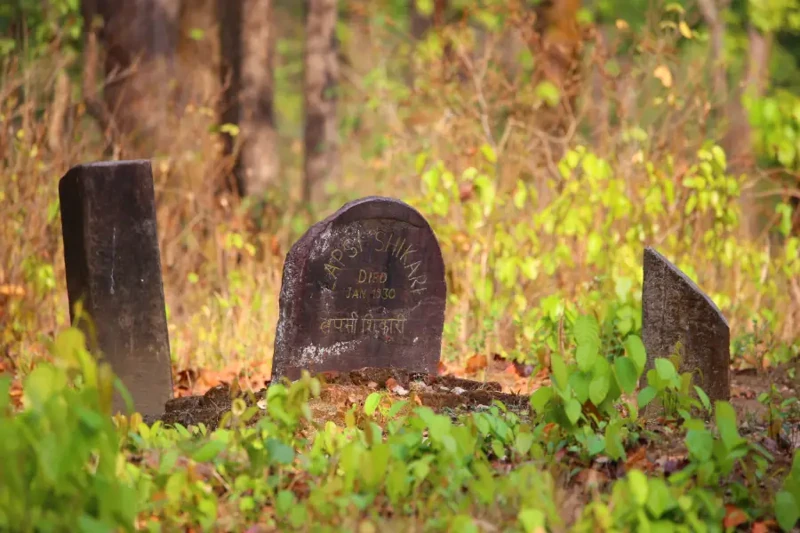
| Kanha National Park | Lapsi Kabar | Lapsi Kabar memorial · MP Tourism | Published guide · Published image |
| Kanha National Park | Babathenga Tank | Water habitat in Kanha · Kandukuru Nagarjun · CC BY 2.0 · Habitat reference; not a photograph of Babathenga Tank | Published guide · Published image |
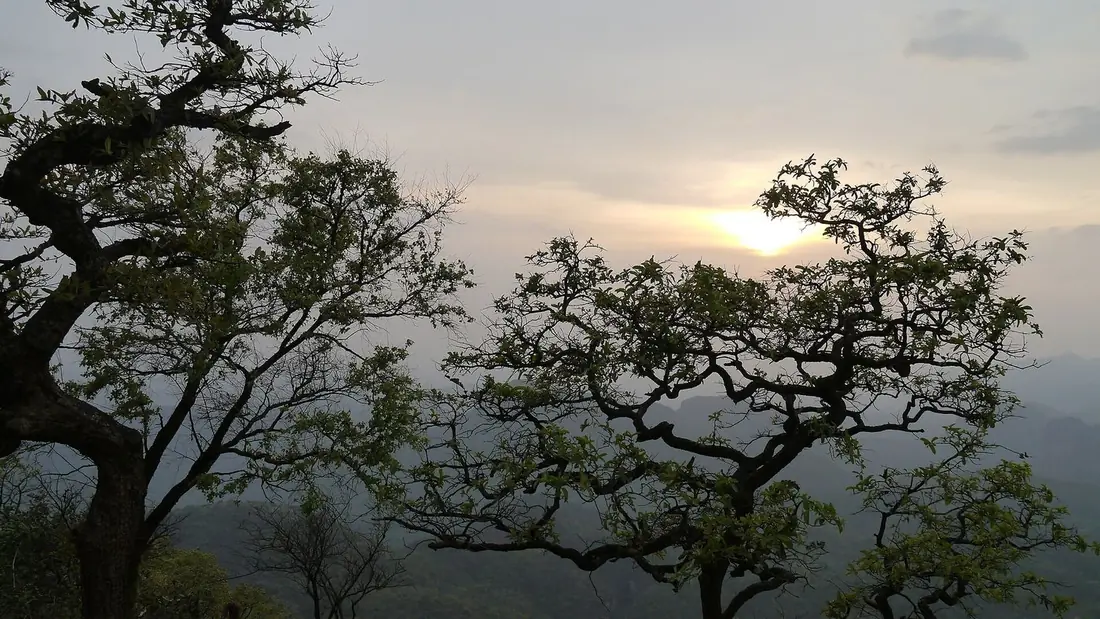
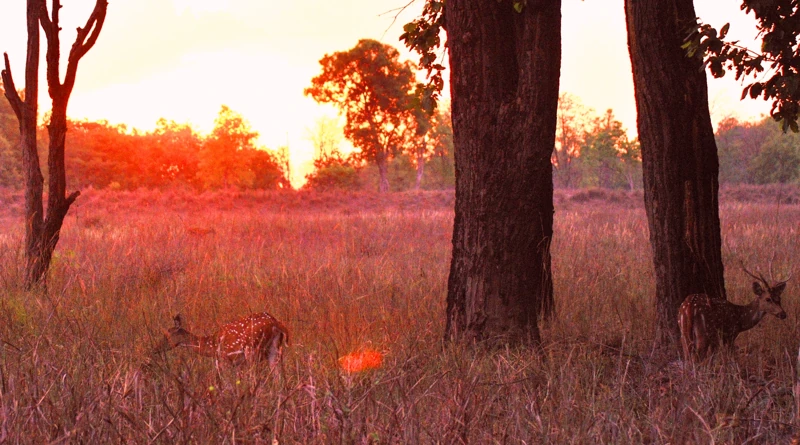
| Kanha National Park | Bamni Dadar | Sunset inside Kanha · Milindganeshjoshi · CC BY-SA 4.0 · Landscape reference; exact Bamni Dadar viewpoint is unverified | Published guide · Published image |
| Kanha National Park | Bishanpura, Sondar & Ghorella grasslands | AI destination landscape reference only. The published guide has no separate photo for this stop. | Published guide |
| Kanha National Park | Kopedabri – Naktighati sector | AI destination landscape reference only. The published guide has no separate photo for this stop. | Published guide |
| Kanha National Park | Phen Wildlife Sanctuary | AI destination landscape reference only. The published guide has no separate photo for this stop. | Published guide |
| Kanha National Park | Khatia, Khapa & Sijhora buffer zones | AI destination landscape reference only. The published guide has no separate photo for this stop. | Published guide |
| Kanha National Park | Gond and Baiga villages | AI destination landscape reference only. The published guide has no separate photo for this stop. | Published guide |
| Kanha National Park | Mandla, Sahastradhara & Ramnagar | AI destination landscape reference only. The published guide has no separate photo for this stop. | Published guide |
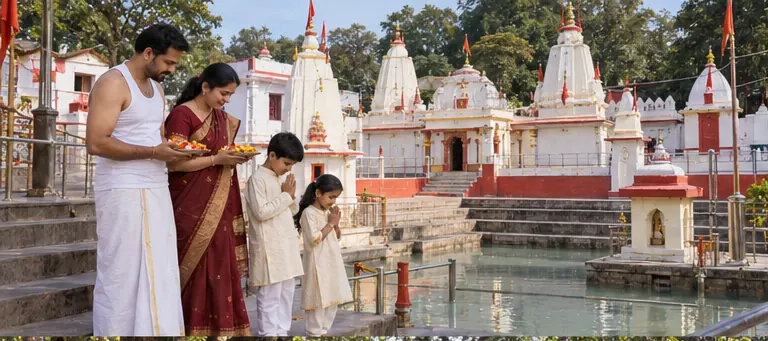
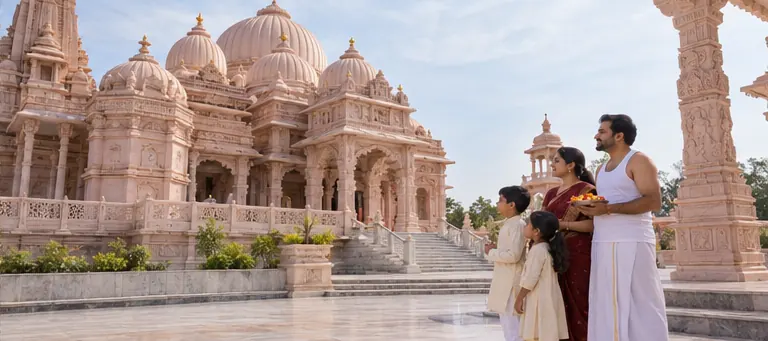
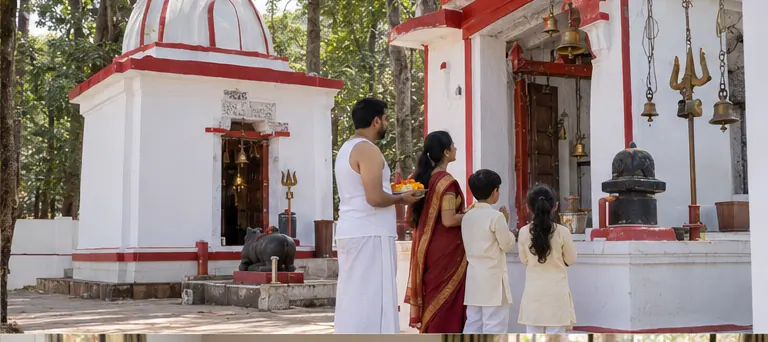
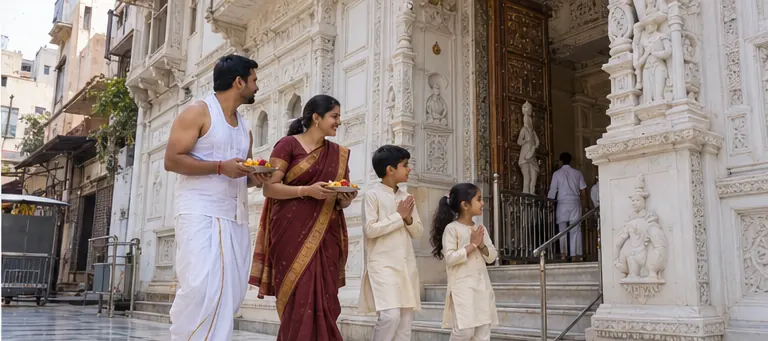
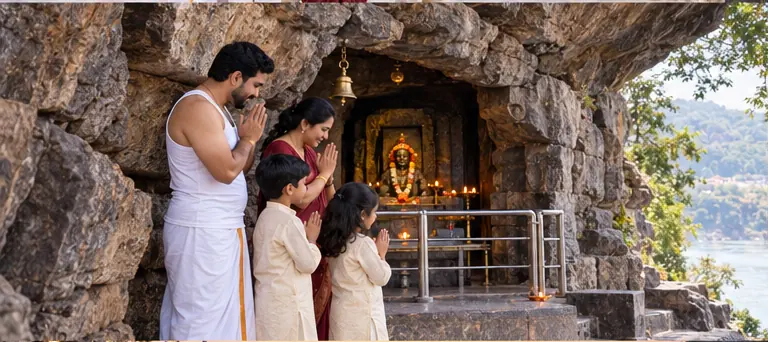
| Amarkantak | Narmada Udgam Temple & Kund | AI-generated family visualisation · Banjari MP Tours Private Limited | Published guide · Published image |
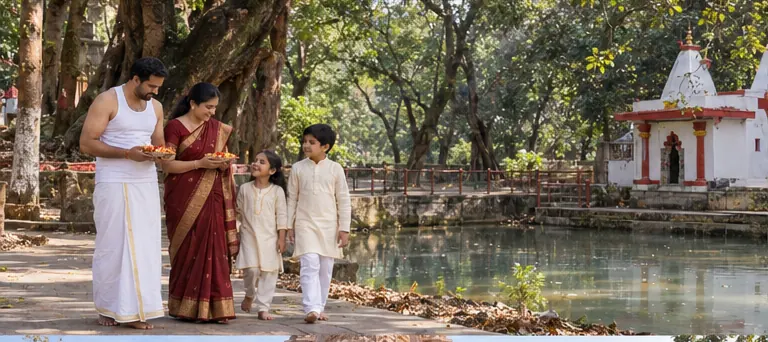
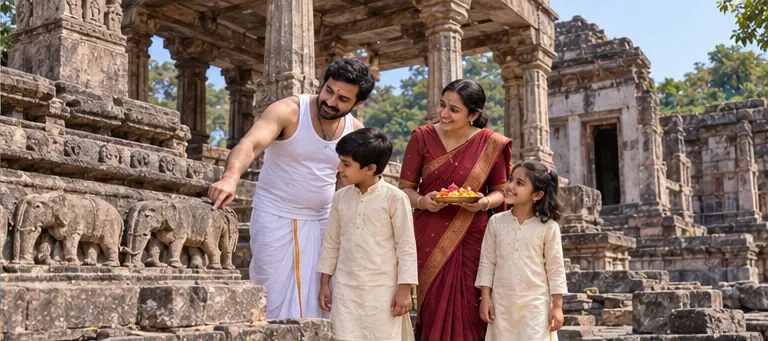
| Amarkantak | Ancient Kalachuri Temples | AI-generated family visualisation · Banjari MP Tours Private Limited | Published guide · Published image |
| Amarkantak | Mai Ki Bagiya | AI-generated family visualisation · Banjari MP Tours Private Limited | Published guide · Published image |
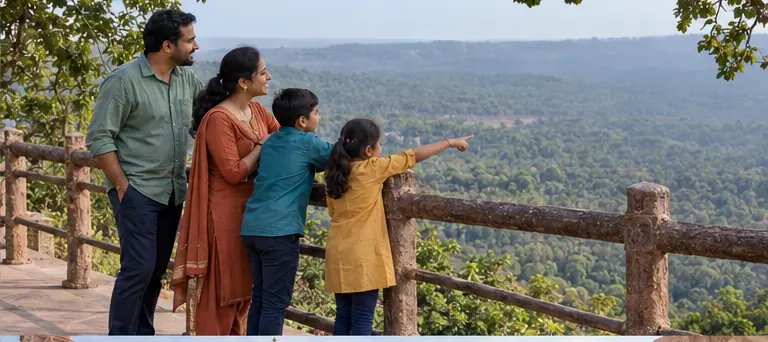
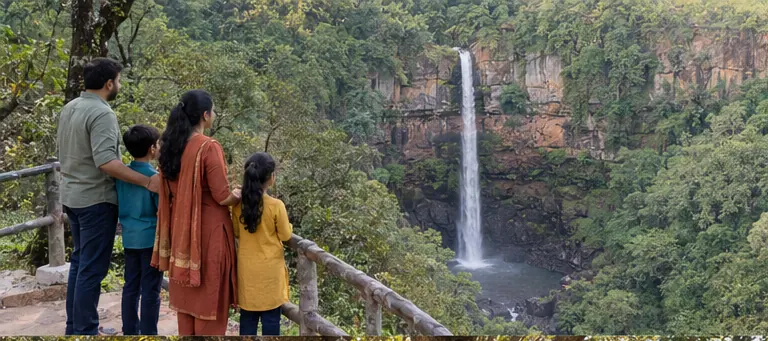
| Amarkantak | Sonmuda Viewpoint | AI-generated family visualisation · Banjari MP Tours Private Limited | Published guide · Published image |
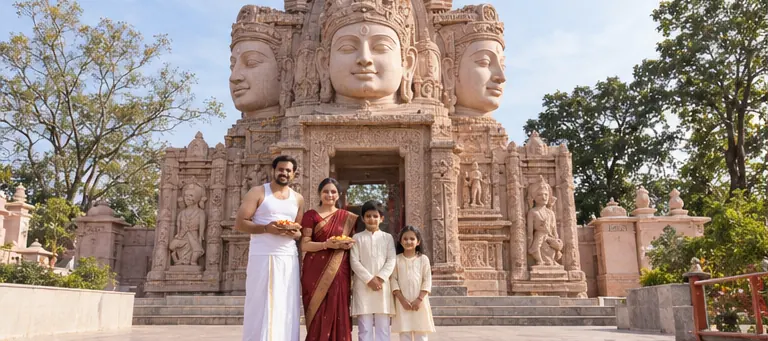
| Amarkantak | Shri Yantra Mandir | AI-generated family visualisation · Banjari MP Tours Private Limited | Published guide · Published image |
| Amarkantak | Shree Sarvodaya Jain Temple | AI-generated family visualisation · Banjari MP Tours Private Limited | Published guide · Published image |
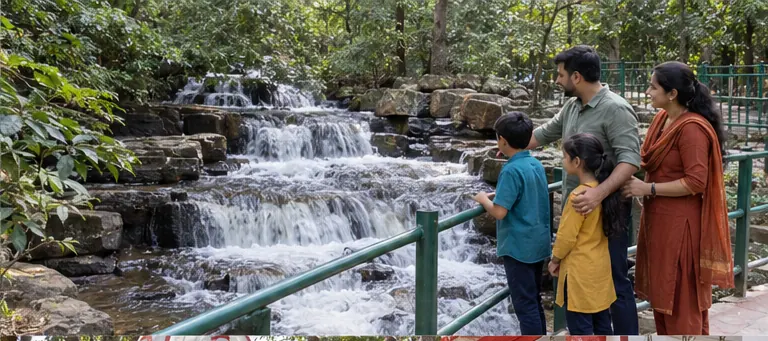
| Amarkantak | Kapil Dhara Waterfall | AI-generated family visualisation · Banjari MP Tours Private Limited | Published guide · Published image |
| Amarkantak | Dugdh Dhara Waterfall | AI-generated family visualisation · Banjari MP Tours Private Limited | Published guide · Published image |
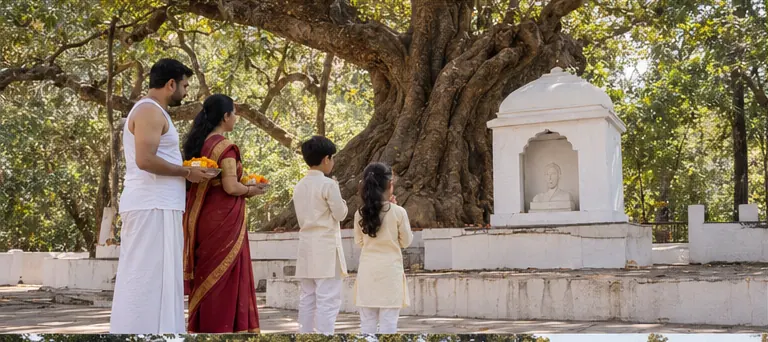
| Amarkantak | Kabir Chabutra | AI-generated family visualisation · Banjari MP Tours Private Limited | Published guide · Published image |
| Amarkantak | Jwaleshwar Mahadev Temple | AI-generated family visualisation · Banjari MP Tours Private Limited | Published guide · Published image |
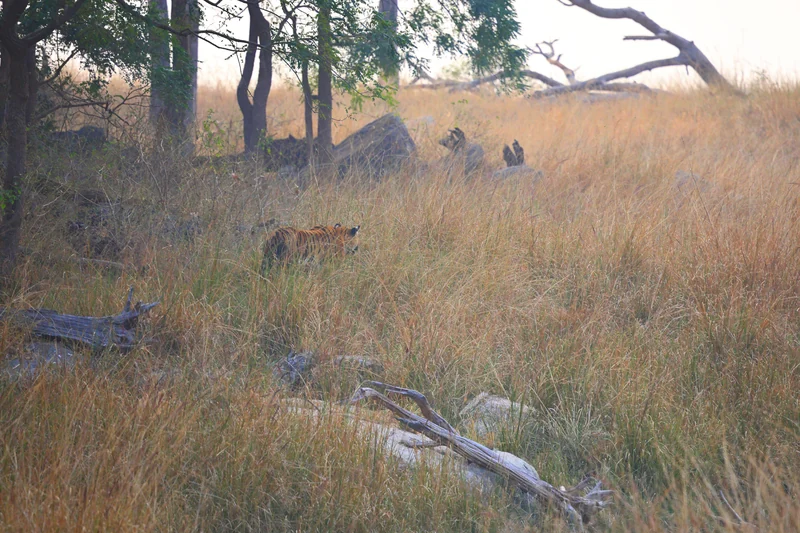
| Pench National Park | Turia forest | Shaswat Nimesh · CC BY-SA 4.0 · Tiger in Turia core zone, as identified by the photographer | Published guide · Published image |
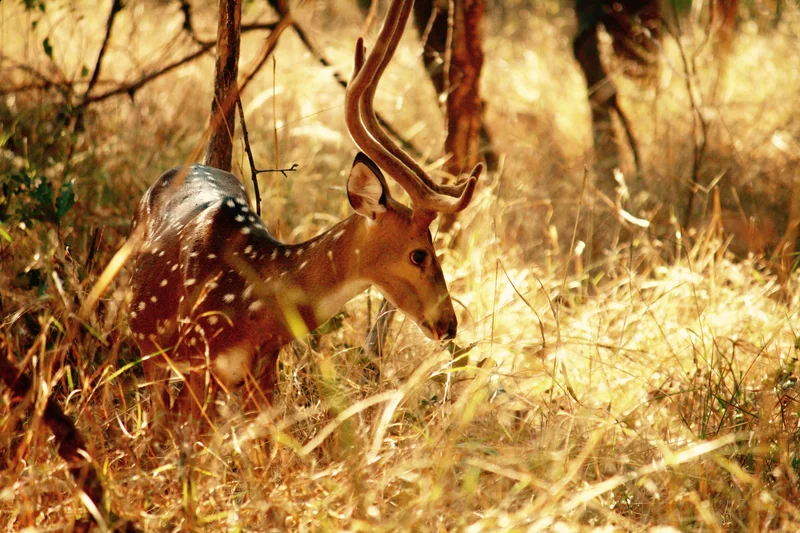
| Pench National Park | Karmajhiri | Rashityagi · CC BY-SA 4.0 · Chital in Pench; habitat reference, not a Karmajhiri viewpoint | Published guide · Published image |
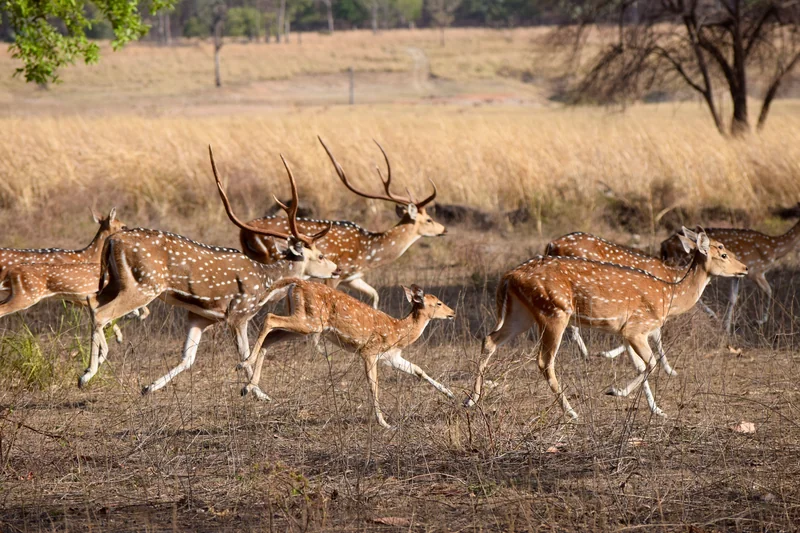
| Pench National Park | Alikatta grasslands | Anantht84 · CC BY-SA 4.0 · Pench chital habitat; not a verified photograph of Alikatta | Published guide · Published image |
| Pench National Park | Pench River & Chindimatta | Ishani Mehta · CC BY-SA 4.0 · Pench River at the state-border landscape; not a Chindimatta viewpoint | Published guide · Published image |
| Pench National Park | Jamtara forest | Anantht84 · CC BY-SA 4.0 · Pench landscape photograph; not a verified Jamtara circuit | Published guide · Published image |
| Pench National Park | Rukhad buffer forest | Minku2016 · CC BY-SA 4.0 · Pench forest photograph; not a verified Rukhad circuit | Published guide · Published image |
| Pench National Park | Kohka Lake | Pench-inspired waterside artwork; not a photograph of Kohka Lake | Published guide · Published image |
| Pench National Park | Sillari, Maharashtra | Sanjaybhagwat · CC BY-SA 4.0 · Sillari, Pench, as identified by the photographer | Published guide · Published image |
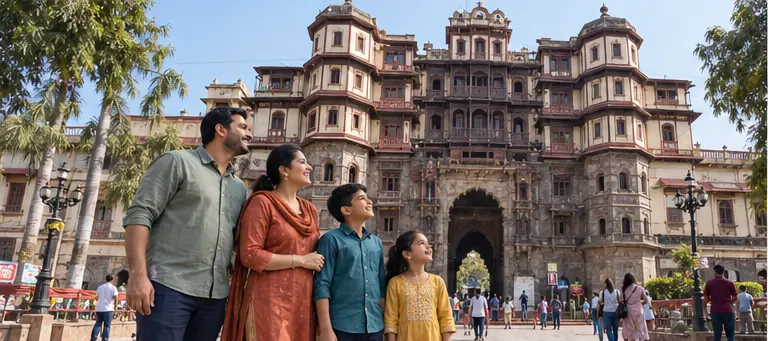
| Indore | Rajwada Palace | AI-generated family visualisation · Banjari MP Tours Private Limited | Published guide · Published image |
| Indore | Kanch Mandir | AI-generated family visualisation · Banjari MP Tours Private Limited | Published guide · Published image |
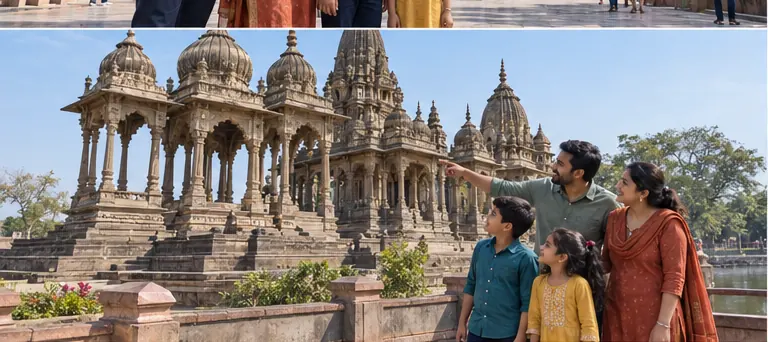
| Indore | Krishnapura Chhatris | AI-generated family visualisation · Banjari MP Tours Private Limited | Published guide · Published image |
| Indore | Central Museum, Indore | AI-generated family visualisation · Banjari MP Tours Private Limited | Published guide · Published image |
| Indore | Lal Bagh Palace | AI-generated family visualisation · Banjari MP Tours Private Limited | Published guide · Published image |
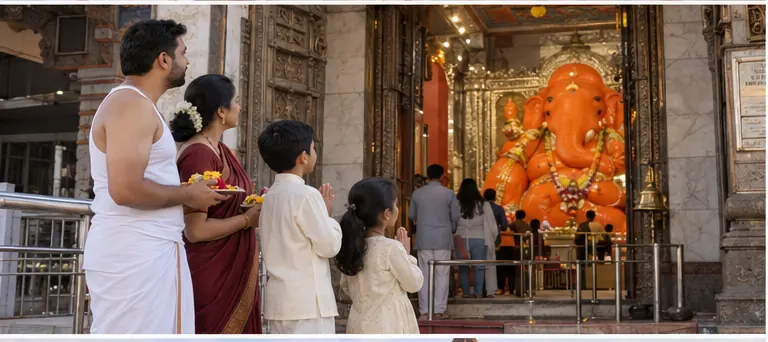
| Indore | Khajrana Ganesh Temple | AI-generated family visualisation · Banjari MP Tours Private Limited | Published guide · Published image |
| Indore | Annapurna Temple | AI-generated family visualisation · Banjari MP Tours Private Limited | Published guide · Published image |
| Indore | Bada Ganpati Temple | AI-generated family visualisation · Banjari MP Tours Private Limited | Published guide · Published image |
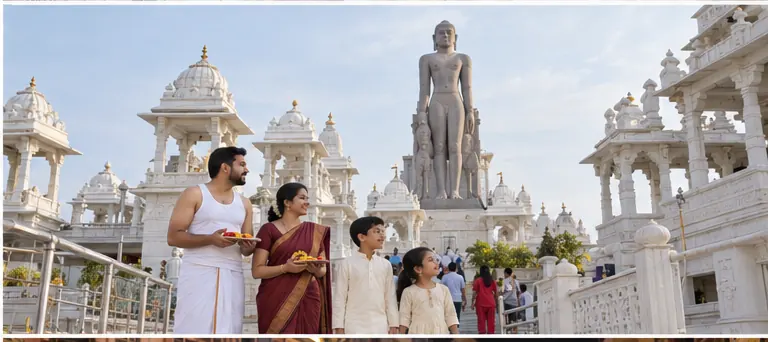
| Indore | Gomatgiri | AI-generated family visualisation · Banjari MP Tours Private Limited | Published guide · Published image |
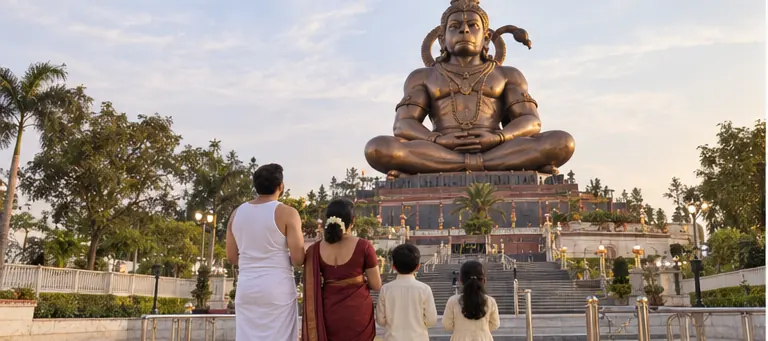
| Indore | Pitra Parvat · Pitreshwar Hanuman | AI-generated family visualisation · Banjari MP Tours Private Limited | Published guide · Published image |
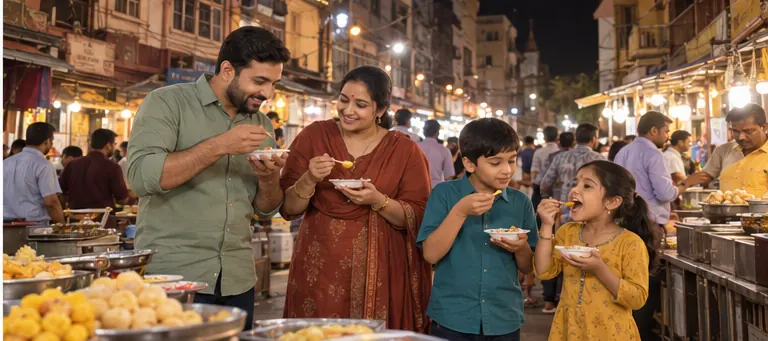
| Indore | Chappan Dukan | AI-generated family visualisation · Banjari MP Tours Private Limited | Published guide · Published image |
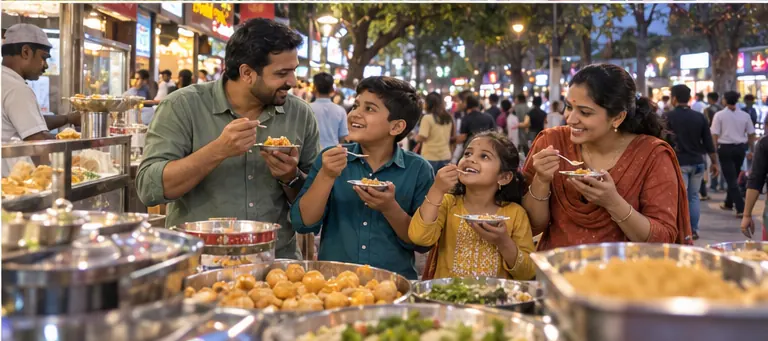
| Indore | Sarafa Night Food Bazaar | AI-generated family visualisation · Banjari MP Tours Private Limited | Published guide · Published image |
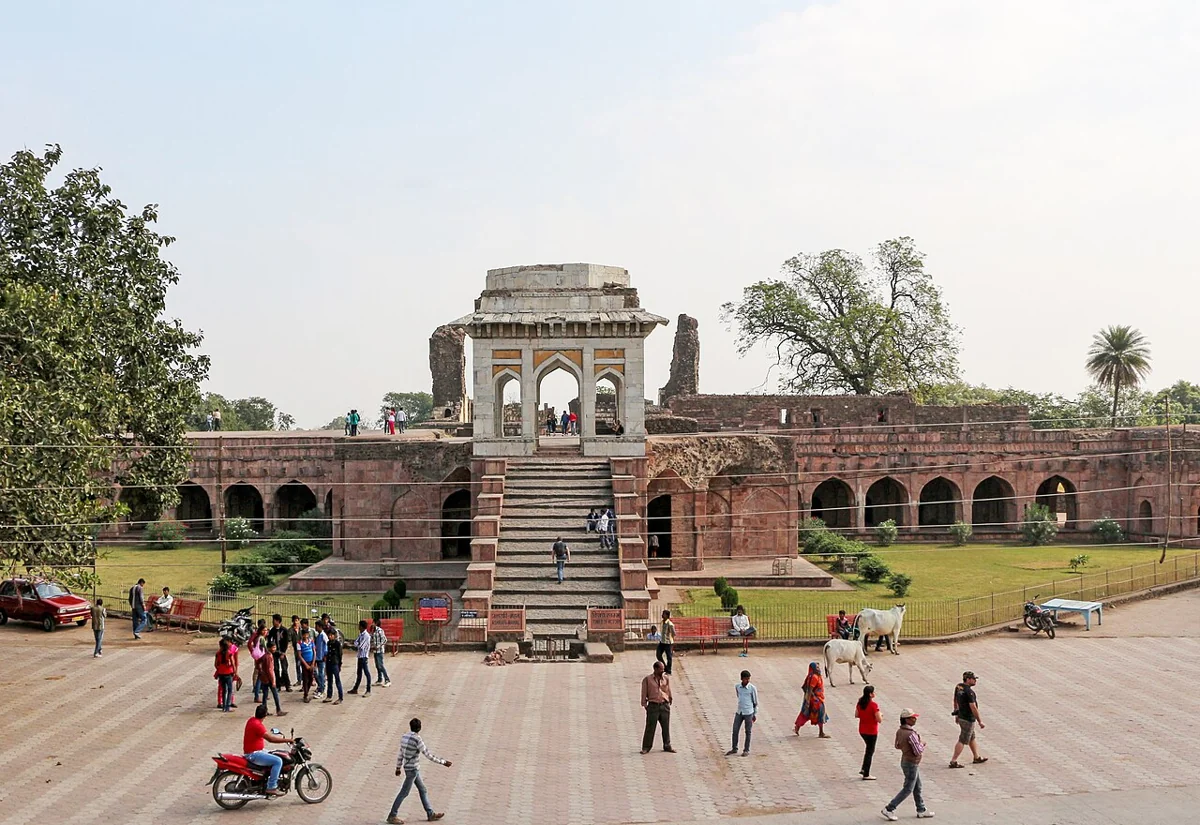
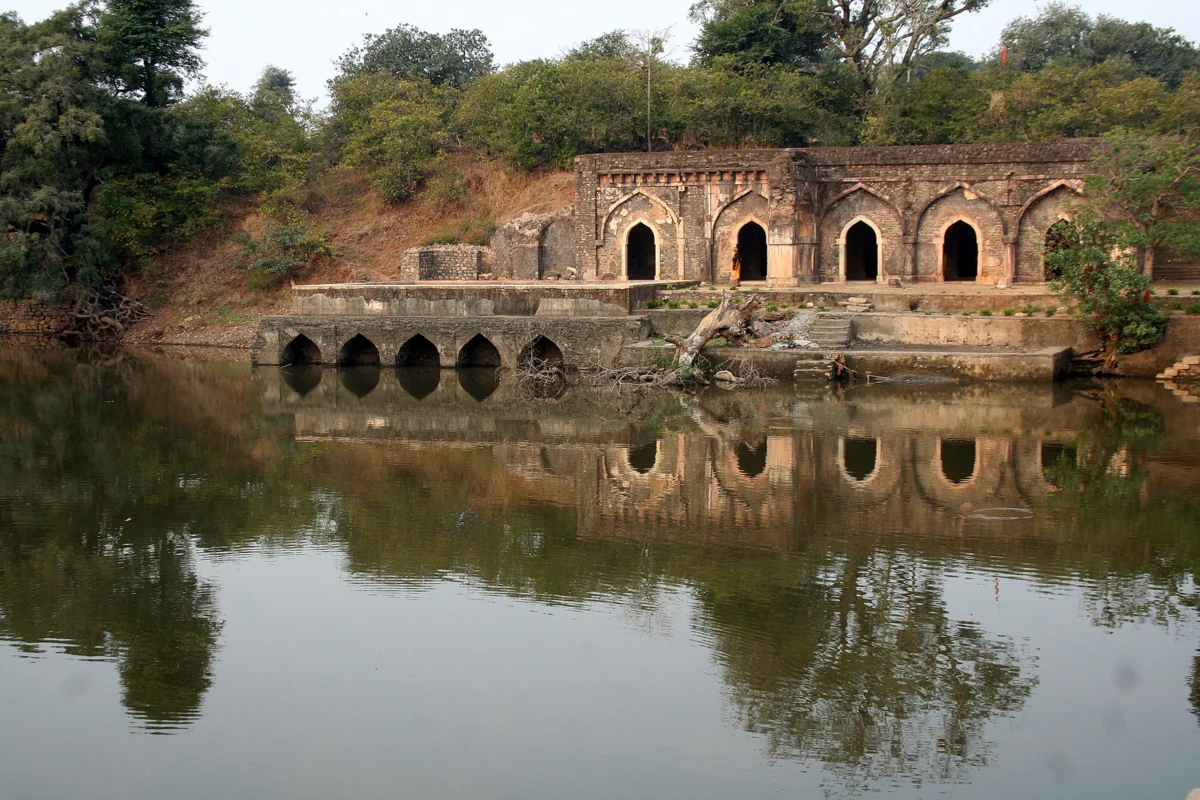
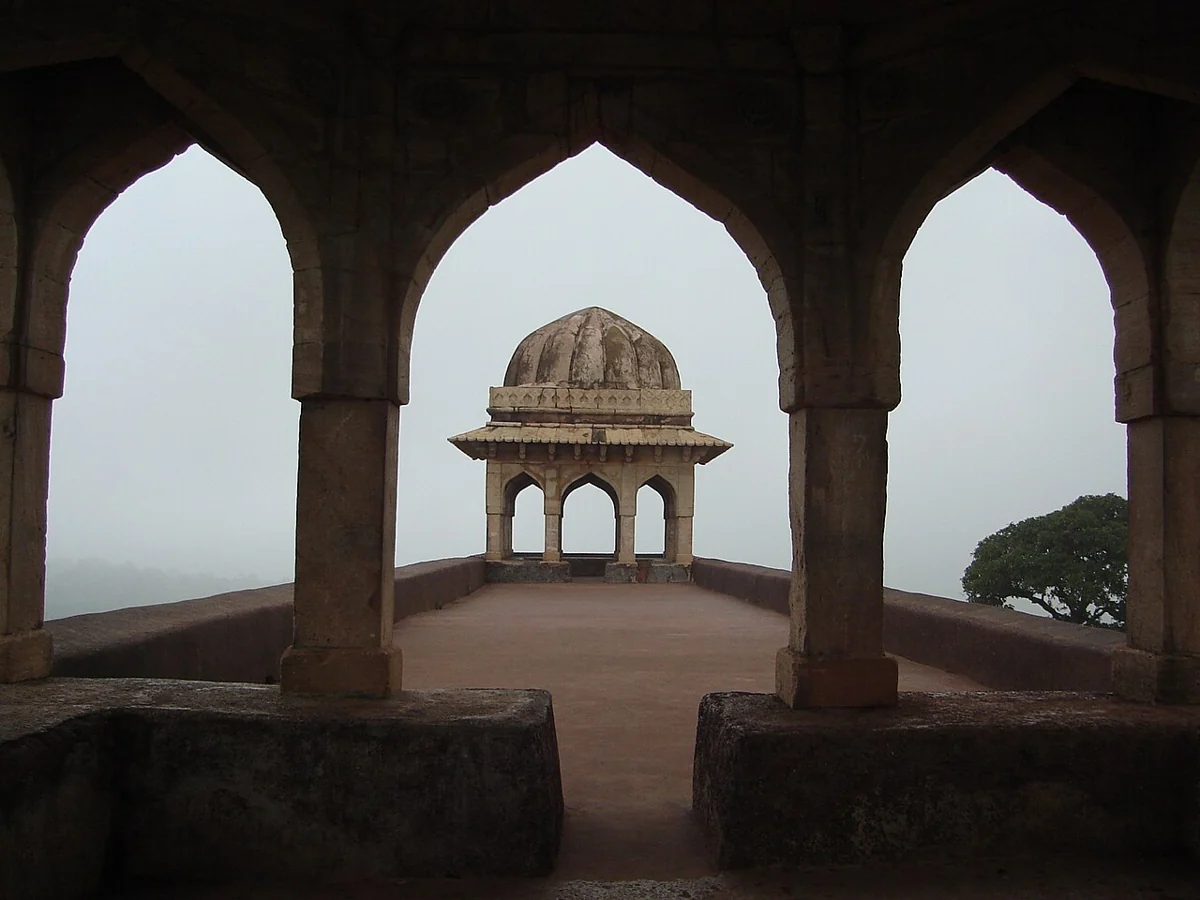
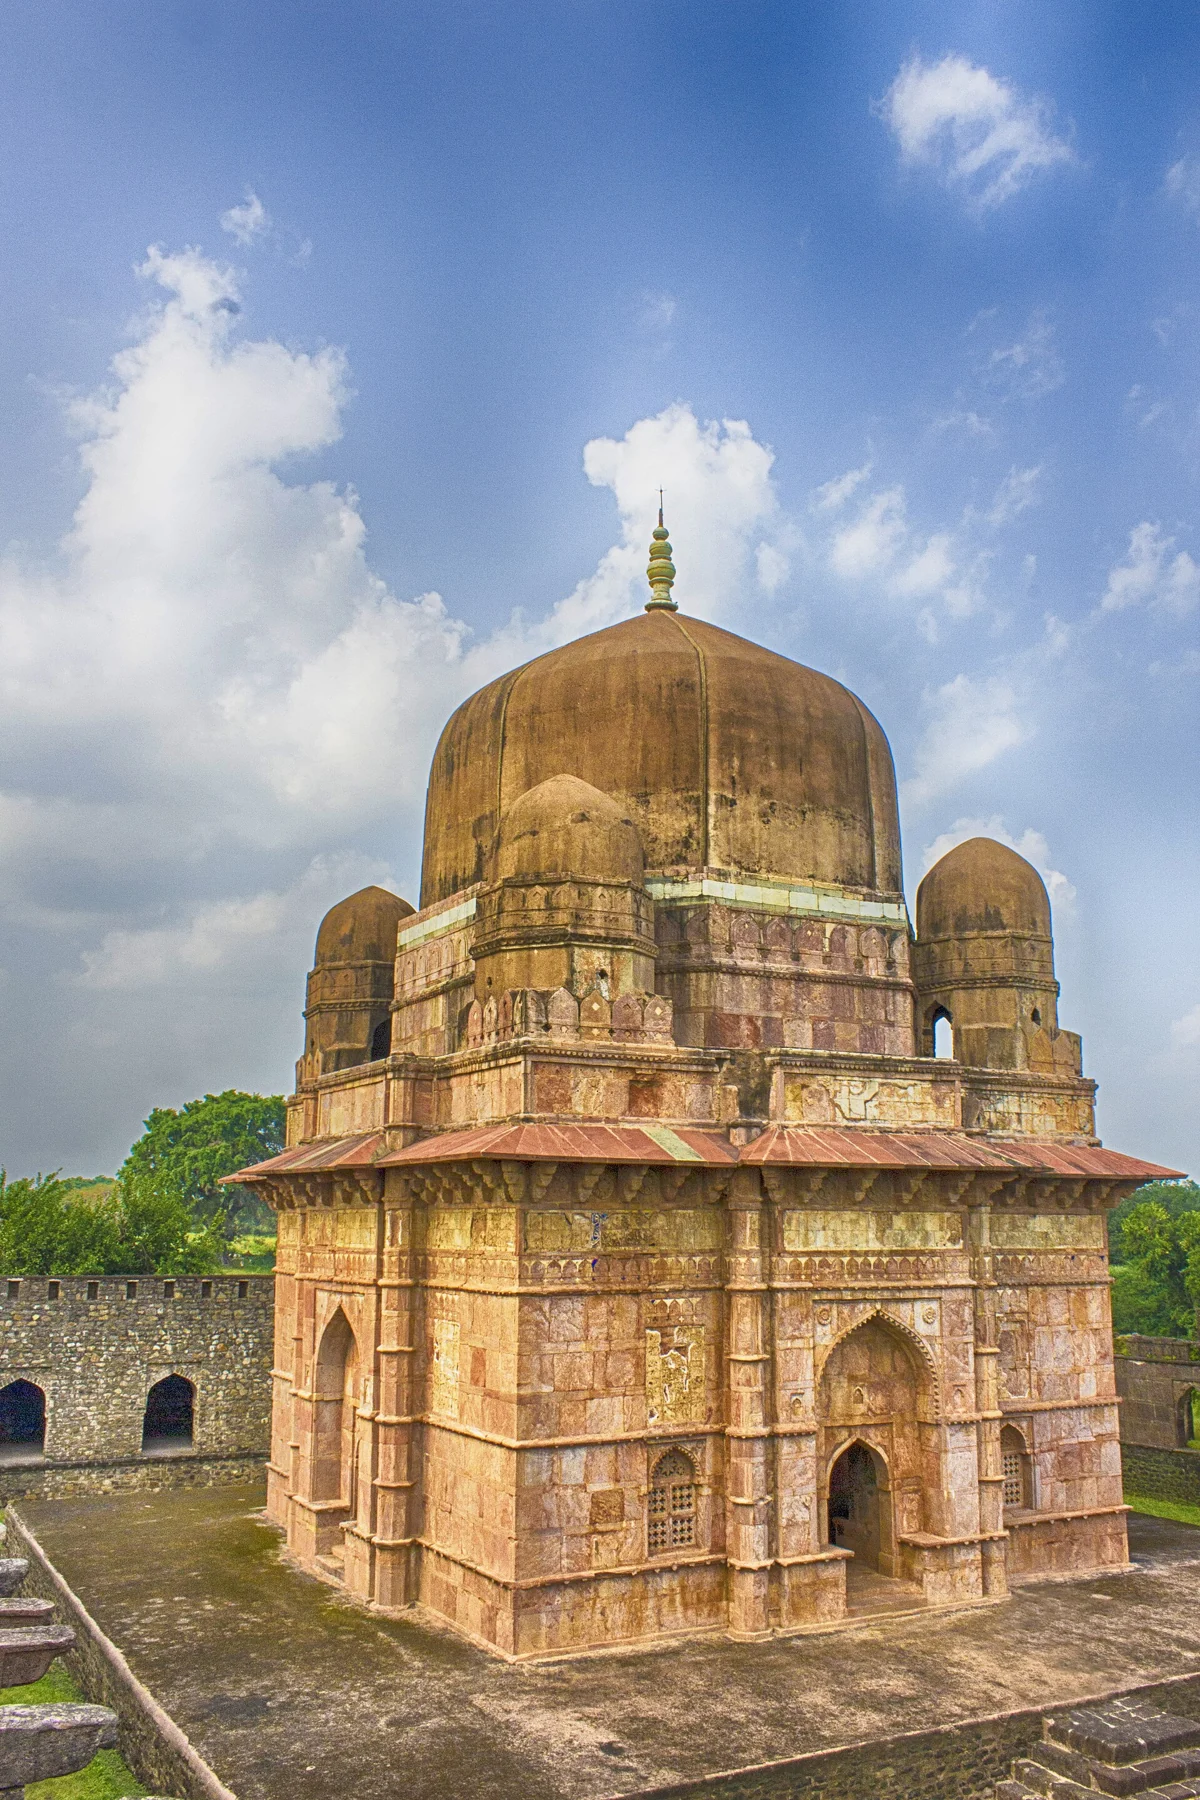
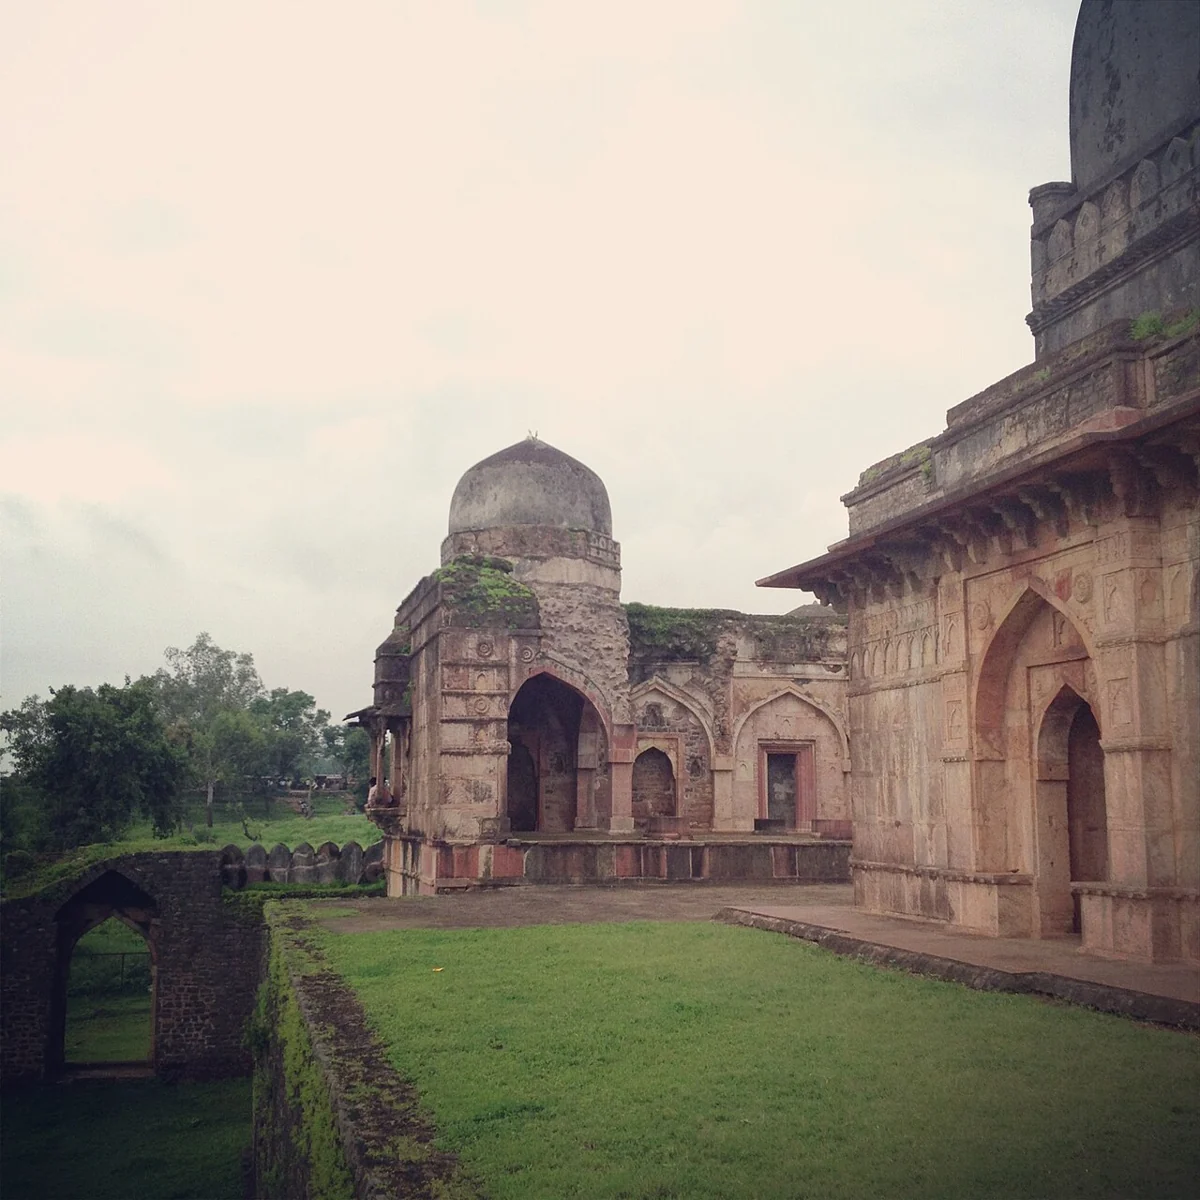
| Mandu | Delhi Darwaza | Sagar khadse48 · CC BY-SA 4.0 ↗ Sagar khadse48 · CC BY-SA 4.0 ↗ | Published guide · Published image |
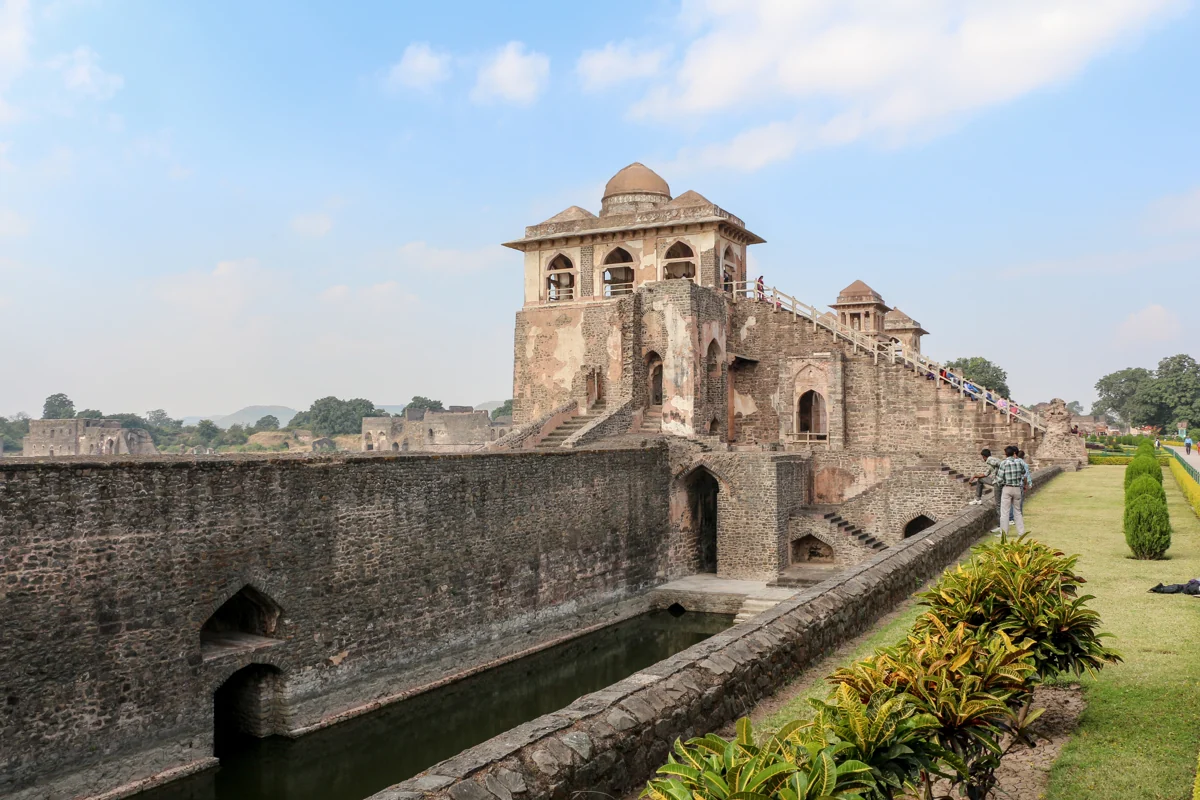
| Mandu | Jahaz Mahal | Bernard Gagnon · GFDL CC BY-SA 3.0 ↗ Bernard Gagnon · GFDL CC BY-SA 3.0 ↗ | Published guide · Published image |
| Mandu | Hindola Mahal | Shrikrishna gokhale · CC BY-SA 4.0 ↗ Shrikrishna gokhale · CC BY-SA 4.0 ↗ | Published guide · Published image |
| Mandu | Taveli Mahal | Bernard Gagnon · GFDL CC BY-SA 3.0 ↗ Bernard Gagnon · GFDL CC BY-SA 3.0 ↗ | Published guide · Published image |
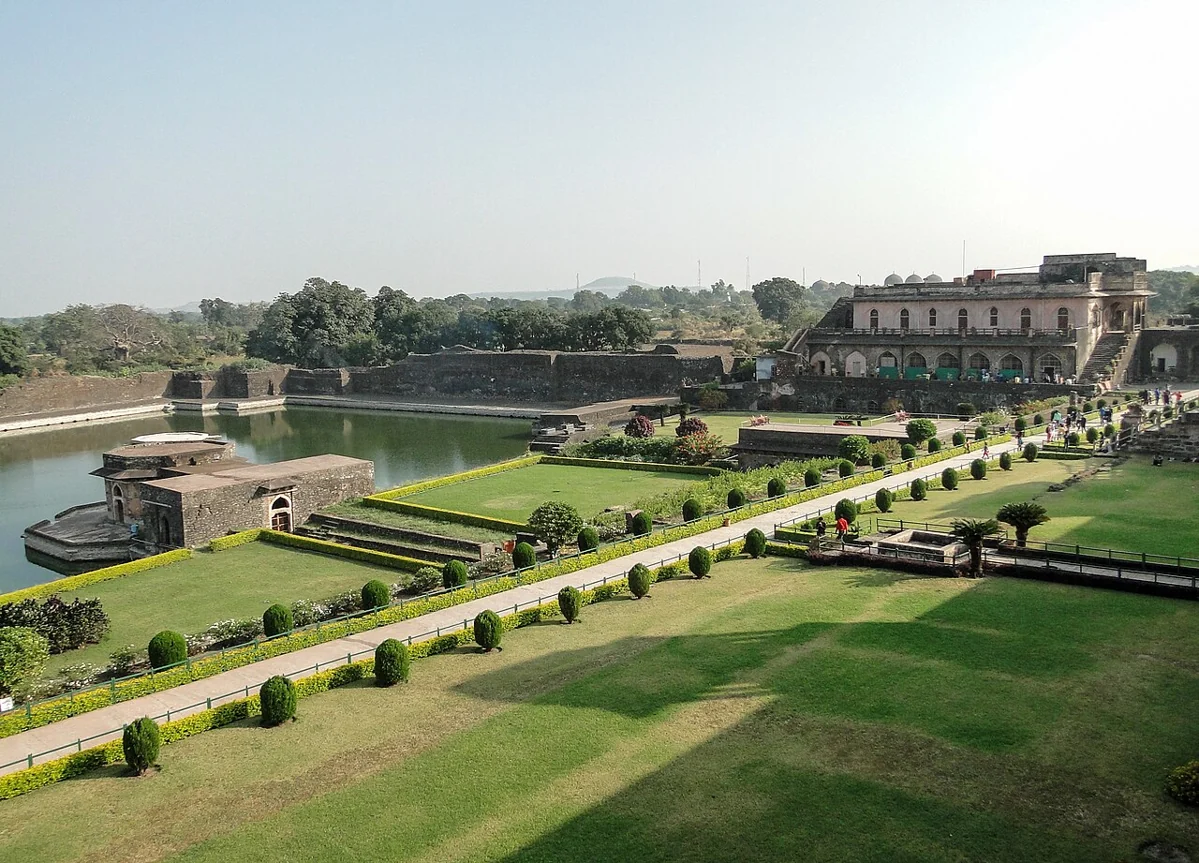
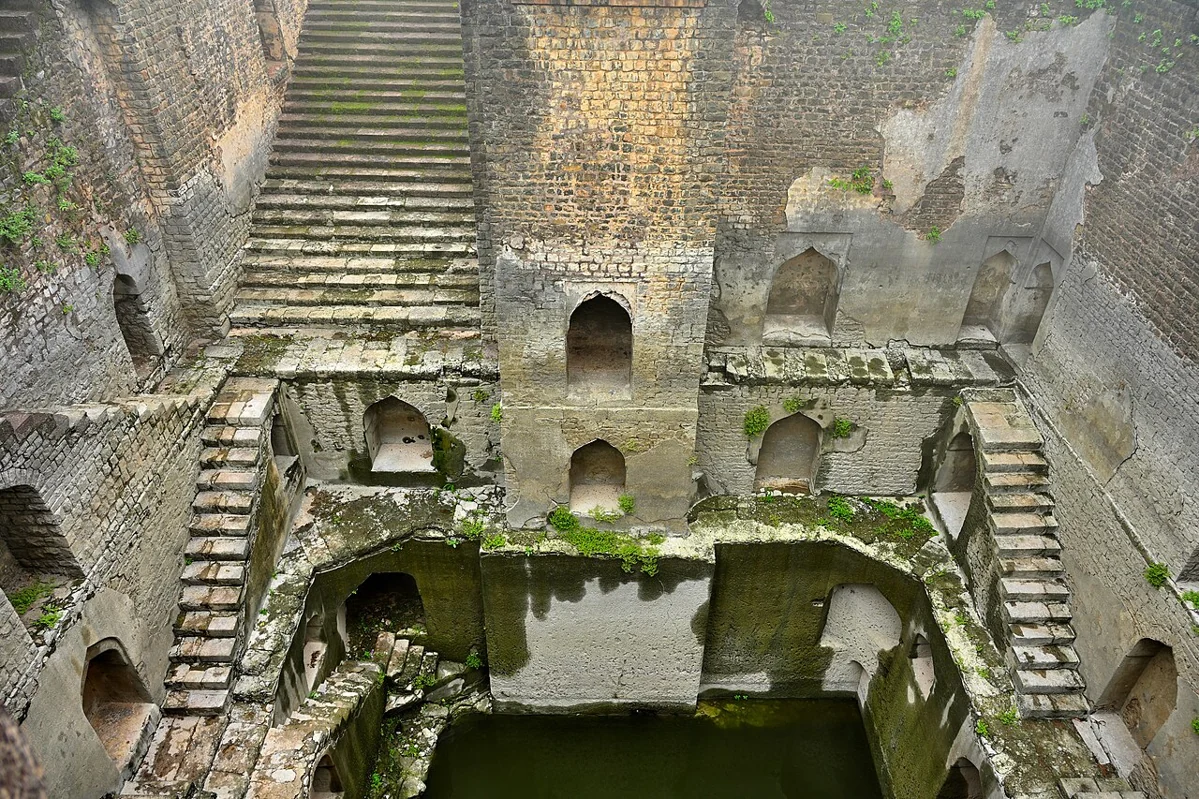
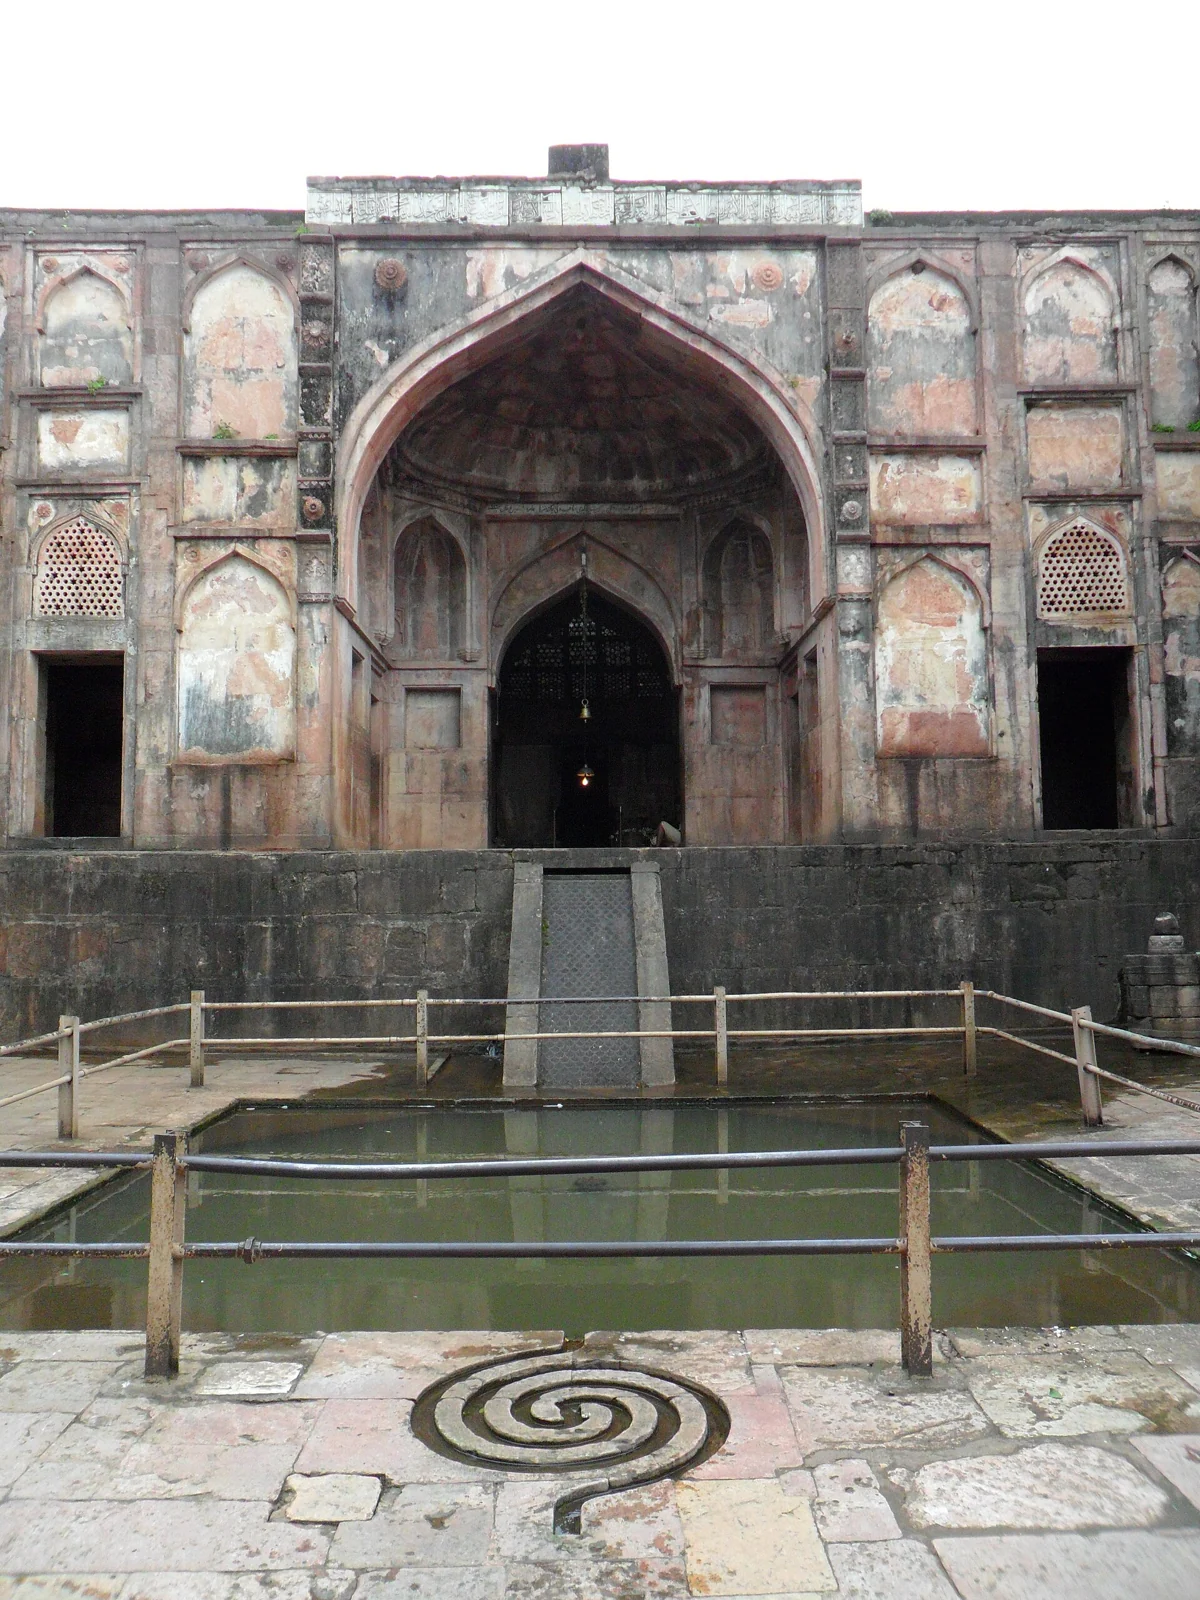
| Mandu | Champa Baoli | McKay Savage from London, UK · CC BY 2.0 ↗ McKay Savage from London, UK · CC BY 2.0 ↗ | Published guide · Published image |
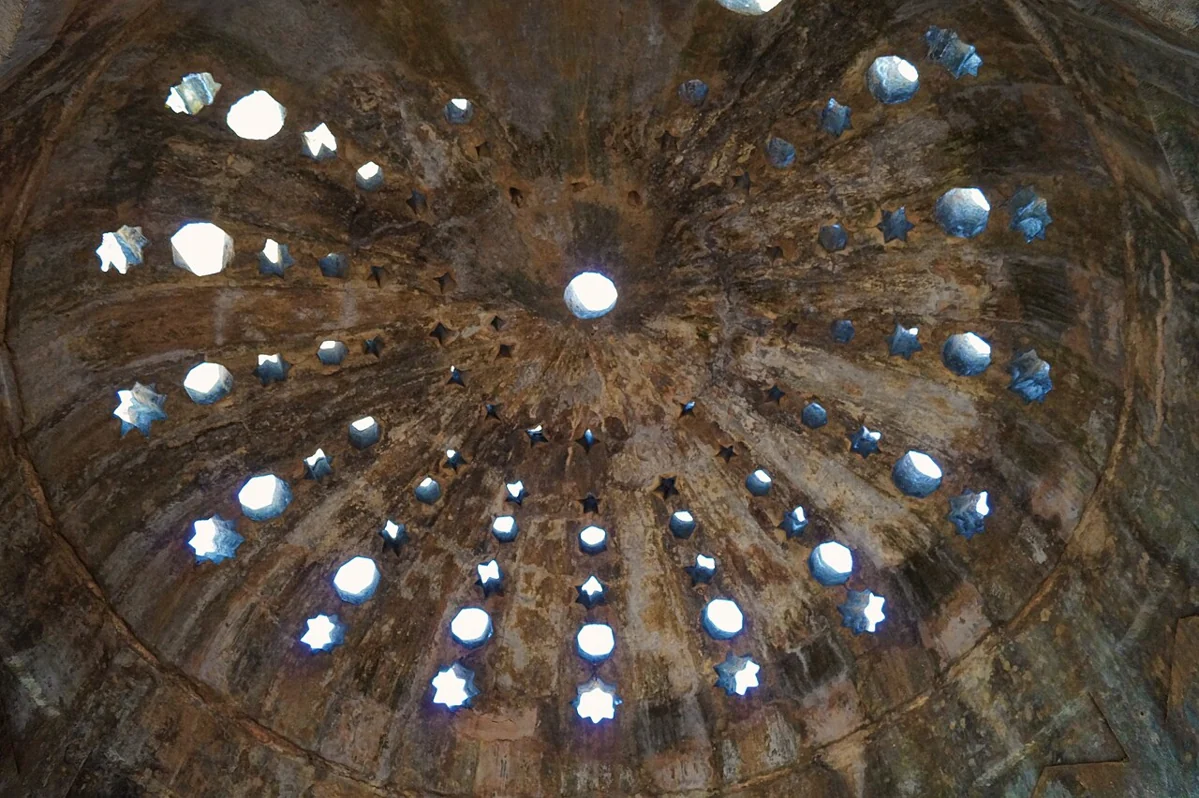
| Mandu | Royal Hammam | Vinat · CC BY-SA 4.0 ↗ Vinat · CC BY-SA 4.0 ↗ | Published guide · Published image |
| Mandu | Gada Shah’s Shop | Gada Shah's Shop in Mandu 02.jpg : KishanGupta derivative work: Hic et nunc · CC BY-SA 3.0 ↗ Gada Shah's Shop in Mandu 02.jpg : KishanGupta derivative work: Hic et nunc · CC BY-SA 3.0 ↗ | Published guide · Published image |
| Mandu | Ujali Baoli | Sharvarism · CC BY-SA 4.0 ↗ Sharvarism · CC BY-SA 4.0 ↗ | Published guide · Published image |
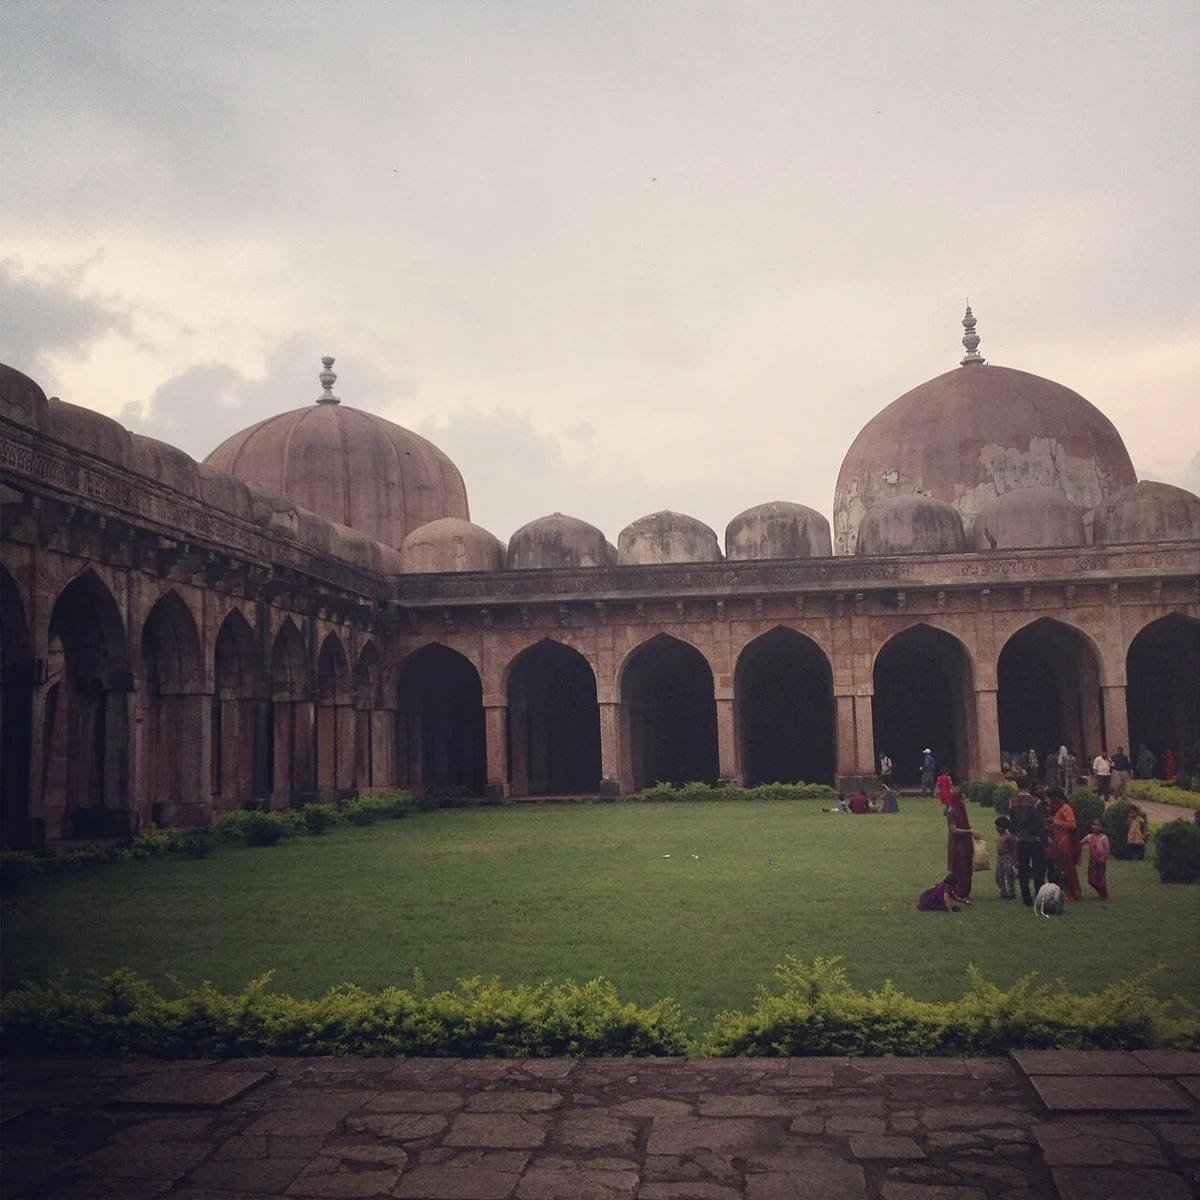
| Mandu | Jami Masjid | Zishaan · CC BY-SA 3.0 ↗ Zishaan · CC BY-SA 3.0 ↗ | Published guide · Published image |
| Mandu | Hoshang Shah’s Tomb | Shivani Choudhary1626 · CC BY-SA 4.0 ↗ Shivani Choudhary1626 · CC BY-SA 4.0 ↗ | Published guide · Published image |
| Mandu | Ashrafi Mahal | Bernard Gagnon · CC BY-SA 3.0 ↗ Bernard Gagnon · CC BY-SA 3.0 ↗ | Published guide · Published image |
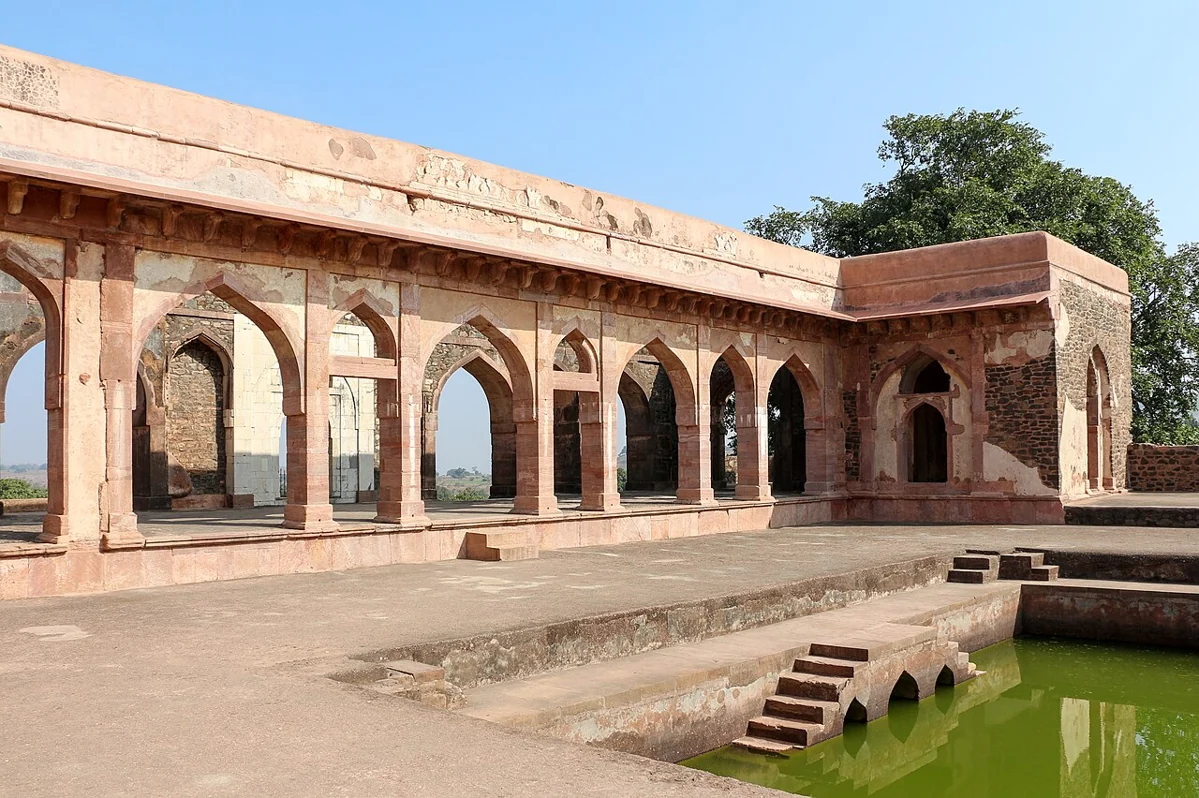
| Mandu | Baz Bahadur’s Palace | Bernard Gagnon · GFDL CC BY-SA 3.0 ↗ Bernard Gagnon · GFDL CC BY-SA 3.0 ↗ | Published guide · Published image |
| Mandu | Rewa Kund | Ramesh Lalwani from New Delhi, India · CC BY 2.0 ↗ Ramesh Lalwani from New Delhi, India · CC BY 2.0 ↗ | Published guide · Published image |
| Mandu | Roopmati Pavilion | Yashasvi nagda · CC BY-SA 3.0 ↗ Yashasvi nagda · CC BY-SA 3.0 ↗ | Published guide · Published image |
| Mandu | Darya Khan’s Tomb | Sagar khadse48 · CC BY-SA 4.0 ↗ Sagar khadse48 · CC BY-SA 4.0 ↗ | Published guide · Published image |
| Mandu | Dai Ka Mahal | Zishaan · CC BY-SA 3.0 ↗ Zishaan · CC BY-SA 3.0 ↗ | Published guide · Published image |
| Mandu | Nilkanth Mahadev & Mahal | Djurassic · CC BY-SA 4.0 ↗ Djurassic · CC BY-SA 4.0 ↗ | Published guide · Published image |
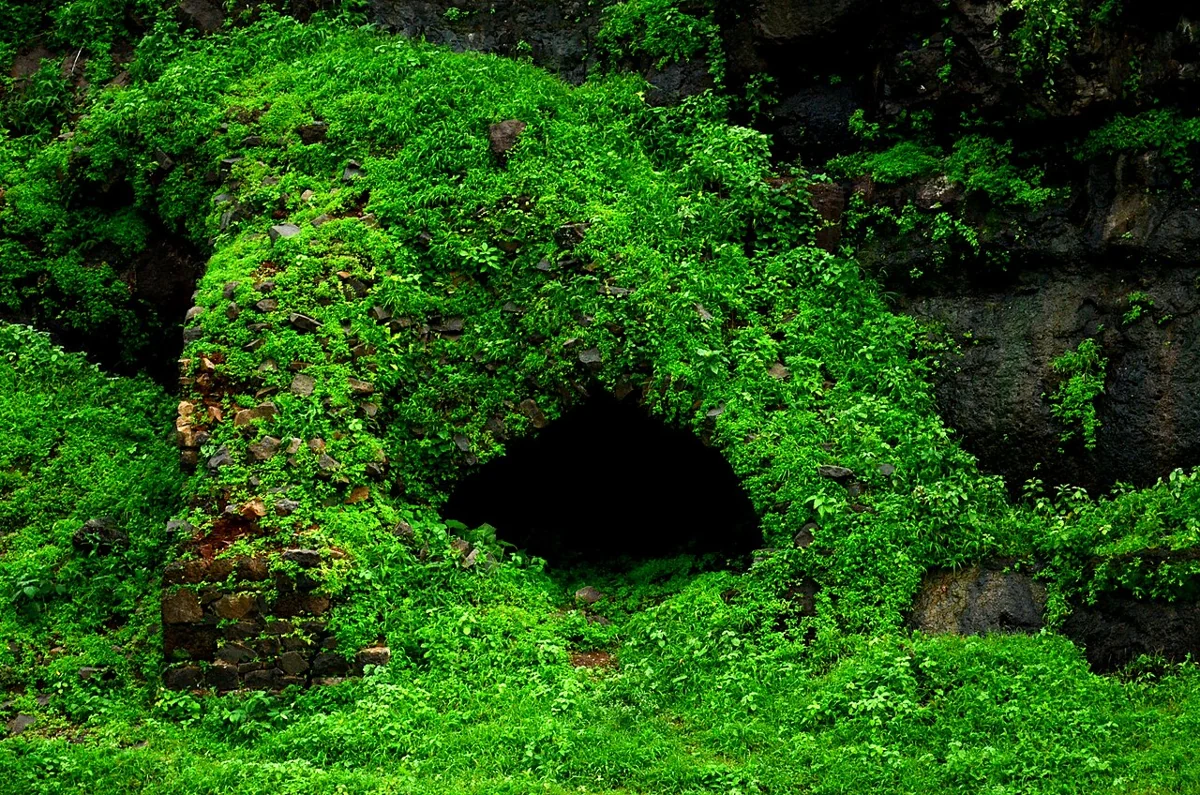
| Mandu | Lohani Caves | Hitarth · CC BY-SA 3.0 ↗ Hitarth · CC BY-SA 3.0 ↗ | Published guide · Published image |
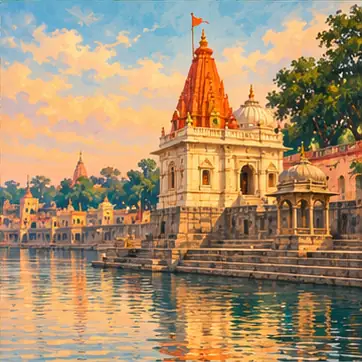
| Ujjain | Mahakaleshwar Jyotirlinga | Published destination image · Banjari MP Tours Private Limited | Published guide · Published image |
| Ujjain | Bade Ganesh Mandir | Published destination image · Banjari MP Tours Private Limited | Published guide · Published image |
| Ujjain | Shri Mahakal Lok | Published destination image · Banjari MP Tours Private Limited | Published guide · Published image |
| Ujjain | Harsiddhi Mata Temple | Published destination image · Banjari MP Tours Private Limited | Published guide · Published image |
| Ujjain | Chaubis Khamba Temple | Published destination image · Banjari MP Tours Private Limited | Published guide · Published image |
| Ujjain | Gopal Mandir | Published destination image · Banjari MP Tours Private Limited | Published guide · Published image |
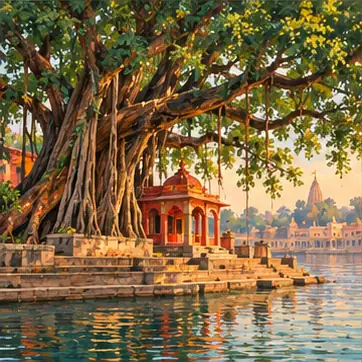
| Ujjain | Ram Ghat, Shipra River | Published destination image · Banjari MP Tours Private Limited | Published guide · Published image |
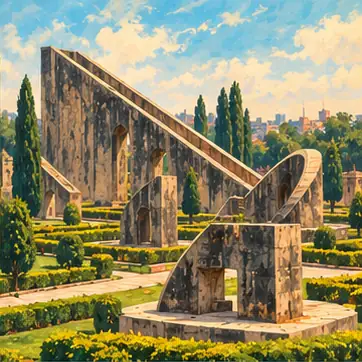
| Ujjain | Ved Shala / Jantar Mantar | Published destination image · Banjari MP Tours Private Limited | Published guide · Published image |
| Ujjain | Chintaman Ganesh Temple | Published destination image · Banjari MP Tours Private Limited | Published guide · Published image |
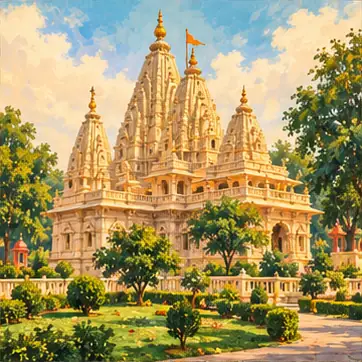
| Ujjain | ISKCON Ujjain | Published destination image · Banjari MP Tours Private Limited | Published guide · Published image |
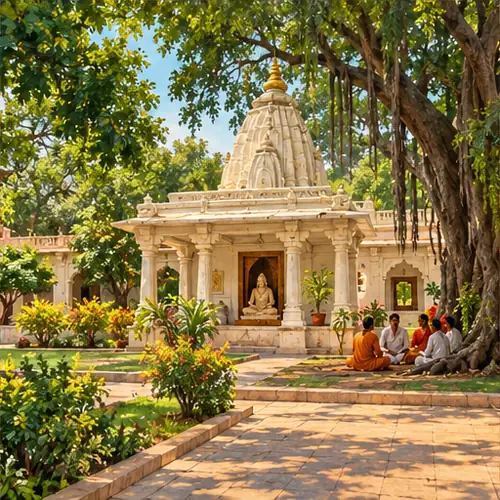
| Ujjain | Sandipani Ashram | Published destination image · Banjari MP Tours Private Limited | Published guide · Published image |
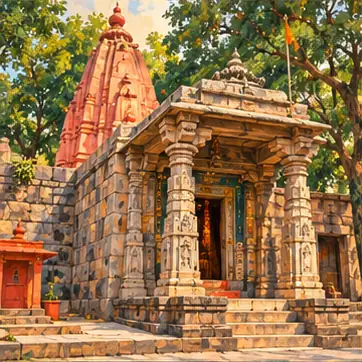
| Ujjain | Rama–Janardana Temples | Published destination image · Banjari MP Tours Private Limited | Published guide · Published image |
| Ujjain | Mangalnath Temple | Published destination image · Banjari MP Tours Private Limited | Published guide · Published image |
| Ujjain | Siddhavat Ghat | Published destination image · Banjari MP Tours Private Limited | Published guide · Published image |
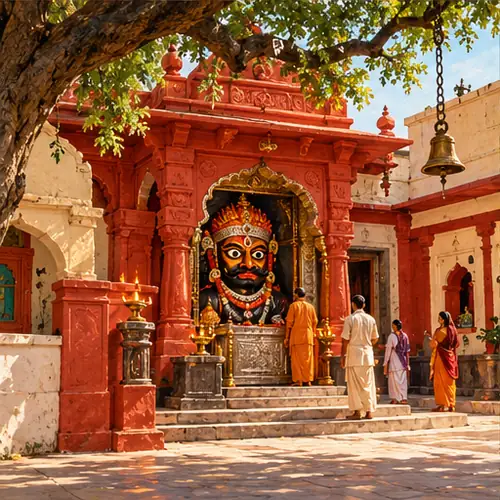
| Ujjain | Kal Bhairav Temple | Published destination image · Banjari MP Tours Private Limited | Published guide · Published image |
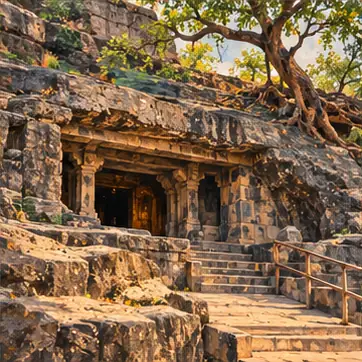
| Ujjain | Bhartrihari Caves | Published destination image · Banjari MP Tours Private Limited | Published guide · Published image |
| Ujjain | Gadkalika Temple | Published destination image · Banjari MP Tours Private Limited | Published guide · Published image |
| Ujjain | Kaliadeh Palace | Published destination image · Banjari MP Tours Private Limited | Published guide · Published image |
| Omkareshwar | Omkareshwar Jyotirlinga | AI-generated family visualisation · Banjari MP Tours Private Limited | Published guide · Published image |
| Omkareshwar | Mamleshwar Temple | AI-generated family visualisation · Banjari MP Tours Private Limited | Published guide · Published image |
| Omkareshwar | Govinda Bhagavatpada Cave | AI-generated family visualisation · Banjari MP Tours Private Limited | Published guide · Published image |
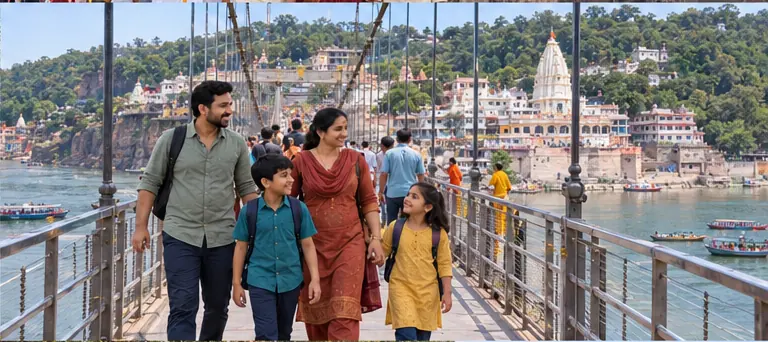
| Omkareshwar | Mamleshwar Setu | AI-generated family visualisation · Banjari MP Tours Private Limited | Published guide · Published image |
| Omkareshwar | Narmada Ghats | AI-generated family visualisation · Banjari MP Tours Private Limited | Published guide · Published image |
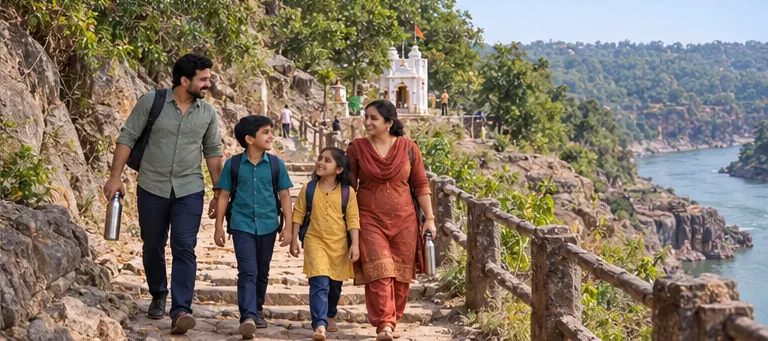
| Omkareshwar | Mandhata Parikrama Trail | AI-generated family visualisation · Banjari MP Tours Private Limited | Published guide · Published image |
| Omkareshwar | Gauri Somnath Temple | AI-generated family visualisation · Banjari MP Tours Private Limited | Published guide · Published image |
| Omkareshwar | Siddhanath Temple | AI-generated family visualisation · Banjari MP Tours Private Limited | Published guide · Published image |
| Omkareshwar | Narmada–Kaveri Sangam | AI-generated family visualisation · Banjari MP Tours Private Limited | Published guide · Published image |
| Omkareshwar | Rinmukteshwar Temple | AI-generated family visualisation · Banjari MP Tours Private Limited | Published guide · Published image |
| Omkareshwar | Ekatma Dham · Statue of Oneness | AI-generated family visualisation · Banjari MP Tours Private Limited | Published guide · Published image |
| Omkareshwar | Avatars · Annapurna Ashram | AI-generated family visualisation · Banjari MP Tours Private Limited | Published guide · Published image |